Friday, January 31, 2014

Kitchen Renovation: Appliances Setback

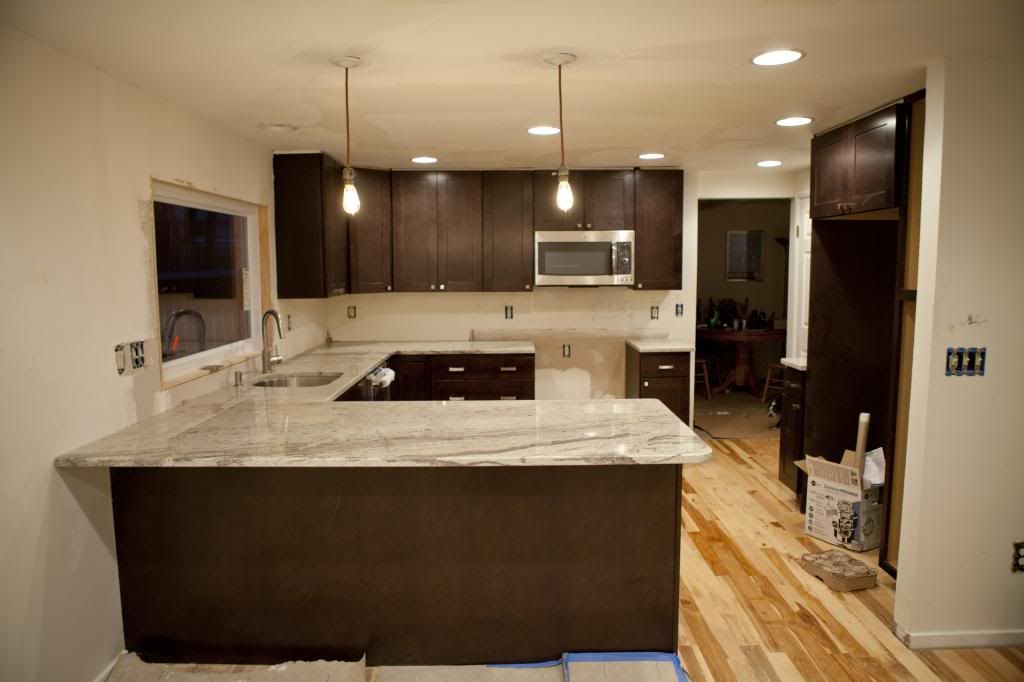
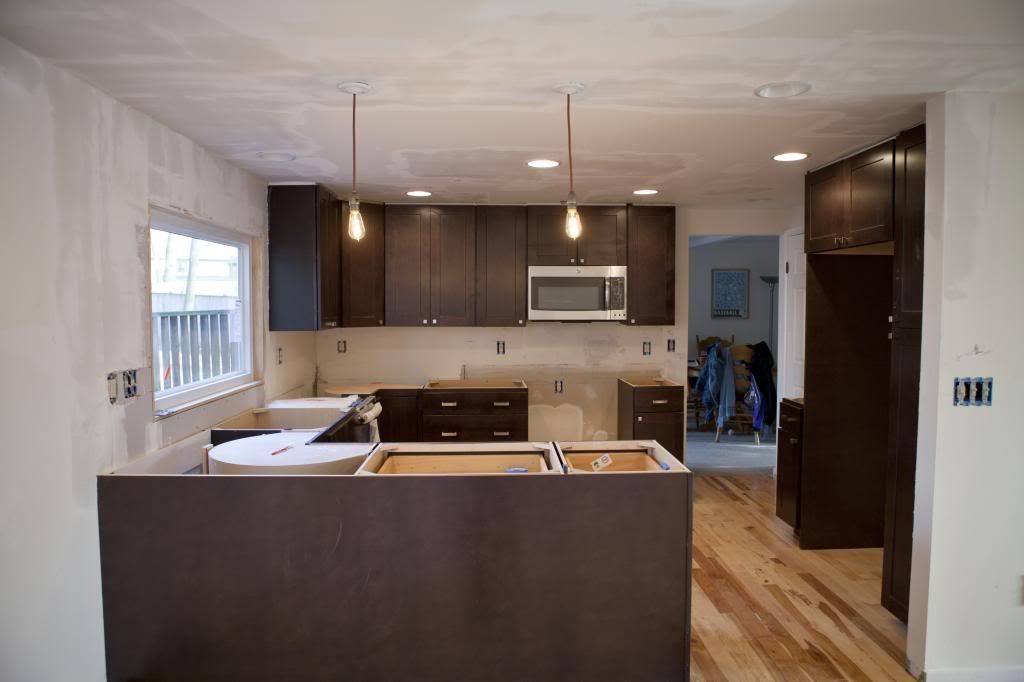
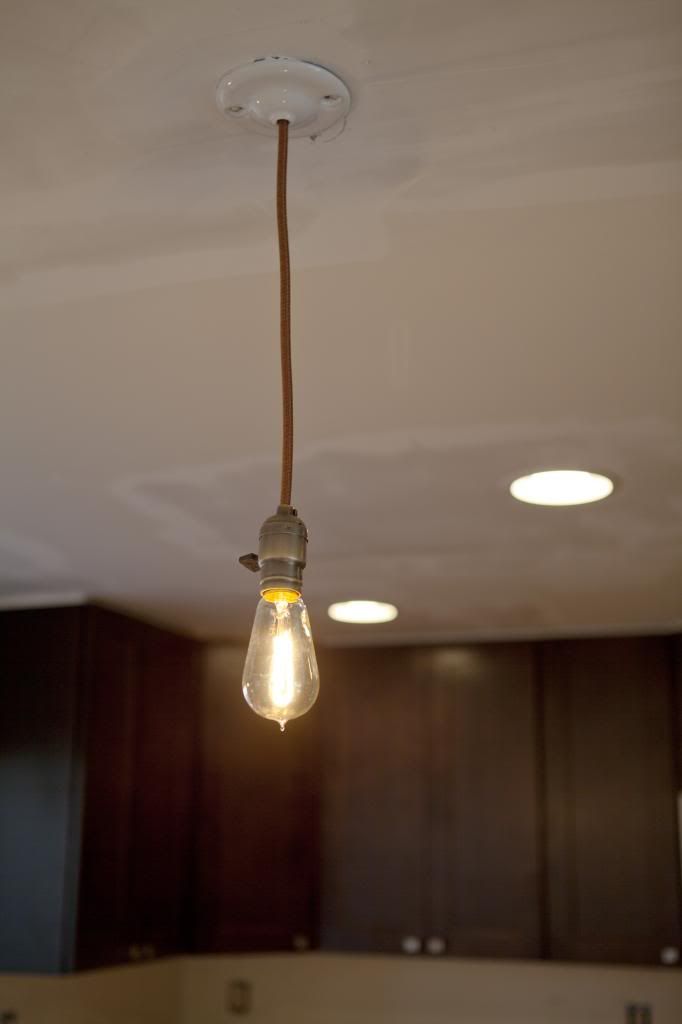
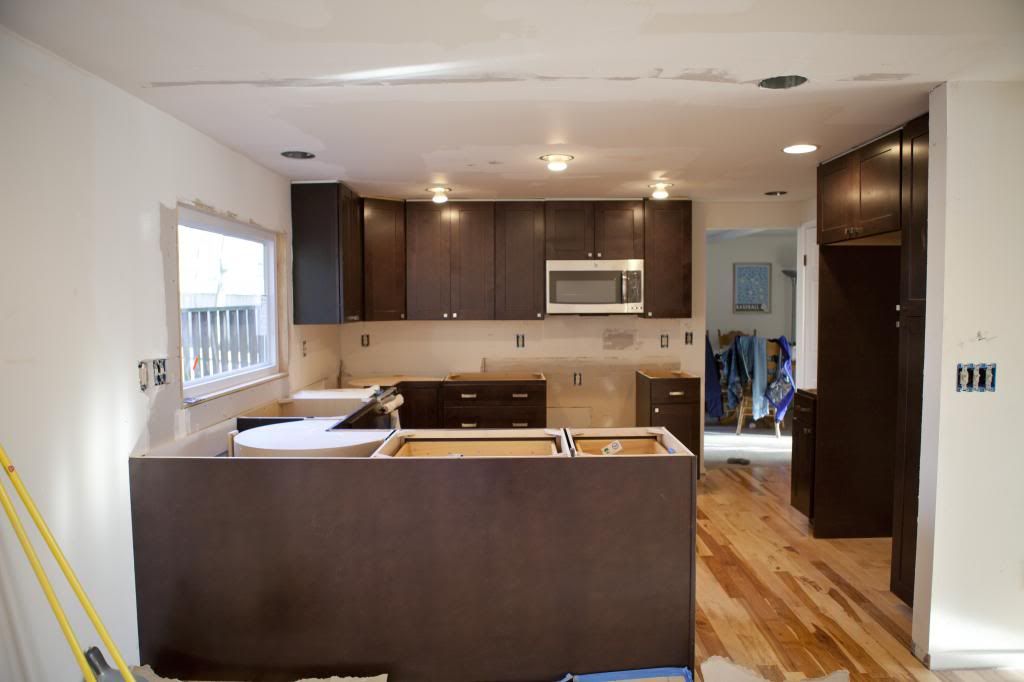
Day 21: Last Friday our kitchen was scheduled to be mostly finished. Actually, technically our contractors were supposed to be finished on Friday, but after a bit of thinking the hubs and I decided to expand their scope of work and installing the backsplash was added to their bill. We've loved their work so far and the hubs was more than happy to have someone else deal with a wet saw during the winter temperatures. 

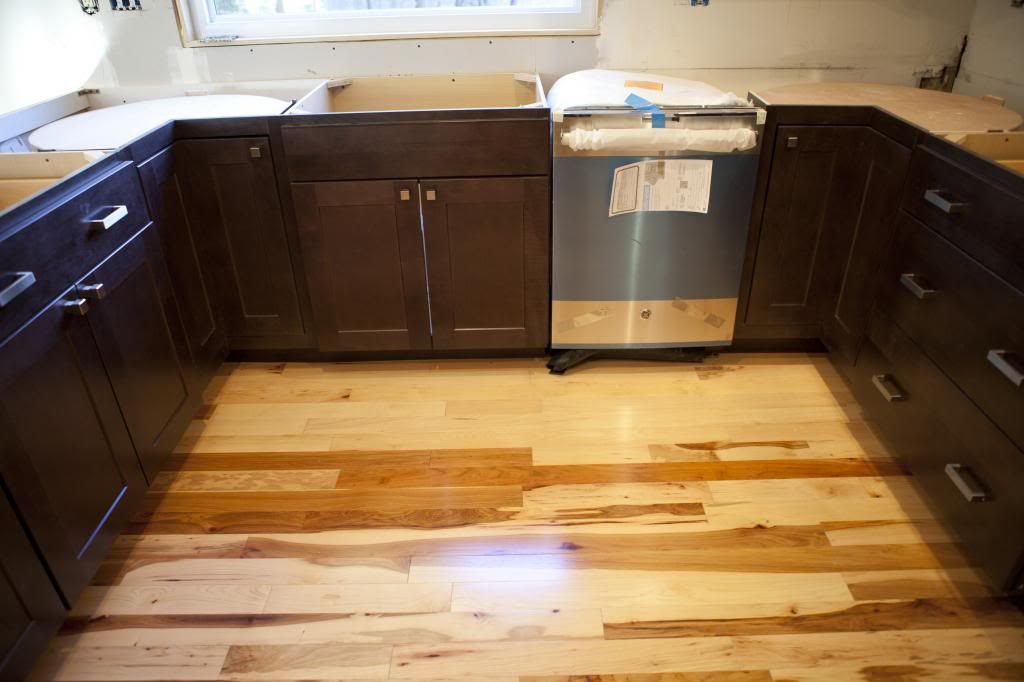
But last Friday the hubs received a call that two things went wrong. First, and most importantly our dishwasher was damaged when installing the toe-kick air duct vent beneath the sink. It was a long story, but the short of it was our contractors completely owned up to the mishap, they confirmed the model number for the dishwasher, and promptly ordered a new one. The cost of the new dishwasher is on them and it was actually nice that there wasn't even a discussion about it. Just the action steps. The only downside is the hubs picked out a newly released model and it isn't available everywhere just yet. The new dishwasher is hopefully being installed today (Day 28).   

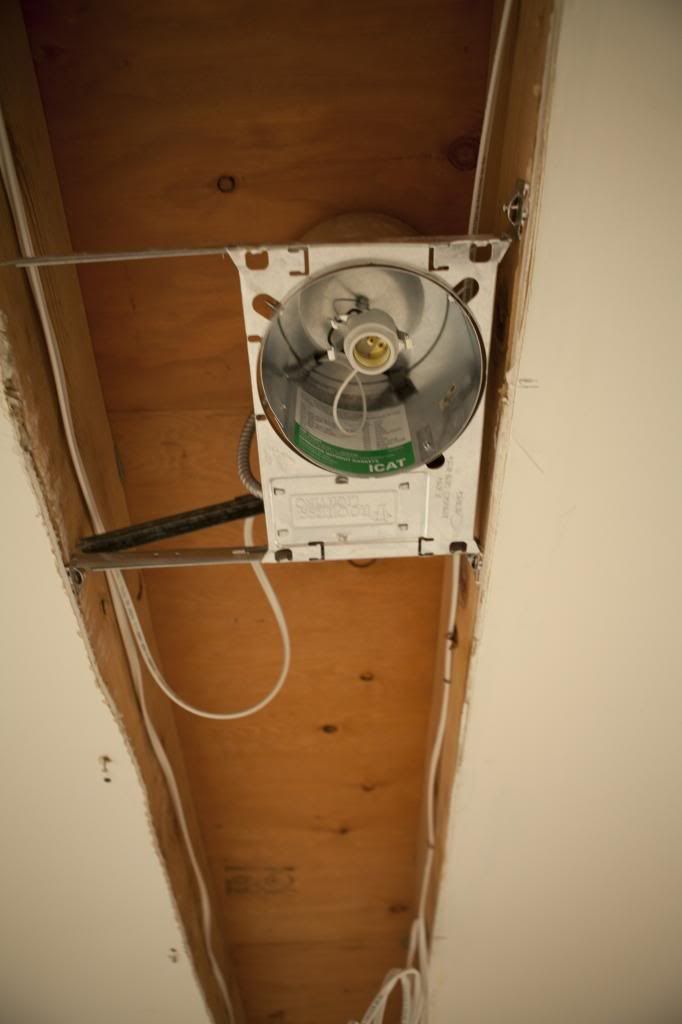
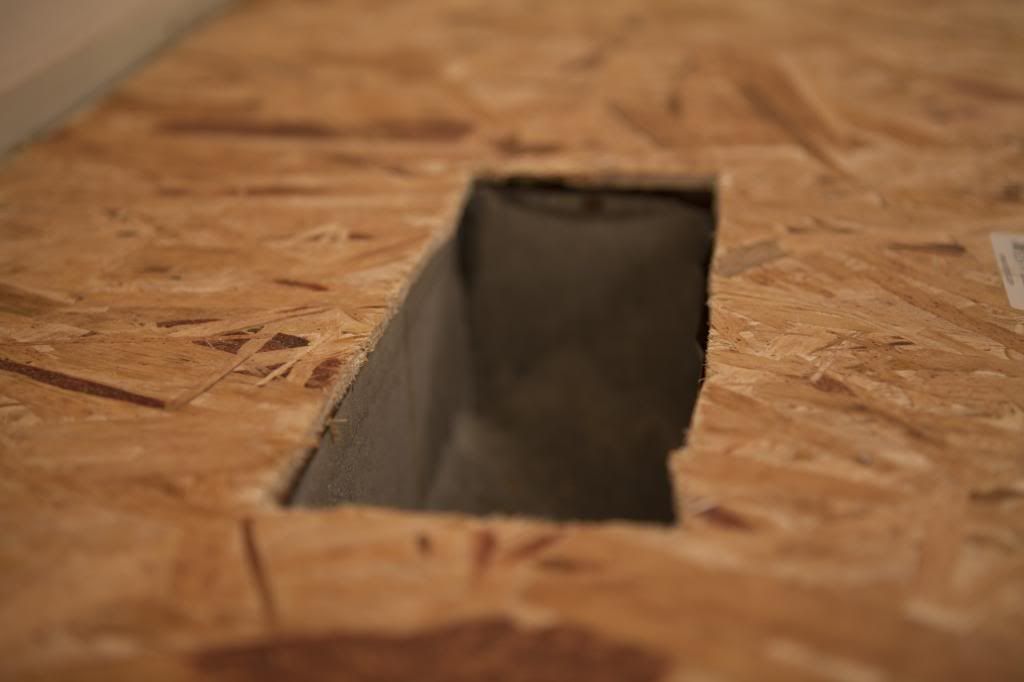
The second issue was there was a defect with the water line connecting to our fridge. Finding out this now saved us a leak down the road so that was actually a good thing. A new part had to be ordered and since the plumber is coming back today to install the new dishwasher the fridge is being fixed as well. We purchased our fridge when we moved into our house and the hubs installed the water line himself when we purchased it. Our old water line wasn't long enough and extender was needed. We didn't realize that at the time, so we didn't have an extender at the house when the fridge was delivered and in order to get the free installation service with delivery you kind of need to have all the parts ready and available when the installation guy is present.  It hasn't leaked yet, which we were told was nuts because it was overdue for a serious problem. 

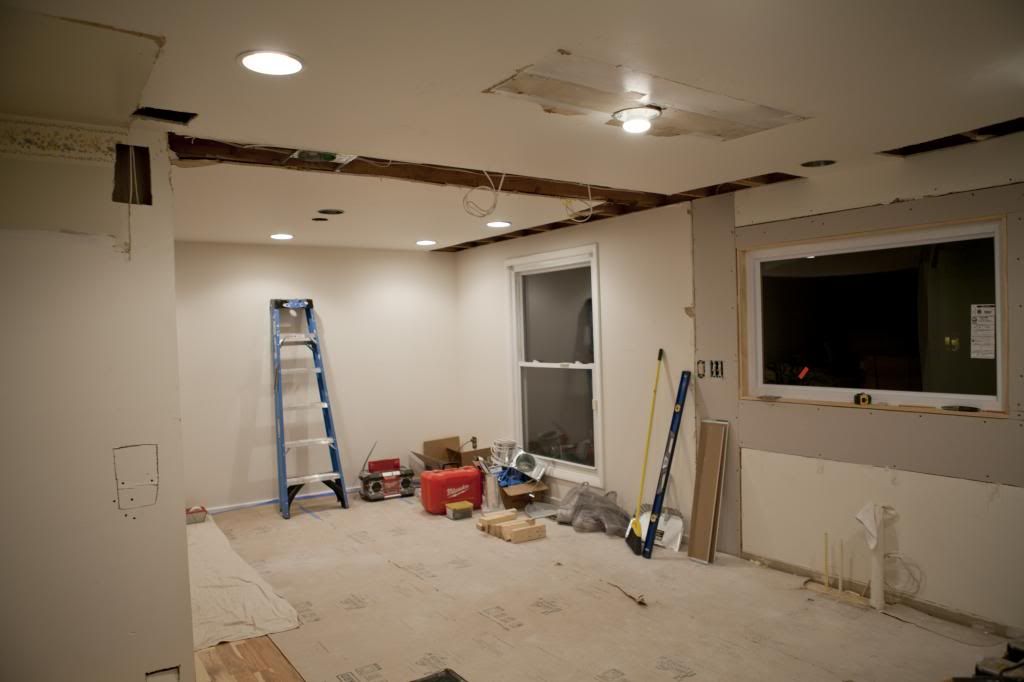
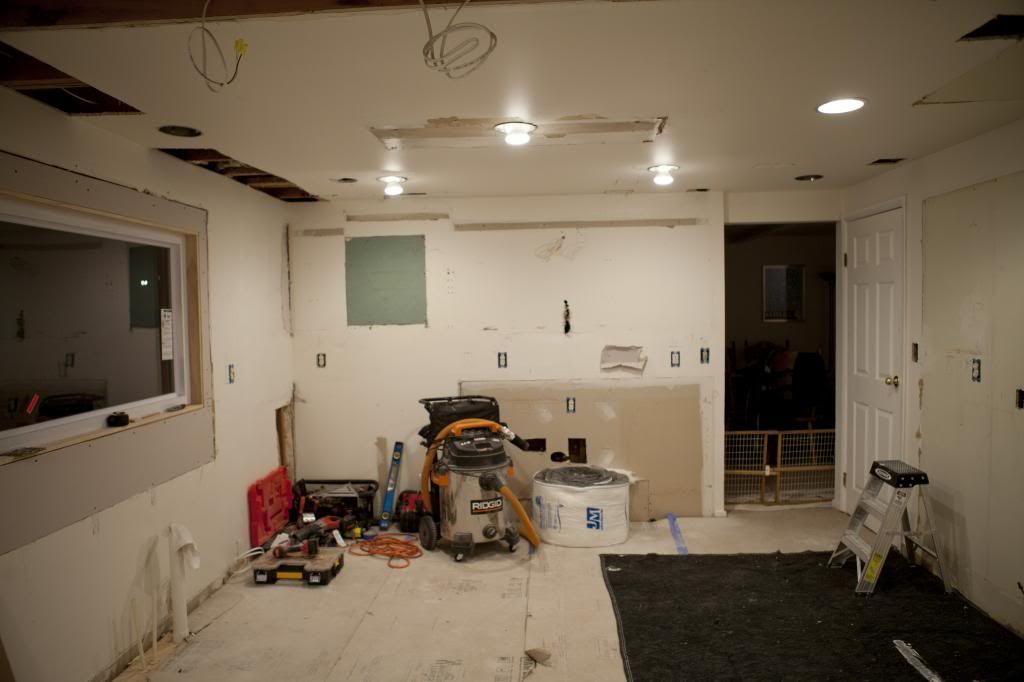
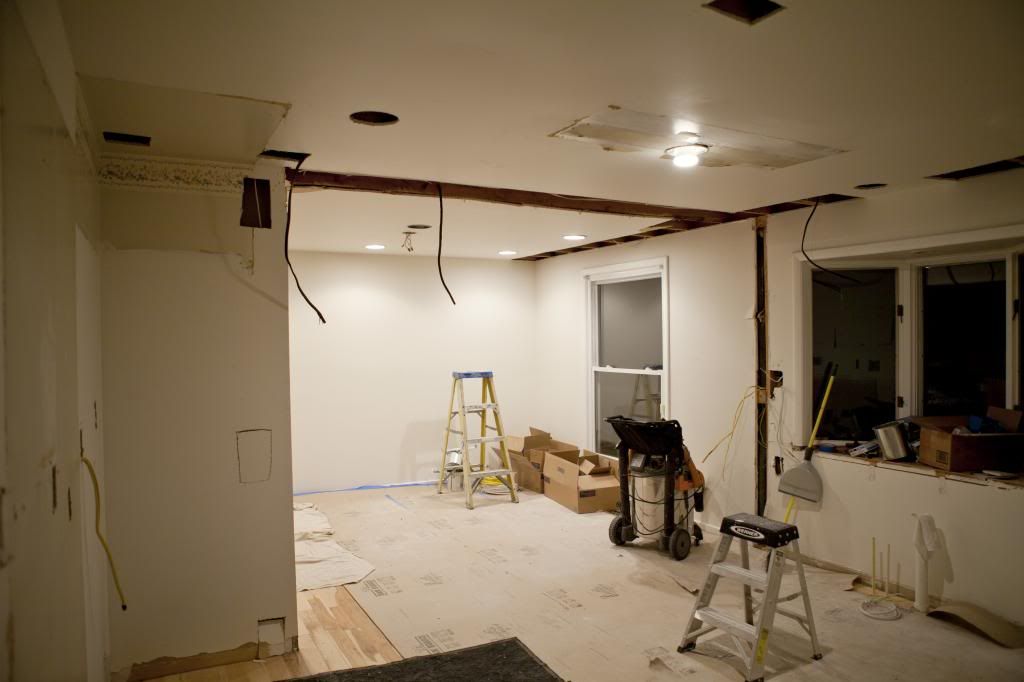
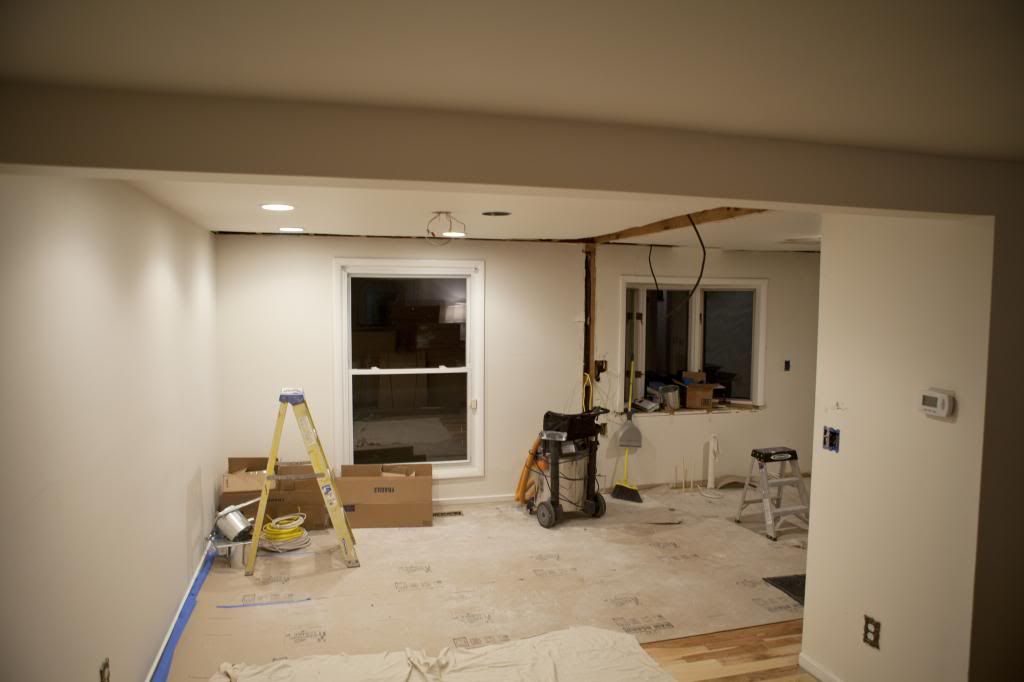
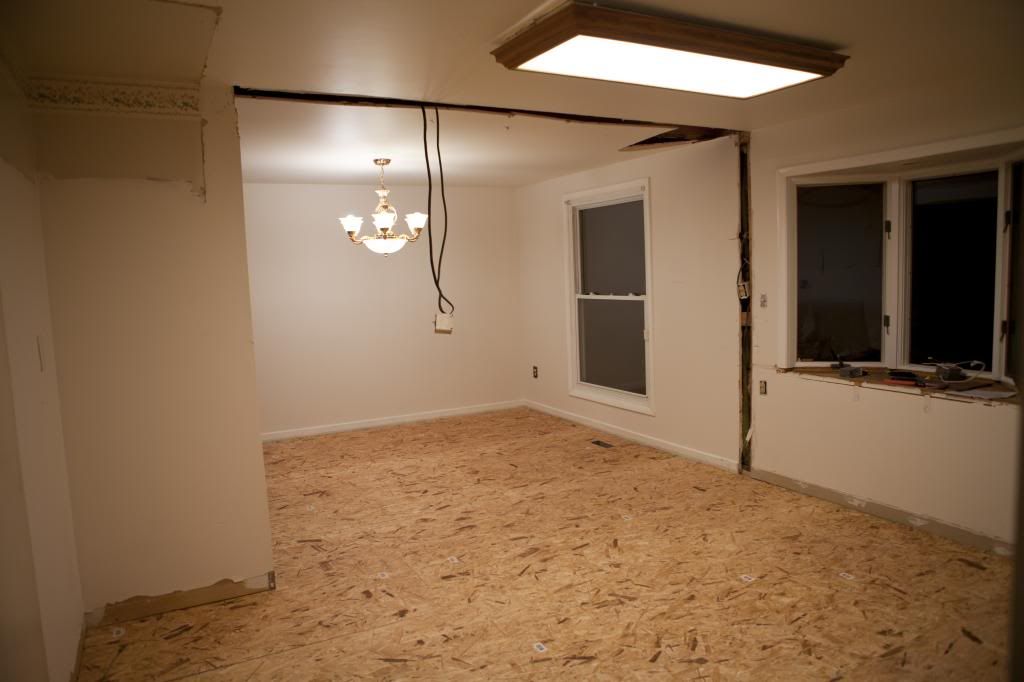
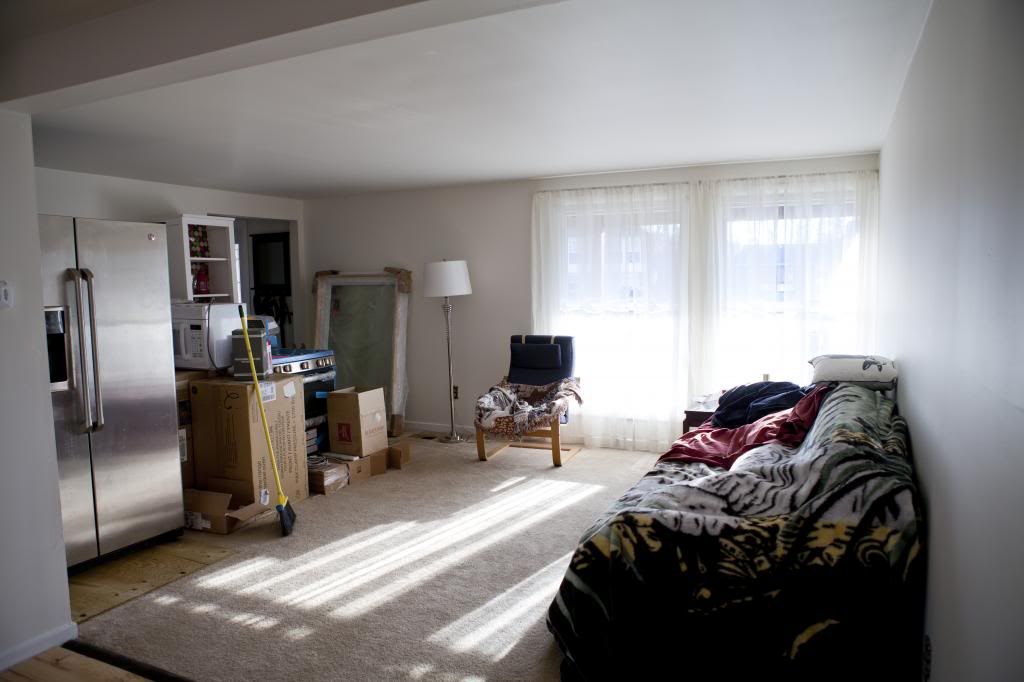
This just meant that last Friday we came home to nearly complete kitchen, but nearly complete isn't anywhere close to being completed.  It was such a mix of emotions. I'm over not having a kitchen and I just want this to be done at this point (but done correctly!). 


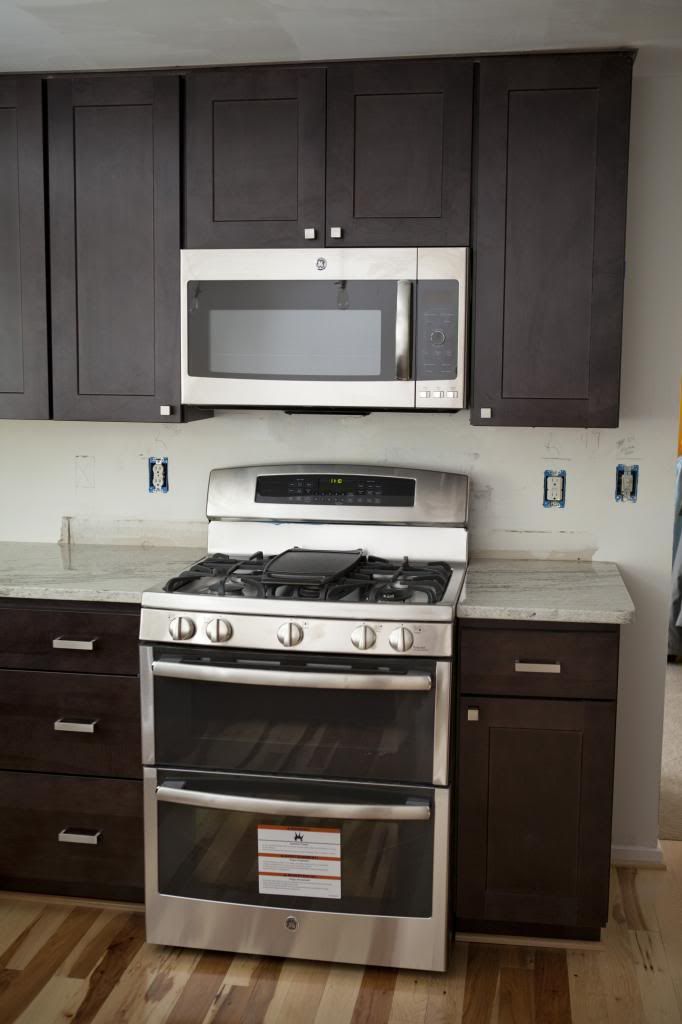
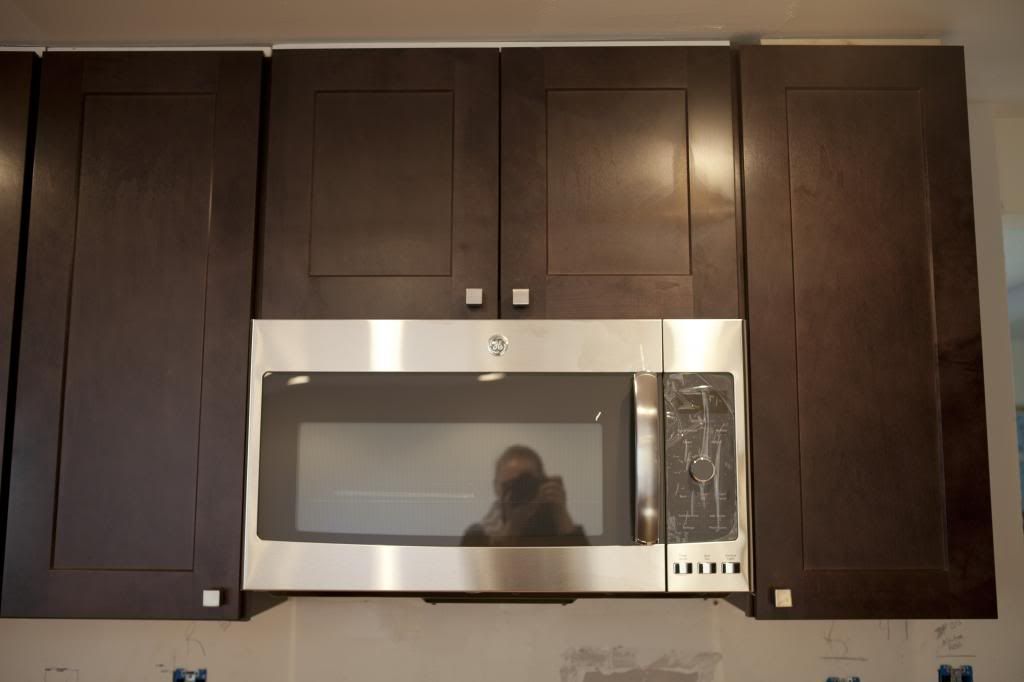
However, my heart was immediately warmed by seeing our new double oven. Let me be frank, I freaking WANTED a oven like this for YEARS. Again, this is an import because it seems GE doesn't make any of their gas double ovens in the USA (yet) whereas the electric models are made in the USA. I'm a massive fan of all of the work GE has done over the past few years to bring more jobs back to the USA so I don't feel terrible about supporting that mission. Plus, due to our kitchen remodel not one, but TWO dishwashers that were assembled in the USA were purchased. Gotta keep it all in perspective :) 

Oh, and yes, there will be more detail shots of this beast. And more baking posts in the future because honestly it would be a shame to not use this oven every day!  I don't know which feature I'm the most excited for - the double ovens that can operate at different temperatures simultaneously, the power boil (seriously that thing is a BEAST), or the massive cast iron griddle (which is made by LODGE and is made in the USA). 


Most of all I'm thankful for having a hubs who embraces my version of crazy.  This stove was expensive. There's not a doubt about it. A ceramic topped version of this stove was $700 cheaper, but I told the hubs I wanted the all stainless steel version. I may or may not have said, "I want an angry looking stove. I want a stove that can take the abuse I'm going to throw at it and smile right back at me."  Although I would never, ever, ever throw anything at my stove. Actually, I've been conditioned since early childhood to not throw things in a house. (my brother failed that lesson and broke a window by hitting it with a lollipop!) 


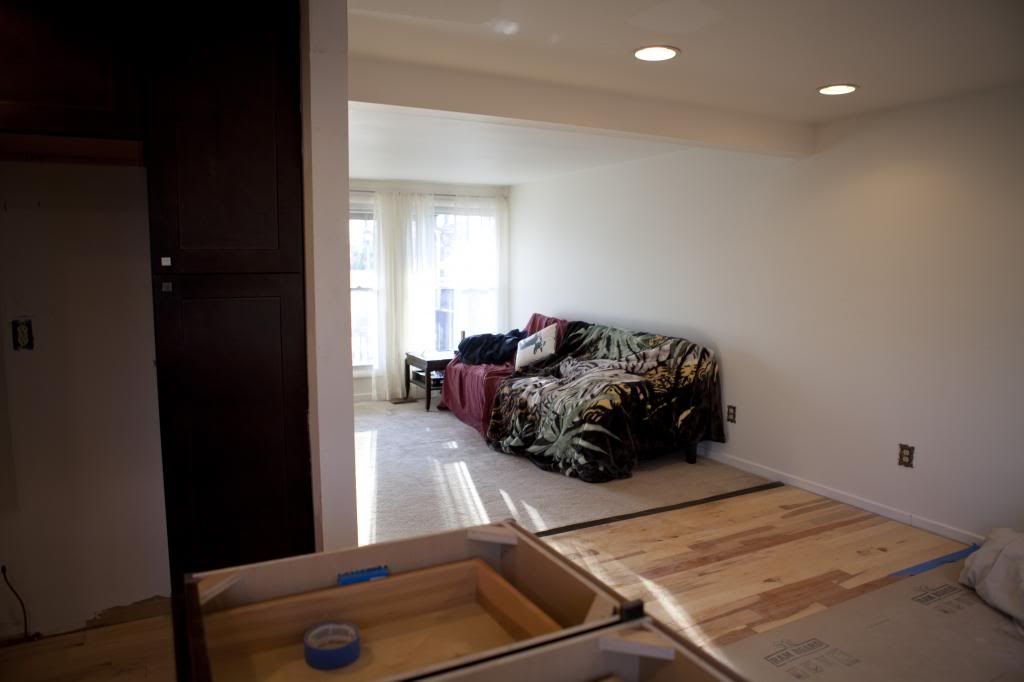
Up next: we paint and then paint some more! We were able to prep the entire area and paint the kitchen/dining room ceiling on Saturday. On Sunday we were able to get two coats on the kitchen/dining room and our living room. I don't have photos of it in the daylight yet because the sun had faded by time we finished on Sunday evening. I think that's what I'm most excited about for this weekend. Scratch that, I'm really excited to start unpacking this kitchen because hopefully all that is left is the backsplash and then it's time to PARTY! 

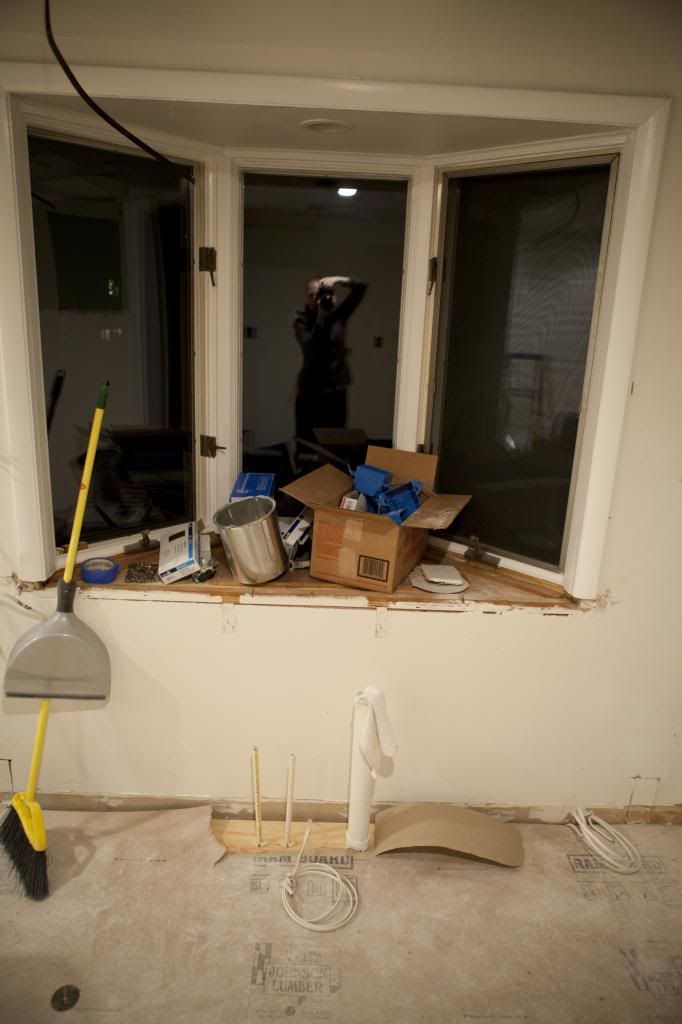
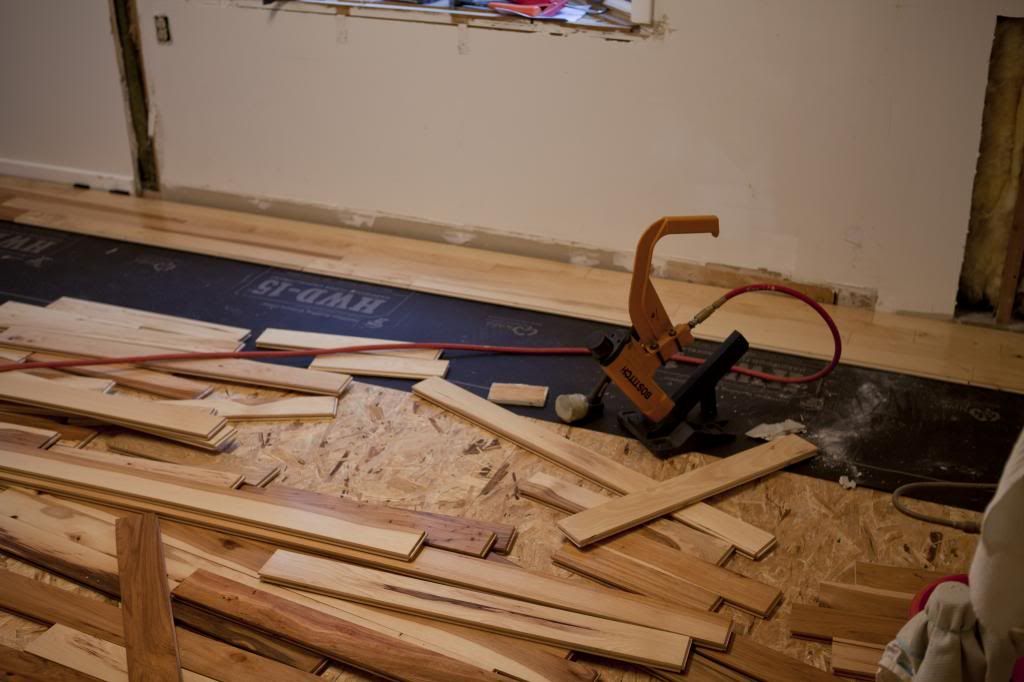
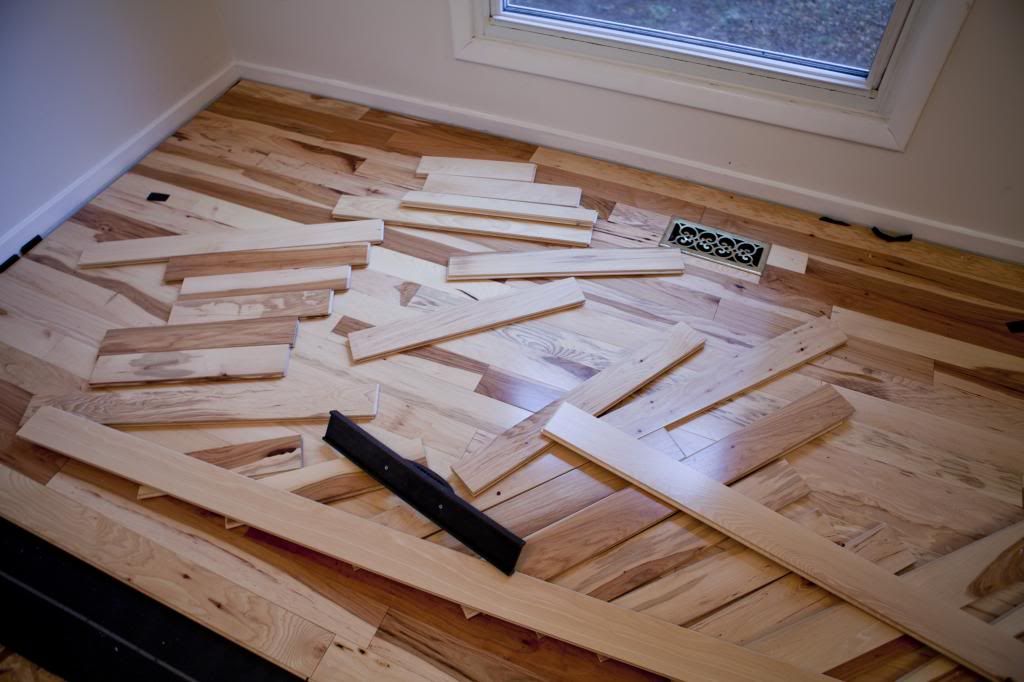
We're waiting on the weather to warm up to install the backsplash because we don't have a garage and there isn't anywhere in our house to run a wet saw. We've literally had two days this week were the high temperatures were in the teens and that meant that our back deck couldn't act as the wet saw zone since the water in the hose could potentially freeze! Just another reason we forked over money responsibility of that to our talented contractors. 


Wednesday, January 29, 2014

Kitchen Renovation: Granite Installation

Now this is what I am talking about! When it came time to plan our kitchen the hubs and I were willing to skimp on a few details (under cabinet lights, fancy hardware, just to name a few) and instead splurge on a really nice piece of granite.  We're a tad bit weird and we actually went to both Home Depot and Lowe's, wrote down the name of every granite they sold, and then proceeded to eliminate each and every one of those granite colors. The hubs is not one for buying the same thing as everyone else and I really do appreciate that quality about him. For once his brand of crazy is a good thing. 

Sidebar rant: I will never understand the various classifications of granite or other natural stones. Some stone yards list three grades of granite and the one where we purchased our slab listed 9 different grades! I don't quite get it. 

We actually went and looked at granite slabs back in December. We each picked our top five choices and then proceeded to weed them out until two remained. The granite we picked was my absolute favorite and the hubs quickly came over to my side when we compared the two stones against each other.  In a perfect twist of fate, the stone yard's cranes were temporarily down that day and that meant we would have to come back another day to pick out our individual slab of granite. When we returned the following week a new shipment of slabs had come in and a few of the River White slabs were noticeably different from the other slabs.Part of the lot was atypical for River White because the slabs contained so many stripes throughout the slab. It was so funny because we were told, "if you're doing a smaller kitchen you can cut around those stripes." That guy was helpful, but clearly he didn't know us very well. 

We picked the slab with the most stripes! And that's how this River White slab came into our home.   These photos are a bit dark because it was late at night when I took them and for some strange reason I didn't turn on the lights in the dining room. Whoops! Plus I was so giddy that I didn't even check my camera settings I just picked it up for a few seconds and then I promptly went back to fondling our new counter tops. Yeah, that happened. 


I'll post better detail shots in the final reveal, but those little flecks are almost deep purple like and I love them. They really tie in with the darker cabinets. 


Say hello to our new peninsula! Now, my dream has always been to have a kitchen with a large center island. However, I live in a pretty high cost of living area and they just don't make kitchens that big in my price bracket.  We tried to make an island happen, but it was never big enough to make it really functional.  That's when our designer stepped in and showed me the kitchen with a large peninsula instead of an island. That slab of granite on our peninsula is 88 inches long and 38 inches wide!  That's bigger than our dining room table! We decided to go with a 12 inch overhang to allow for enough room to sneak in a few bar stools. 


Again, sorry these photos are so dark.  They make the granite looker darker and more brown than it really is, but maybe everything is so dark because the walls are still half grey and ugly beige. 

Now, River White granite originates from India so clearly that meant this slab was a rather heavy tab to our "imported goods" cost for our kitchen. We did research a few granite selections that are found in the USA and truth be told we just didn't like the color selection. I know we could have gone with a quartz, but once we priced it out it was actually more expensive than granite. The environmentalist in me was swayed by the green certifications for quartz, but at the end of the day we fell in love with this slab of granite. We both loved the natural flow of the stripes and the lack of uniformity really caught our attention.   Sometimes nature really does best and it shouldn't be messed with. 


Now we need to find a nice, healthy, granite sealer to use over and over again to keep this stone pretty and strong. Any recommendations? 

Up next - the stove gets installed and our fridge comes back to the kitchen (it's been hiding in our living room for a few weeks now). 

Monday, January 27, 2014

Kitchen Renovation: Electrical is done!

Lights, camera, and more lights! A few of the recessed bulbs are missing in these photos, but they're hooked up now and fully functional.  It is BRIGHT in our kitchen. 

We elected to go with recessed lighting in the kitchen and we put in a few more lights than normal since we went with such dark wood cabinets. Those cabinets have the potential to be a black hole and suck all of the light out of the kitchen so we wanted to make sure we had plenty of light to balance with the cabinets. We did not install under cabinet lighting because our kitchen used to have it and we turned the lights on maybe twice in 2.5 years of living here. If we decide we need it we can always use the wireless lights that are now available at any big box store. 


But, one thing we weren't going to miss out on was adding a little bit of flair to the lights over our peninsula. Again, since we have low ceilings (89 inches I believe) we need to keep the lights short and relatively sparse in order to not cut off our newly open space. I found a few options at Rejuvenation and the hubs really like the Burnside pendant light. We each loved it for different reasons. He loved the burnished antique hardware and how that would add a tiny industrial touch to our kitchen. I love that we didn't have to pay extra for customizing the length and that this light is made in the USA! (Sadly, the antique-looking bulb is imported.)


We waited to purchase the pendants when there was a free shipping offer in order to save $25. That's another night of takeout! We ordered the lights on 12/17 and they arrived on 12/30. We both that was exceptionally fast given the holiday season and that everything about these lights is customized. I know in the first photo they look really short, but trust me we actually hung them a tad bit lower than standard height, but they're small enough that they aren't obstructing the hub's view. 


And it might not be the flashiest feature in our kitchen, but I'm very excited to have an outlet on the side of the peninsula. I just need to find a cool outlet cover for it. 

Up next - granite! And I'm very biased and it's absolutely gorgeous. I'm skipping the next of the drywall updates because let's be honest there isn't a whole lot of fun about seeing sanded down drywall. 


Thursday, January 23, 2014

Kitchen Renovation: Cabinet Installation

Last Thursday (Day 13) the hubs tormented me in the afternoon by sending me phone photos of our kitchen while he was home with the granite fabricators. The lower cabinets had been placed and the remaining large sections of drywall were drying in preparation for the upper cabinets to be placed the next day. 

It was torture. When I finally got home from work we stood in our kitchen and those black and white mockups had finally started to come to life. 

Friday the rest of the cabinets were installed, as were the microwave and dishwasher. Well, the dishwasher still needs to be hooked up by the plumber, but that'll happen soon enough. 

On Saturday we were both thrilled to see the kitchen come together for the first time in the daylight hours.  Honestly, I got a tad bit emotional. Those fuzzy pictures in my head were becoming sharp. There was something that looked reminiscent to one of the many kitchens I drooled over on Pinterest if I squinted hard enough and imagined a countertop. The hubs and I opened and closed every drawer. We checked and rechecked the soft close features. Made sure every drawer was a full extension and then triple checked the soft close feature again. I may or may not have eaten some ice cream, straight from the carton, while siting on the floor just taking it all in.

My emotional outburst was probably tied to a terrible dream I had the night before the cabinets were delivered. I woke up gasping for air that the wrong cabinets had been delivered. They were the exact cabinets we wanted, just in a different color. I was the bad guy in the dream because I didn't want to put in the different cabinets so the hubs and I were left kitchen-less for an additional 8 weeks.  I blame eating far too much takeout. It's messing with my head. 

We finalized our granite cutout on Saturday and that's really the only major thing left. Besides what seems like 800 tiny little things (cabinet molding, window trim, pantry doors, range installation, backsplash, paint, outlet covers etc.). It's getting closer by the day. We should probably go buy paint ASAP! 


We went with a very simple hardware design. Absolutely nothing ornate or fancy because the focus in our kitchen will be our granite and hickory floors. The brushed steel hardware just ties in nicely with our appliances. Our pendant lights are in a different metal just to break up the stainless steel party that's going on in our kitchen. 


I'm so excited to have two lazy susan, corner cabinets. Every day cooking items will be concentrated on the right side of the kitchen and my baking items will be on the left side. 


Our new window isn't centered with our sink and that's why we decided to go with a simple undermounted sink. We both thought a larger farmhouse or exposed sink would accentuate that the sink wasn't centered with the window. 

The hubs got to pick out the microwave and it's far too fancy for my liking. You can set an automatic night light on it! 

The view into our living room from the sink area.  The kitchen isn't completely open to the living room, but this certainly makes communicating with someone out there a tad bit easier.  Again, our couch is covered in order to keep it safe. Glad to see Jax unearthed one of the couch pillows and snuck that out. The photos never lie! 


Our poor living room is slowly getting back to shape. I'm embarrassed to admit that my Christmas lined shelves are still up. In my defense, supplies started piling up in the living room at the end of January and I couldn't even access the one shelf since it's hidden behind the fridge. The first chance I have to get them they're coming down! 


The beginning of this week was a tad lackluster in terms of developments because things were very minor. However, as you're reading this our granite is being installed or should be installed very soon.  I went out and bought my first bottle of granite cleaner yesterday because I see quite a bit of cleaning in my near future.

We're almost there! Up next, our pendant lights are installed.

Wednesday, January 22, 2014

Snow Day Repeat


Made in USA: Tshirt: American Apparel // Gloves: old Filson (similar) // Jeans: James Jeans (on super sale!) // Socks: Zanko // Hat: Brixton (similar) // Belt: vintage Coach // Nails: Essie 'Chinchilly'

Imported/Unknown: Sweater: gifted  // Boots: Hunter // Coat: very old! DKNY (made in USA option)

This is actually the second time I haven't gone into work this winter season due to the weather. I got burned the first time and the weather forecast turned out to be a complete and total bust, which made me lose some of my hard-earned "I'm from NY and this isn't a freaking snow storm" street cred.  This time around I must have missed the memo that a major storm was rolling into town because I was not prepared for it in the least.  I even woke up and got ready for work only to find out after curling my hair that my office was shut down. That's what I get for usually being one of the first people at work! At least I was dressed enough to run out and get a latte.

I've learned a valuable lesson from a co-worker over the years - still put your face and clothes on when you work from home. Sure, spending all day in fuzzy pants sounds really enticing, but I have found on the few days that I've worked from home that I function much more productively if I actually get dressed. I don't get "office" dressed, but at least I put on a quick dash of BB cream, proper undergarments, a pair of jeans, and a ridiculously soft Alpaca sweater.

Sidebar: my aunt and uncle own an Alpaca farm and I've been absolutely spoiled over the years with the softest sweaters and an Alpaca poncho (yes, it's glorious and no you can't borrow it!). Yes there are actually farms in New Jersey. Just let that sink in for a quick second. 

Jax was more than excited to go outside and play in the snow once I was done with my work day. I had to watch him like a hawk because there was actually a large bird of prey napping in our backyard during the day. I really thought my wildlife interactions were in my past once I moved out of the Catskills into suburbia!

I'll be back tomorrow with a major kitchen update. Cabinets are in and it's starting to look like an actual kitchen!

How did you enjoy your snow day? Or was it just a routine Tuesday for you and you think us East Coast people need to chill out with the snow posts already?

Tuesday, January 21, 2014

Kitchen Renovation: New Window

Day: 12 our old, poorly functioning bay window was ripped out and in went a shiny, new, environmentally friendly window. Actually, our window was made in NJ so I'm half expecting to hear in a few days that it's sale was contingent on a monetary donation to a certain governor. Too soon? Okay. 

I know there are going to be people out there who think, "are you crazy? Your boring builder-grade house had one cool feature and you tore it out!" I get that. Trust me. As previously discussed tearing out the bay window was not a decision we came to lightly. Actually, even seeing the new window here kind of gave me a panic attack. "Did we make the right decision?" 

Yes, Virginia, I think we did. 


Windows and sinks - they go together like lamb and tuna fish!  


Trust me, it might be hard to tell from these shots, but that window is still gigantic! It's 57.5 inches wide and lets in a ton of light into our kitchen. 

Now, this window has different emotional triggers for the hubs and me.  For my part, it represents a slight feeling of victory because I had to convince the hubs to go with a picture style window. The last thing I wanted was a diving line which would highlight that the window, and our new sink, are not centered in the kitchen.  I actually spoke to the hubs ever present need for things to be symmetrical to make my case. 

For the hubs, the window was the most stressful part of the kitchen renovation. We bought the window ourselves and we purchased it on 12/14. We had received previous quotes on the window and told that it was a two-week turnaround from start to delivery. We were given a delivery date of 12/28. We initially laughed at that delivery date because we thought it was too good to be true.  I think on 1/2 the hubs started calling daily to get an update on the window and he got no where fast.  On 1/7 he was at the store where the window was purchased and was still getting no where. He finally had to pull the, "can I please talk to your manager card" which he didn't want to do, but the window was scheduled to be installed in a week. It happened to be perfect timing because a corporate representative was talking with the manager at that very second. Professional words were exchanged and the next morning the hubs was given shipping confirmation for the window.  That big boy was finally delivered on 1/10.  

If it would have shown up with any type of imperfection I think the hubs would have had a panic attack! So the window caused him more stress than it caused me, but we both love it now that it is installed. 

The photo above was taken over the weekend and also shows off our new microwave vent. 


The next few days are when things looked crazy busy. Cabinets! More cabinets! Drywall! Granite template!

Oh granite, how I loathe your timelines. We're in the granite "lull" right now where not all that much more can be done until that massive stone is cut and placed. There's also another snow storm projected this week and I don't know if that's going to delay the granite or any more of the final touches. 

Mmm, maybe we should go buy paint now because I have a feeling we're painting next weekend. 

Up next - the cabinets are placed. 


Monday, January 20, 2014

Kitchen Renovation: Electrical and Plumbing

Last Monday things didn't look drastically different in our kitchen, but if one wondered downstairs to our basement it was clearly evident that something was going on. Thankfully, by Tuesday the work had migrated upstairs and things were starting to look vastly different. 

Our house, while structurally sound, has a hidden evil - we have aluminum wiring. And I've been told that's bad. Again, this is just another one of those instances where I'm incredibly happy the hubs is an engineer because once people start talking about metal conductivity, coefficients, and galvanic corrosion I start to get a tad bit out of my league.  And I'm a nerd! To sum up, this is why we hired professionals because the decision was made to pull all the wiring in our kitchen and dining room and replace all of the aluminum wires with copper wires. We have an unfinished basement which meant pulling wires was a lot easier than if we had a finished basement - tedious, but easier. 

These photos are pretty dark because they were taken at night and with limited light available in the kitchen. Not all of our new lights were hooked up at this point. And the external flash for my Canon is packed away somewhere. 


We now have 13 recessed lights throughout our kitchen and dining room. We decided to go with recessed lights in the dining room because our dining room table will not be centered with the window and at this point in time we didn't have an exact table in mind and therefore we couldn't commit to the exact placement of the table. We didn't want to risk hanging a pendant light now and then it wouldn't be in the right spot when we bought a new dining room table. We can always change the lighting later if needed.


Our new sink hook up! The bay window was supposed to come out on Day 11, but the weather didn't cooperate.  That pushed our schedule back a day because the rest of the drywall couldn't be done until after the window was replaced. 


Victory! No more gaudy chandelier in the dining room. I don't know why, but we have huge windows in our house and while I initially fell in love with them, they've turned into a pain when trying to find curtains, especially roman shades. 


That little pipe at the floor might not look like much, but that's our new gas hookup! I know it sounds weird to get that excited over natural gas, but I've wanted a gas range my whole life. Our house used to have gas and there were a few questions as to whether the old pipes were still functional.  I'm very excited to have this feature in our new kitchen. 


I'm still a nerd at heart and I was actually excited to see when drywall was taken out. I was that person who took a flashlight to look over every nook and cranny of our house's inner workings. I have no idea what I was looking for, but I didn't find anything that looked damaged to me! That made me happy. 

When I had heard last Tuesday (Day 11) that our window wasn't replaced yet I was a tad bit bummed. Both the hubs and I knew any type of delay to our schedule would probably push our final finish date back because we were working with such a tight timeline. However, no one can control the weather and it isn't a good idea to do outdoor siding work in the pouring rain. Oh yeah, it poured, not just a little mist! 

That tiny bit of sadness was replaced with absolute giddiness when I came home on Tuesday night and saw the new state of our living room. It was absolute chaos, but seeing that all of our new cabinets had been delivered was the best feeling in the world. 

Up next - a new window! 


Thursday, January 16, 2014

Kitchen Renovation: New Hickory Floors


Okay, please forgive me, but this is a long post. I combined prepping and installing the hardwood floors because I just wanted to show pictures of the final floors. I know they aren't for everyone, but I'm obsessed and smitten with our hickory floors.

Again, when we went over the final budget for our kitchen the hubs and I made a bold decision and decided that we would install our own floors. We were originally quoted a price of $4,000.00 for both the materials and installation for our dining room and kitchen floors.  We then found Mohawk solid hickory floors on clearance at a local wood supply store for $3.49 a square foot. Hickory is usually $5+ a square foot which meant this was a great deal and this even added more to our savings.

Total Cost: $1,659.05 (this price does not include the cost of the dumpster we rented for demolition)

  • Hickory Wood Floors - $1,237.09 (Wood Floors Plus )
  • Wood accessories        - $41.31 (Wood Floors Plus felt paper, nails, wood putty)
  • Nail Gun Rental           - $60.00 (Wood Floors Plus two-day rental)
  • Transitions/Toe Kick   - $171.78 (Lumber Liquidators $6.99/ft for transitions, $2.19/ft
  • Subflooring                  - $148.87 (Lowes) 
That's a savings of over $2,300! That's a big deal and that savings allowed me to go big and get the massive double oven I wanted. Okay fine, the hubs was also able to get some nerdy dishwasher that's even quieter than a standard model. We each have our quirks! 

Flooring Prep: Day 6 of the Renovation.  After much back and forth we decided to lay a 1/4 inch level of plywood over our subfloor. The subfloor in our kitchen was mildly damaged in a few places (most likely from installing different floors over the years) and the kitchen was slightly uneven. After looking at multiple options we decided this route for peace of mind and for the adding cushioning the extra layer of plywood would provide.  

The hubs was able to bribe a friend (thank goodness for pizza and beer favors!) into helping him with the floors. Thankfully our friend had done this before and had all the additional tools we needed (scroll saw, table saw, air compressor, etc). I see a large fruit basket in our friend's future or perhaps we should send him bison (the hubs is making that his "thing" to send people from a local bison farm).  The guys got all the prep work done after work on Day 6. 

Late Thursday night the hubs and I laid out a rough flow of our favorite boards. We deliberately planned on placing plainer hickory boards where the cabinets would be placed in order to concentrate the darker and more interesting boards in the the open areas of our floor plan. 


I guess if you spend all day wearing a hard hat and safety glass while inspecting a bridge you can skip those things while at home.  For the record, I've lost count of how many times I've asked, "where are your safety glasses?"


 (They even remembered to cut out hole for our air vent!) 

Floor Installation: Day 7 of the renovation.  The executive decision was made for me to save my vacation time for another day, go to work, and miss out on this project. We consciously decided to do this on a Friday and that way we could finish up on Saturday and Sunday if needed. We had to be done by Sunday night so that our contractor could come in on Monday morning.  Since this was our first time doing this type of project we decided to go ahead and start on Friday just in case this took longer than anticipated. 

The guys got to work bright and early in the morning. The hubs was even kind enough to send me a few text photos throughout the day of the progress and he went above and beyond the call of duty for taking a few photos with my DSLR. Call of duty reference was intentional - the hubs loves playing those games and will not hear a peep from me about playing them for the next six months.  

As soon as I got home from work on Friday I jumped right in and started using a regular old hammer to help nail in the last few rows of boards. I figured the guys had been working all day so I volunteered to carry, hammer, or move anything that needed to be done. This also included ordering chinese food for dinner!  The floor was finished on Friday evening. 


We rented the nail gun Wednesday night and returned it first thing Saturday morning. The kind folks at Wood Floors Plus only charged us for a two-day rental period, which was really nice.  They also assisted the hubs with a few technical questions over the phone at the beginning of the installation. 


On Saturday the hubs and I went back and filled in any nail holes with wood putty and did a massive cleanup.  The big nail gun couldn't be used for first few and last few of rows because of how close the rows are to the wall which meant that each nail hole had to be drilled and then hammered down the old fashioned way.  I was also banned from making any Thor references on Saturday because it seems I went over my allotment for them on Friday evening.  

We still have to install our toe-kick (quarter round) and transitions. We're waiting for the base cabinets to be installed in order to put in the toe-kick.  The hubs and I are still going back and forth on the transitions because I don't want to put them in at all! Honestly, I wanted to take our cost savings for doing this project ourselves and use those funds to buy enough additional materials to continue the hickory floors into our living room.  The hubs disagrees with me to a point. As soon as the floor was finished he said, "we have to put those floors in the living room."  We're just waiting to see if our contingency budget is enough to get us through the kitchen renovation and if so then expect these floors to go in sooner rather than later.  We actually have 4 boxes of flooring and a box of cleat nails left over from our kitchen renovation and I'm stalking the stock at flooring store to make sure they have enough remaining :) Really those four boxes of flooring bring down the price of this project another $250 (this $250 was not subtracted out of the budget above since we already paid for this quantity of flooring). 


Our living room was finally puppy friendly Sunday! There was so much dust that we used our shop vac, old vacuum, and even our new vacuum to clean up everything and get our room back to this stage. Thank goodness we did because our cabinets were just delivered and now our living room is a complete disaster area again. 

Looking back, putting in the floors was definitely a big undertaking. I was paranoid we would mess them up, which was probably another reason the hubs told me to go to work! In the end, it really wasn't all that difficult, just very time consuming and tedious. It couldn't have been that bad if the hubs is entertaining the idea of doing another room :)  We probably won't even take off work for that project and will hope to bang that out in one weekend. 

Up next - electrical! Which we don't touch with a 10 foot pole!  We're leaving the rest of this kitchen renovation up to the professionals until it's time to paint. That probably means we should go pick out a paint color this weekend.

Wednesday, January 15, 2014

Kitchen Renovation Demolition Complete

Super quick post today! This was Day 4 of our renovation and this is the final day of demolition. These photos were actually taken on Day 5 right before I left for work. I had to crank up my ISO in order to use the limited natural light available at 7:15am. 

Random sidebar: I got extremely nauseous every time I went into our dining room once the dividing wall was taken out. For some reason I was fine in the kitchen, but the moment I walked through where the wall used to be located I entered into a weird twilight zone and my stomach wasn't cool with it. I was paranoid that our house was going to fall down even though more than one engineer said it wouldn't (the hubs wasn't the final voice on this one). 


Our living room has been in various stages of controlled chaos during this process. We didn't have room to move our sofa during the renovation so instead we covered it with the thick blankets and sheets to ensure it stayed dust free. 

Up next: floor prep and then the finished shots of our new hickory floors. They're amazing, we both love them, and we're already planning on putting them in our living room. 

Day 5: Floor prep - rented the nail gun and purchased the remaining floor items (fiber paper, nails, wood filler)

Day 6: Floor prep - laid out the underlayment and general flow of the boards

Day 7: Floor installation. 

We're officially past the point of no return! 

Monday, January 13, 2014

Kitchen Demolition: Part 1

Let's get this kitchen renovation started! One of the final deciding factors in choosing a kitchen designer and contracting company was whether or not the firm would let us do any of the work. The firm we ultimately ended up hiring said during the first meeting that if there were any portions of the renovation that we wanted to do we could do them and those line items would be removed from the final budget.  The hubs and I quickly agreed that we could do most of the demolition and leave taking the wall out to the professionals. That decision saved us almost a thousand dollars. 

I'm a week behind in posting in terms of where we are, but I hope to catch up soon. I naively thought I would be able to blog this renovation in "real time" but quickly realized after the first night of demolition that my fingers were too sore to do anything besides drink beer on the couch. Actually, I couldn't even open my beer and the hubs had to do it for me. Yeah, that happened. 

Day 1: Go! 


We found out that the only thing securing our dining room floor was the quarter round. Awesome. After prying off the quarter round, and being careful not to ruin the molding, it took all of five minutes to get the dining room floor out of the house. 
  

We were thrilled to find that the plywood subflooring in our dining room was in near perfect condition. The lack of nails or adhesive holding down the floor probably assisted in that manner.  This meant we wouldn't need any major underlayment when it came time to put in our hardwood floors. 


One of the biggest time drains during the demolition was dismantling the sink, garbage disposal, and dishwasher. The dishwasher was hardwired into its own box in the basement. The hubs cut the power at the main breaker to the entire house to detach the dish washer's wiring.  He was terrified of getting electrocuted so it took a few minutes longer than anticipated.  I was there, with a flashlight, and with my cell phone ready to call 911 if needed. The flashlight was needed, the cell phone was not. Hurray! 

However, the garbage disposal still has us completely stumped. It was hardwired into a GFI box in the basement and that box also housed a light socket. So we left it to the professional electrician who is coming this week. Being wired into a light socket really threw us for a loop. 


We left the actual wall dismantling to the professionals, but we wanted to pound out some of the drywall for dramatic effect. That plug at the bottom right corner was not connected to any structure and was just hanging on the drywall. Once we saw that we just let it be. Another awesome find! 


The dining room all finished! Well, we took off the outlet covers on the wall since the wall is coming down and did a ton of sweeping and vacuuming.  Everything was look great at this point. My brother-in-law and his wonderful girlfriend had came over to help out with everything up until this point. It was around 3pm in the day and we told them to go home so they could watch the afternoon football game. They got out just in time! 

Then, we hit a major speed bump. We could see that the vinyl flooring in our kitchen was applied to the same laminate flooring that was in our dining room. The kitchen floor appeared to be higher up and we couldn't figure out where that difference was coming from.  Well, we found it! 


For some reason there was this backerboard-type underlayment in our kitchen. The laminate floor and vinyl were just dropped on top of this.  We had to get this sucker out in order to install our hardwood floors because we didn't know how crappy this thing was or how to match it in height to our dining room. 

It was laid out in 4x4 feet squares. We found the best removal technique was to use a small pry bar (best $3 spent ever!) to pry up one of the ends of the square. Thankfully, my brother-in-law happened to have a full size crowbar in his car that we thought to borrow right before he left. With the edge of the square up, the hubs would just use brute force to lift up the rest of the square. The key was to not damage the plywood floor underneath during this process.  


Then it was death by fasteners.  So many freaking fasteners. Each and every one of them had to be pried up. We didn't want to nail them into the plywood for fear that when we were nailing the floor it might cause a problem with putting in the nails.  If neither one of us could get a particular fastener up then we'd nail it into the plywood and just hope we didn't hit it with a nail when we installed the floors. 


Nearing the finish line! We did the vast majority of the demolition on one Saturday. We left the last few underlayment pieces in the kitchen wall by the plumbing fixtures for Sunday.  Then it was just cleanup, checking for more evil fasteners, and re-checking for more fasteners. The hubs swore there was an evil elf coming in behind us and putting more into the floor because we would continue to find more random ones every time we went through the room.  Also, the dogs were blocked out of the kitchen, dining room, and living room for this entire process because we didn't want them to get into something they shouldn't have or risk them stepping on something sharp.  Jax would just sit by the puppy gate and whimper every time you made eye contact with him.  Jewels was upstairs probably trying to figure out how to book a vacation to the dessert soaking up the sun. 

After measuring it 800 different times we decided to leave the fridge alone. Moving the fridge meant we would have to take the doors off and we ultimately figured once the wall came down it would be incredibly easy to roll the fridge out to its temporary resting place in the living room.  

Most random find of the day (besides two outlets not connected to any studs) was we found the shipping receipt for the laminate floors. They were shipped in March 1999. We found more old wallpaper and what looked like another sink hookup. We think that kitchen layout was moved around using those fancy European cabinets when the new floors were put in. 

Up next: the professionals come in and take down the wall! And then we finish the demolition.