Showing posts with label Kitchen Renovation. Show all posts

Monday, April 28, 2014

The bar is open!


Our little kitchen received a welcomed addition two weeks ago with new barstools.  This is one of the reasons I love social media because I put out a cry for help with a few wishlist details for new barstools and the world answered with American Tribute.  Except our new barstools are more than we could have imagined: American made, inspired by oak whiskey barrels, clean design, solid, rustic materials, and an impressive 600lb weight rating (most stools stop at 250lbs and that doesn't work for some of the guys we love to have over). And the tops spin so there's that as well. 

Even before the new stools arrived the hubs and I have been spending as much time possible in our breakfast and bar area. It's so nice to come home from work, take the pups for a walk, and then crack open an adult beverage (or if we're working out then we drink post-work out). The hubs has been making amazing martinis the past few weeks and next week we'll obviously be tossing back a few Mint Juleps. 

I know bar carts/trays are all the rage right now. The hubs isn't quite sold on "sparkly straws" just yet so here are our staples: 

Cheese Slate: unknown (Similar)  Concrete Coasters: Pop Chart Labs 32oz Growler: unknown (similar) Whiskey: Jack Daniels Bourbon: Bullet // Jim Bean Single Barrel // Vodka: Tito's 

Can anyone recommend their favorite gin? Part of me feels like I need to have one of those, but I don't yet.  Finally, if you don't have a 32oz growler yet please go get one. It's the perfect size for two people to enjoy a nice craft beer that is above five percent alcohol by volume. We have quite a few and my hubs usually keeps an empty one in his car just so he can stop on his way home for a fill-up if the mood strikes him. 

To read more about American Tribute check out the "Maker's Series" post on Modestics. 

Friday, March 7, 2014

Kitchen Renovation: The Final Cost


This post hurts. It stung to type out these numbers and seeing them totaled definitely bought about some mixed emotions, but here it goes. 

We were not that couple that redid our kitchen for a few hundred dollars. We didn't salvage our cabinets because they were crumbling in pieces. We didn't find discarded ones on the side of the road.  We didn't have a relative who is a master electrician who could magically rewire our house. We also are not that couple that did everything ourselves because honestly getting our kitchen back in full working order was a high priority and we don't have the skills or tools necessary to handle this type of renovation. Plus, the sheer number of times we ate takeout during this renovation was mind boggling or at least it felt like we were eating takeout every night when I know for fact we weren't.  

One of the things I most appreciated from other blogs when researching kitchen renovations was a line-by-line budget of what it actually cost. A favorite of mine was the kitchen renovation wrap up post from Seventh House On The Left. Post here. I remember showing the hubs their finished kitchen and when we saw that they spent $28-$33k on their kitchen we felt good with our $30-$35k ballpark budget. Although I must have overlooked their line about where to store their cookie sheets because that is literally the only thing I would change in our kitchen too! 

Coming up with a rough estimate of the budget was really scary. We've read formulas that say "your kitchen budget should be roughly 10% of your home's value" or "your final budget should be 3x your cabinet price." Somewhat helpful, but still pretty vague. We started things off by going to Lowes to talk to a kitchen designer and came up with a very rough estimate for cabinets. Without even reworking our plumbing we were looking at spending $10k on cabinets. That's really the number we used to come up with our ballpark budget. We figured our cabinet cost would be higher and then we threw on a bit more for extra plumbing and electrical. The worst thing we wanted to do was to save up money for this renovation and then find out we had grossly underestimated what it would cost to complete the renovations. 

From there we met with three very talented design firms. We spent about an hour with each firm and held follow-up meetings with two of them. At the end of the day we were absolutely blown away with the design (and price!) from About Kitchens and More (located in Annapolis, MD). They were the only firm that saw a way to rework our kitchen into our original dream layout and stayed within our budget. I really appreciated that we got to pick out every single element in our kitchen, even if I did change the color of our cabinets after the hubs picked something else :) 

Without further ado, here's the total cost for our kitchen renovation.  
  • Appliances:      $4,548.74 (includes taxes)
  • Backsplash:      $1,011.84 (supplies + installation) 
  • Cabinets:          $13,309.00 (supplies + installation) 
  • Demolition:      $1,060.00 ($360 dumpster rental + labor for wall removal) 
  • Drywall:           $675.00
  • Electrical:         $4,215.00 (includes recessed lighting and rewiring with copper wires) 
  • Flooring:           $1,610.88 (approximate, did not include living room floors)
  • Granite:             $3,336.00 (includes extra rebar supports in overhang)
  • Hardware:         $290.00
  • Lighting:           $258.00 (only includes pendant lights) 
  • Paint:                 $131.15 
  • Plumbing:          $1,620.00 (rework plumbing across room, move gas hookup)
  • Micro Vent:       $255.00
  • Window:           $1,748.49 (window, labor, and new vinyl siding) 
TOTAL: $34,069.10

Sources: 
Design and Contractors: About Kitchens and More // Cabinets: Wolf Classic Cabinetry Dartmouth in Dark Sable (USA!) // Floors: Mohawk Natural Hickory (USA!) // Quater Round: Bellawood Hickory (USA!), purchased from Lumber Liquidators Paint: walls Sherwin-Williams 'Mountain Air' (USA!), ceiling Olympic Icon(USA!) // Backsplash: Meram Carrara Subway Tiles, The Tile Shop (installation materials are USA!) //Granite: River White, MS International // Pendant Lights: Rejuvenation (USA!) // Sink & Faucet: Eclipse Stainless // Window: custom American Craftsman (USA!), ordered from Home Depot // Garbage Disposal:InSinkErator (USA!) // Appliances: GE Profile Gas Range PGB950SERSS, GE Profile 
Dishwasher PDT750SSFSS (USA!), GE Profile Microwave PVM9215SFSS, all purchased from Lowe's // 


I know that's a lot of money. I can tell myself over and over again that it's well below the national average for renovating a kitchen or even well below the Baltimore major remodel average of $53k (source), but it still put a sizable dent in our savings account. It's a lot of money and it took us about two years to save up for it. This is by far the biggest remodel we have planned for our house, we knew we were going to gut the kitchen when we bought the house, and the plan was always to do this remodel before we started to think of expanding our family. Neither one of us saw an extra $35k lying around once kids enter the picture! I hear those little mini-humans are expensive.

Now that the kitchen has been structurally finished for about a month we've really been able to appreciate it all now that we're getting accustomed to it (aka we know remember where the desired glass is without having to search in multiple cabinets).  I haven't once looked at anything in the kitchen and grumbled, "you cost me a new pair of shoes."Instead, I love that the hubs and I dance around while the dishwasher cleans our dishes in near silence. Seriously, it's so quiet we thought we didn't turn it on once or twice. Or that we try new recipes just to use our griddle. And that we hosted poker night two days after the kitchen was finished because we wanted to have friends over for game night. Sure, we're probably guilty of over-testing the soft close features on our full extension drawers, but it's nice to know I'm never going to close a drawer on my finger again.  I certainly couldn't say that in our previous kitchen.

Could we have done this renovation for cheaper? Absolutely. We didn't need a gourmet double oven. We didn't need a marble backsplash. We didn't need hardwood floors. We didn't need an exotic granite. We didn't need full extension drawers. We didn't need solid hardware, etc. But we wanted them. This is our 30 year house and we wanted what we put in our kitchen so we took the extra time to save up for it. We didn't want to put in a kitchen that we would elicit lukewarm feelings, so instead we lived with a craptastic kitchen for over two years in order to save up and come up with a kitchen that we absolutely loved.  It took time, there was a lot of frustration in waiting so long, and there were a few delays along the way, but it was worth it to us. 

In a nutshell, we always wanted the kitchen to be the center of our home and now it is. We love it. We hope to have new barstools within a month and then we hope to eat dinner in there every night.  Now, I just need to find a mat to put down in front of the sink so Jewels has a warm place to sit down in front of the air vent. Jax still hasn't acclimated to the new oven's distinctive beep yet, but he's a big fan of hanging out in the kitchen because we've been cooking so much. 

Please let me know if you have any questions. Thanks so much for reading along during this process. 


Monday, February 24, 2014

Kitchen Renovation: The Finished Kitchen

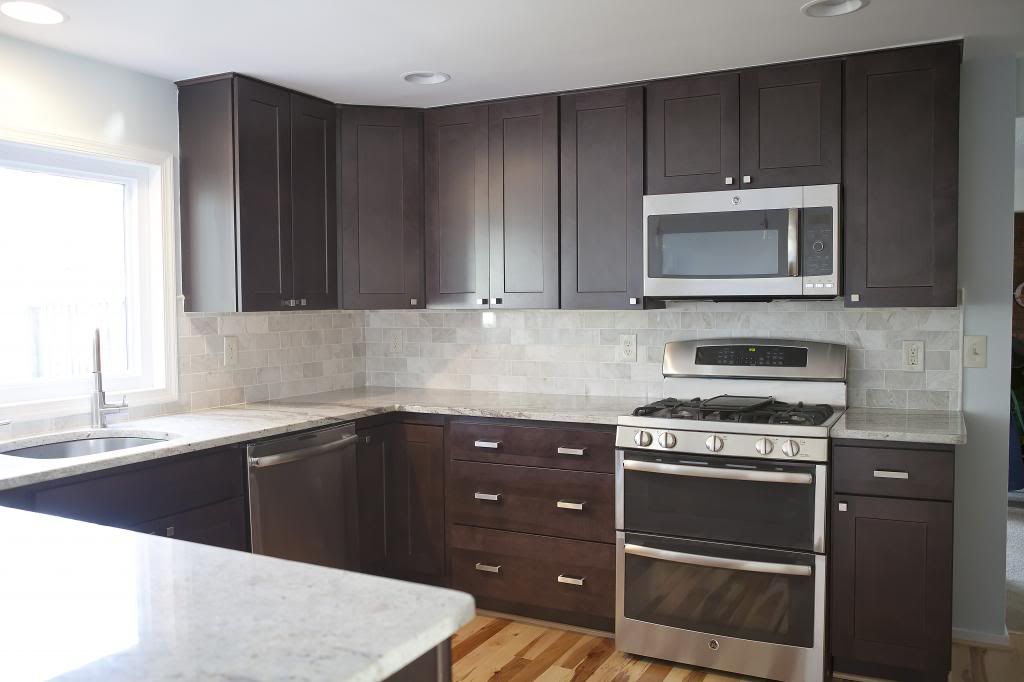
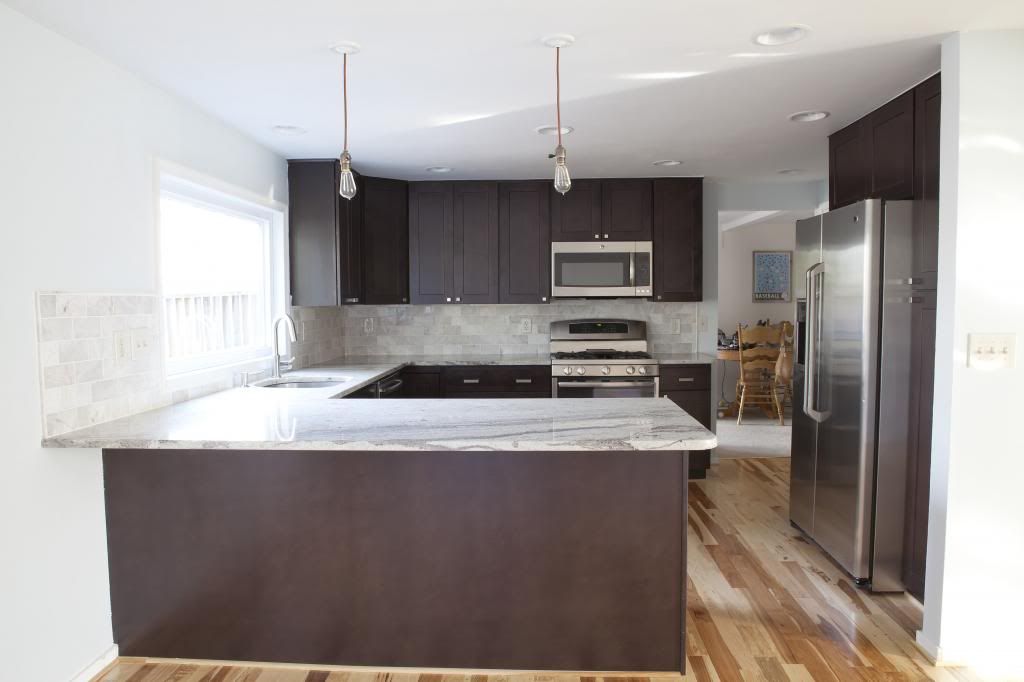
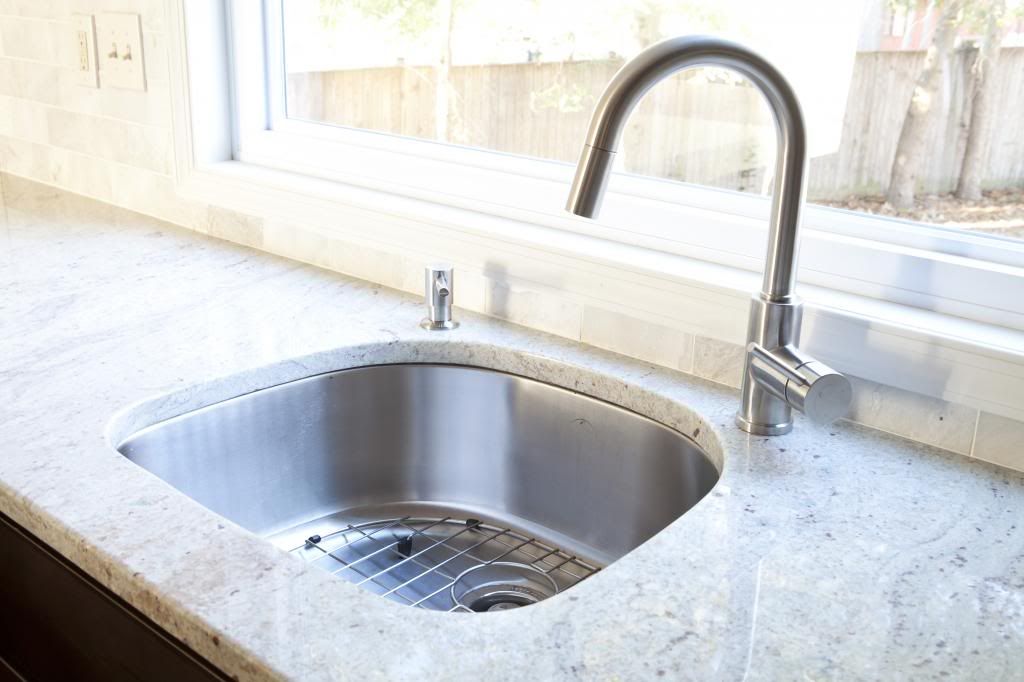
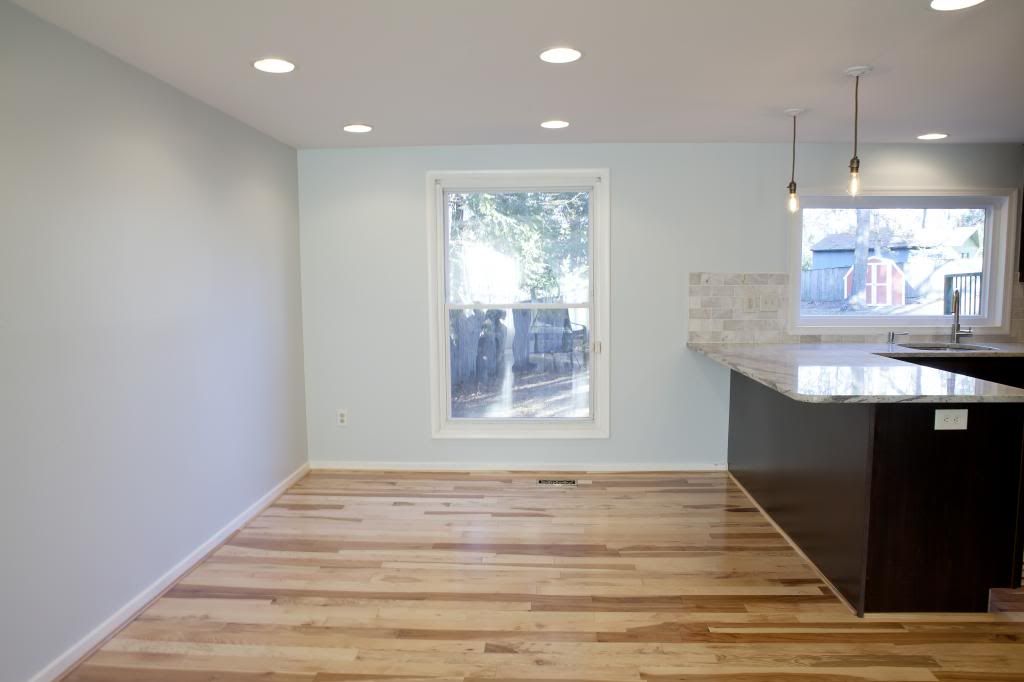
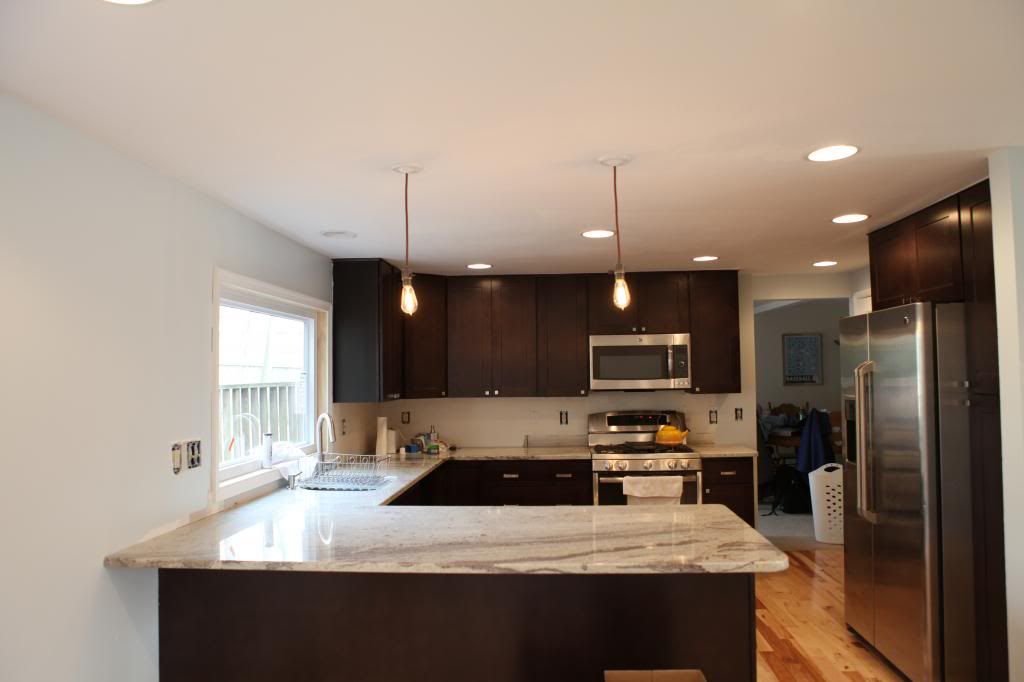
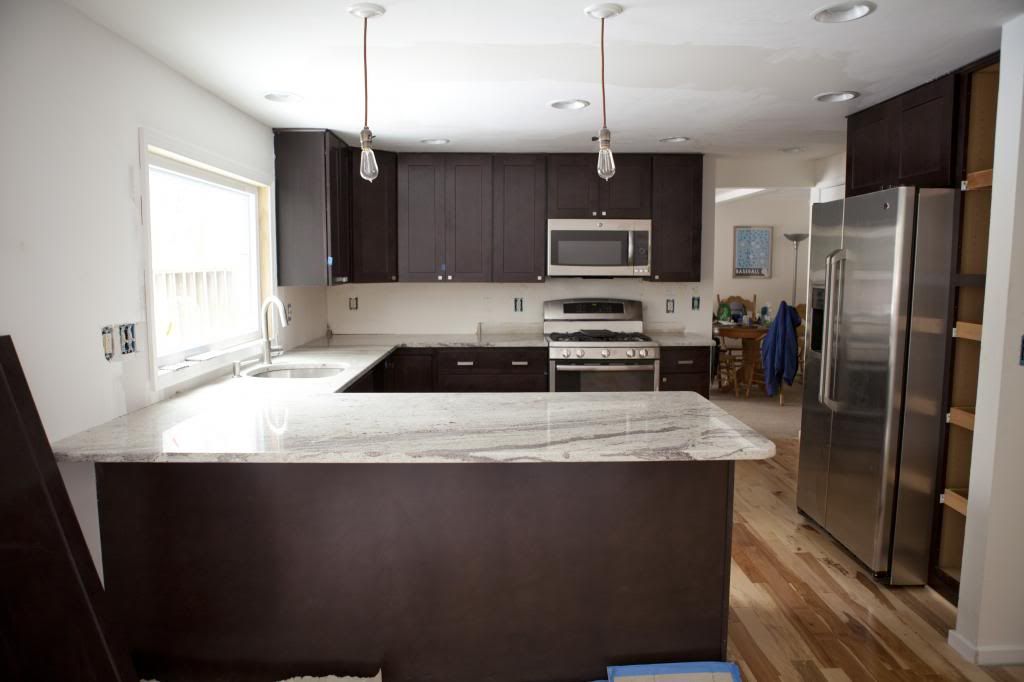
It took 33 days to go from Demo to Structurally finished in the kitchen. Then, naturally I took dragged out touching up the paint portion of the renovation. But thankfully this weekend the kitchen was ready for its photoshoot. Now, it's a hard room to photograph because of the amount of natural light it gets. I know, it's a horrible problem to have! That window over our sink might not look massive, but it's 57.5 inches wide and lets in a lot of light. Plus, our living room has nearly eight feet of windows that let afternoon light pour into the house. Again, we're not complaining! 

This post is all about photos. I'm going to keep my words to a minimum. If you have a question please leave a comment and I'll follow up with you.  Once we finish re-checking all of our receipts I plan on putting together a cost-by-cost list of what this renovation cost us, financially, in a post next week.  For now, I've listed every single material source I could think of at the bottom of the post. If you don't see something listed there I'll get back to you and add it to the list.  

Hard to tell, but each corner of our U-shaped kitchen is home to lovely Lazy Susan cabinets. I've never had one and now with two I don't know how I ever survived without them. 

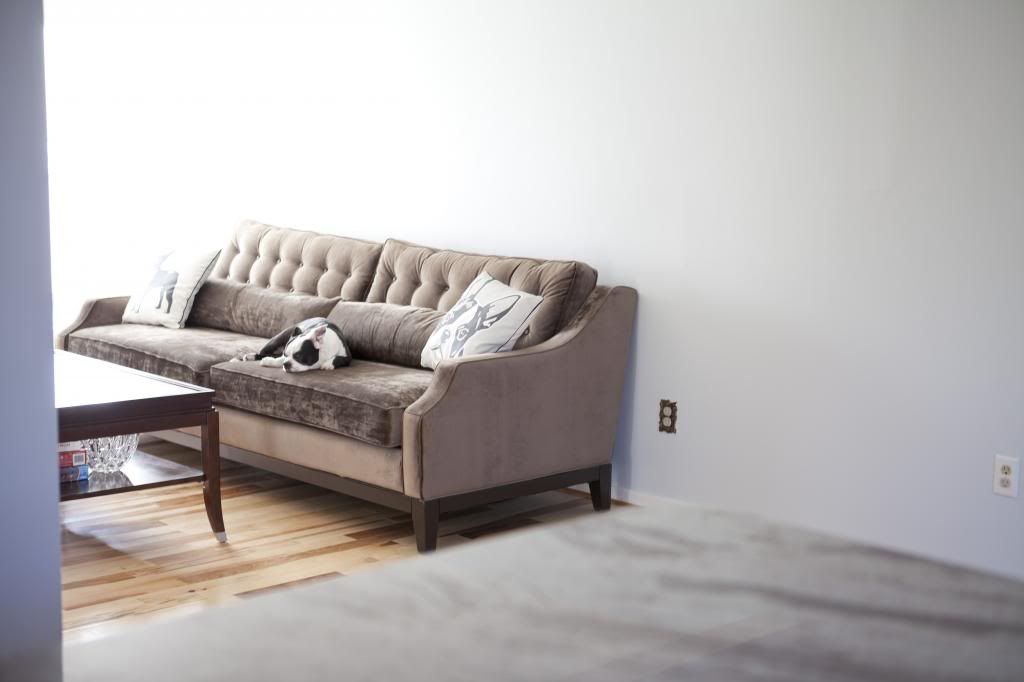
My absolute favorite part of the new kitchen layout - being able to see the pups lounging in the living room. Although we need to get a carpet in there soon because Jewels is not liking the coolness of the hardwood floors! Jax is enjoying the momentary peace and quiet. 

Still on our proverbial to-do list: dining room furniture, barstools, window treatment, upgrade electrical outlets, sink mat (mainly so Jewels can have a fuzzy place to put her bum while we cook), floor registers, decorate, de-brass our basement door, etc.

But a big thank you to the whole blogisphere for the years of inspiration. I've been saving images of different kitchens before Pinterest ever came around. I've got a 3-ring binder full of clippings from every cabinet manufacturer out there. Plus more pages ripped out from every home design catalog and magazine available. This kitchen was a long time coming and it's a kitchen we plan on using and abusing for the next 30 years or so. Not everything might be someone else's cup of tea, but it's our perfect cup (dash of milk, no sugar!).


Sources: 
Design and Contractors: About Kitchens and More // Cabinets: Wolf Classic Cabinetry Dartmouth in Dark Sable (USA!) // Floors: Mohawk Natural Hickory (USA!) // Quater Round: Bellawood Hickory (USA!), purchased from Lumber Liquidators Paint: walls Sherwin-Williams 'Mountain Air' (USA!), ceiling Olympic Icon (USA!) // Backsplash: Meram Carrara Subway Tiles, The Tile Shop (installation materials are USA!) // Granite: River White, MS International // Pendant Lights: Rejuvenation (USA!) // Sink & Faucet: Eclipse Stainless // Window: custom American Craftsman (USA!), ordered from Home Depot // Garbage Disposal: InSinkErator (USA!) // Appliances: GE Profile Gas Range PGB950SERSS, GE Profile 
Dishwasher PDT750SSFSS (USA!), GE Profile Microwave PVM9215SFSS, all purchased from Lowe's // 

If you want to catch up on any of the related kitchen renovation posts they can all be found here.

Tuesday, February 11, 2014

Kitchen Renovation: Backsplash

When the hubs and I made our kitchen plans we were a divided house when it came to the backsplash:
- he wanted to have our wonderful contractors install it and he wanted to have it done immediately;
- I wanted to try to install it ourselves and would be totally cool if we waited a few months to put it in.

Let the record show that the hubs won. I know, he's shocked as well.

Flash back to late December and everything was ordered for our kitchen except for the backsplash. It looked like I was going to win for once when I made the mistake of checking my phone the day after Christmas.  Sure enough, there was an email from The Tile Shop that they were having a massive end of year sale through the weekend. I don't know how often classic marble tile goes on sale, so seeing that we could get our materials for 20% off was the deciding factor. 

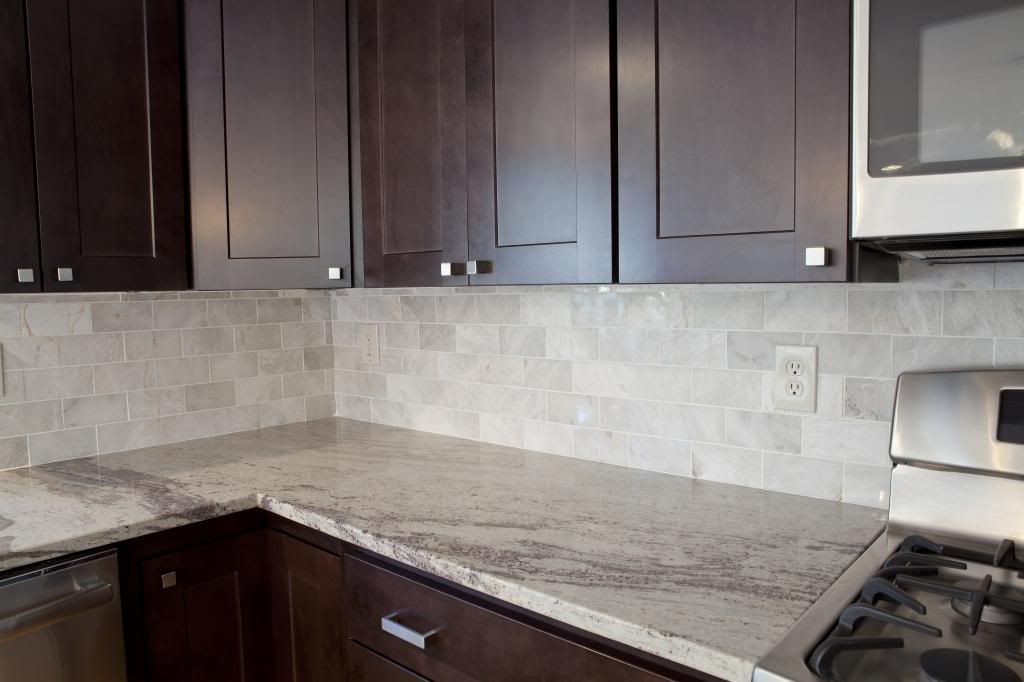
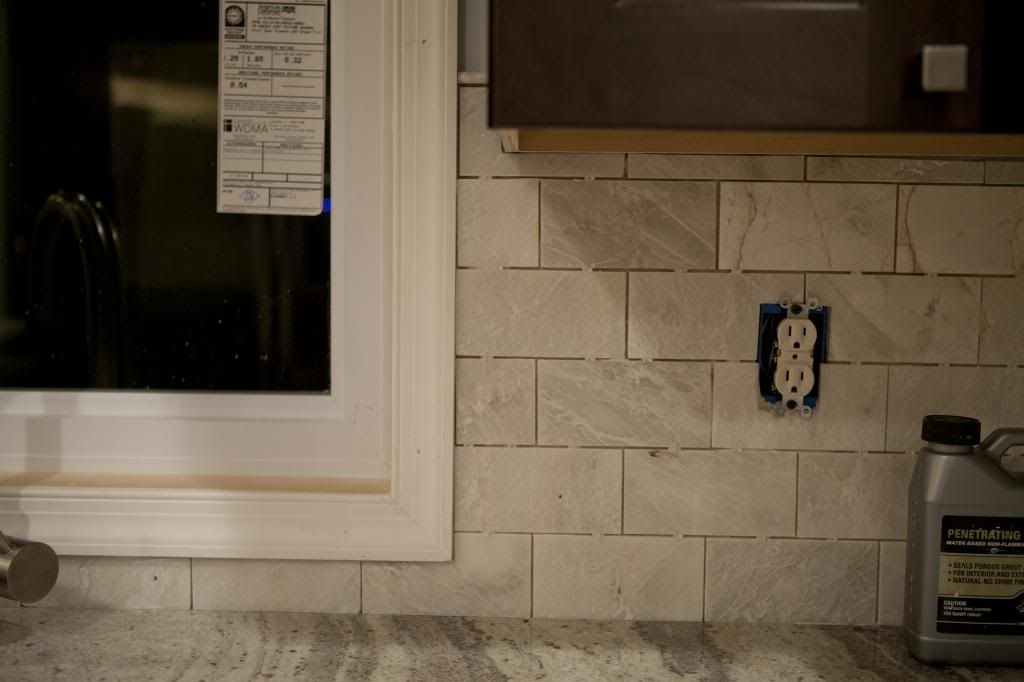
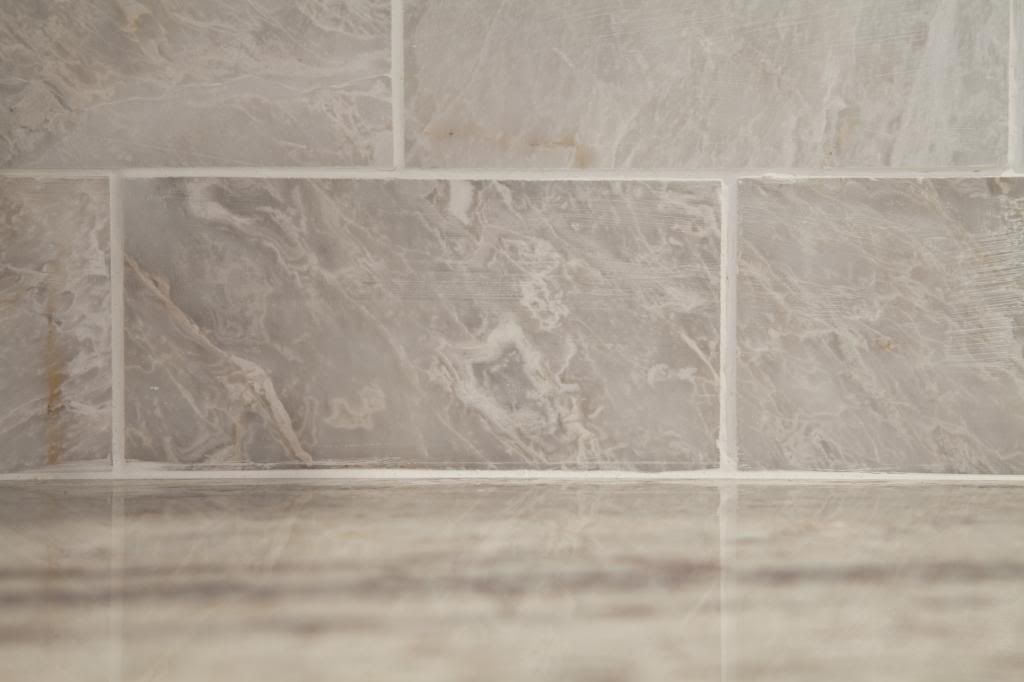
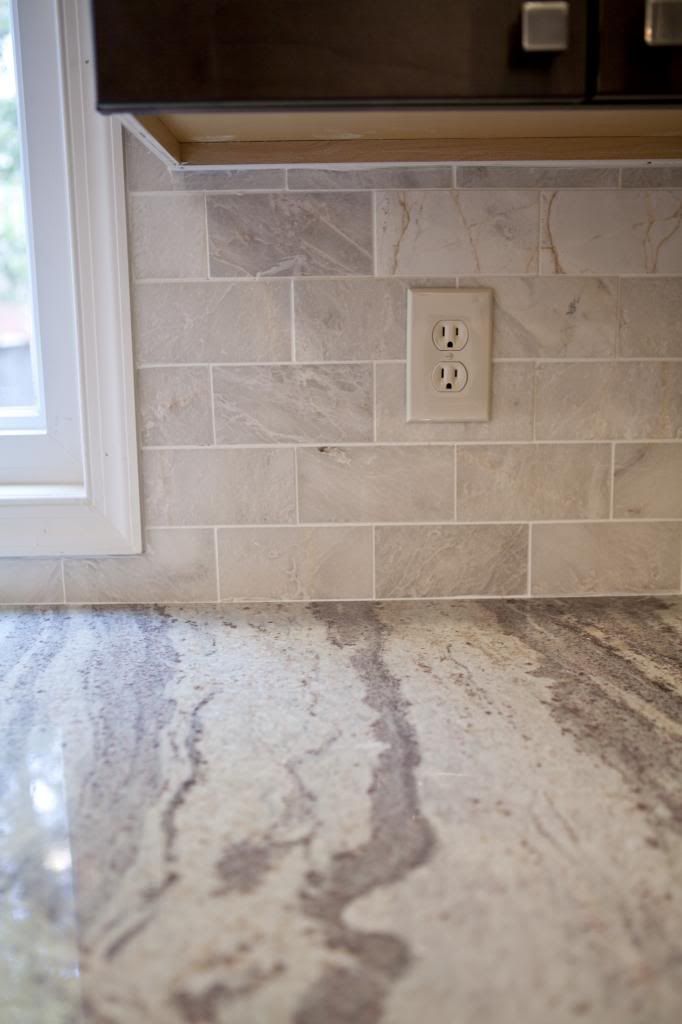
The hubs picked out a gorgeous meram carrara marble subway tile that was light enough, but not too white for our kitchen. We wanted something that was heavy on texture, gray, and not too polished looking so it would compliment our crazy granite.  Even when we were picking up our stone I joked that we could take a DIY class at The Tile Shop and figure this out on our own.  

Two things then happened: 
- the hubs pointed out that he put in the floors and that I had talked him into installing wood floors in our living room. I should stop pressing my luck. 
- we didn't own any of the tools needed to install the tile, let alone know how to work a wet saw. 

Then the sales associate asked where we were going to cut the tile in the cold weather. We looked a tad bit dumbfounded and said, "outside" because we don't have a garage. Turns out you can't exactly use a wet saw outside in 20 degree weather.  The real final kicker was when the hubs came home from work later the next week with his work schedule and we realized he wouldn't be home for a full weekend until mid-February.  The executive decision was made to have our contractors install the tile! 

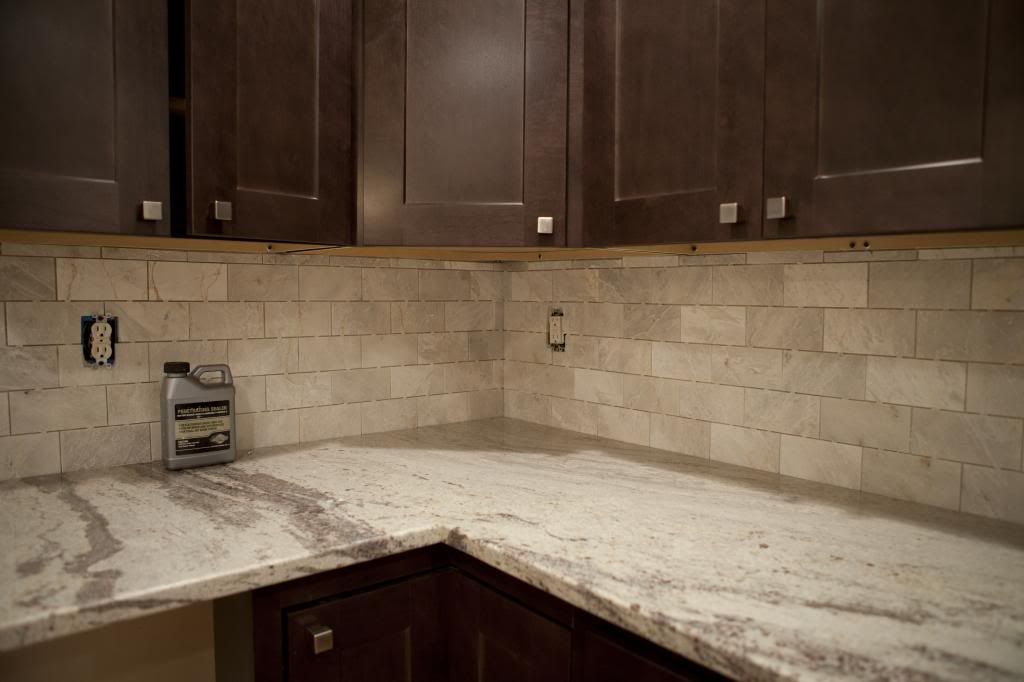
And boy was it pretty coming home to that last week! Day 32 the weather got just over freezing and the tile was cut and installed! 


This is where the hubs joked that if he installed the tile it wouldn't have gone that close to our cabinets. I think he meant he wouldn't have cut the tile and it would have just ended at the last full tile. 

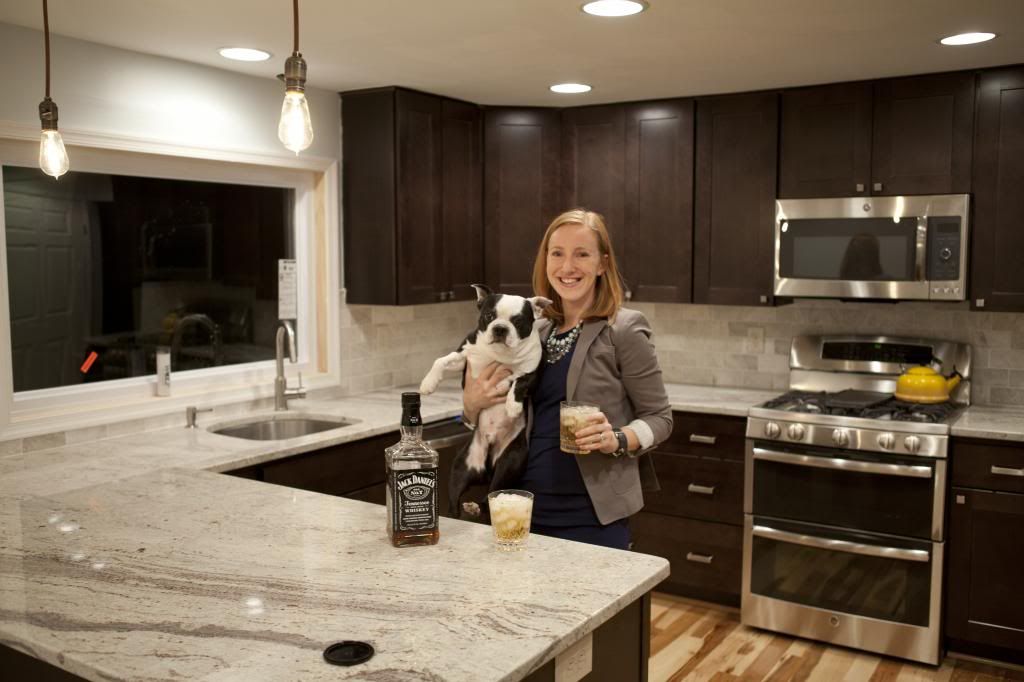
Day 33: I had a meeting, then a much needed happy hour, but the real party began when I got home and saw the kitchen like this: 


Dishwasher was in (and worked!) and the backsplash had been grouted. 


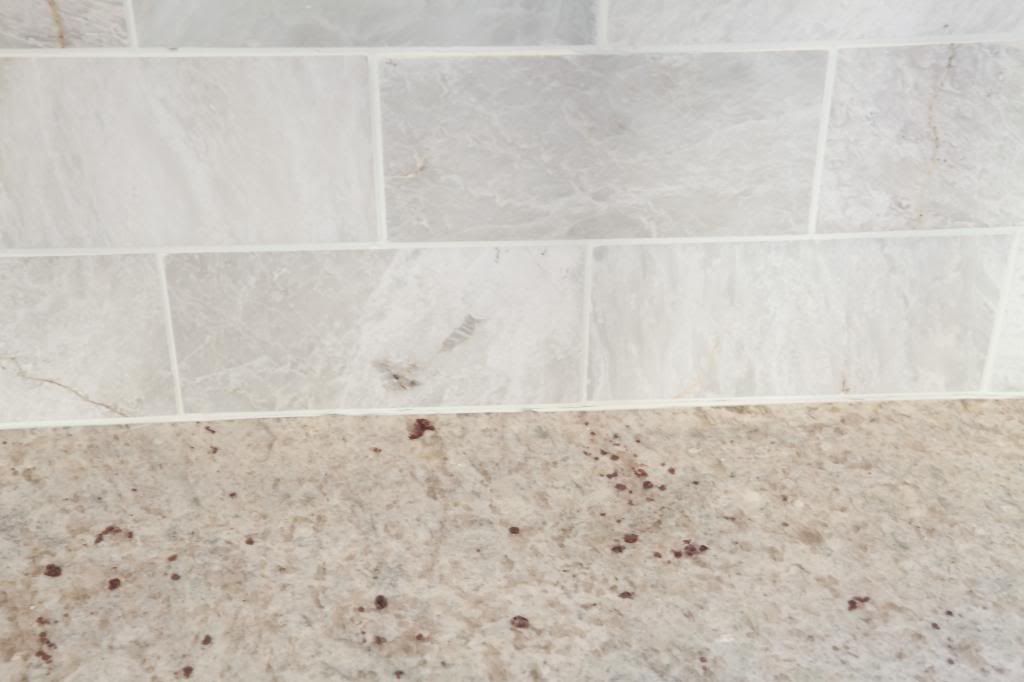
Lots of texture and veins in this marble and we love it. There are also slight copperish veins in quite a few of the pieces and they really help tie in our pendant lights. We went with a standard white grout. As much as I love gray I couldn't go with a darker grout because they look dirty to me. I know standard white isn't for everyone, but I'm weird and it's okay. My hubs is cool with it. 

And then the Jack and Gingers started flowing in the kitchen. Honestly, I don't even remember what we ate for dinner, but I do remember having a few beverages. We Face-timed with our families and showed them the kitchen before I posted more photos on Facebook. My sister was kind enough to call me out on my tipsy behavior.  Like two crazy poor adults the hubs and I spent the rest of our Wednesday night dancing around our kitchen (literally) and just amazed that it was finally here. 


We left the to-do lists for another day and just soaked it all in for a night.  We're not entirely done, we didn't get accomplished what we wanted to this weekend, but we're in a very happy place right now. So happy that I pushed "add to cart" on our living room floors and we spent our Saturday morning loading up the new floors and organizing the boards by color and length so we can install them this weekend. 


Later in the weekend the sunlight came out and we just continued to soak in our kitchen. We have a few paint touch-ups to do and we still need to paint the window frame, but other than that I think our kitchen is done, for now.  At some point we'll upgrade our basic outlet covers to fancy marble ones and we obviously need new furniture, but the major pieces are D-O-N-E! There's unpacking to do and I can't seem to find our toaster, but again we're not rushing it. 

Oh, this is NOT a sponsored post by The Tile Shop.  We actually fell in love with a marble tile when we were at the stone yard picking out our granite slab. From there we were able to hone our search and The Tile Shop had the best prices by far. Plus, we really liked that we could return a full box of tile, which we did, and didn't have to pay a restocking fee.  We still have a decent bit of tile leftover from another box and right now we plan to use that in one of our bathrooms as a accent piece. And I hope to install it myself at that point! 

Just a few more kitchen posts left, I promise! I'm going to show the final photos once it's actually finalized and I get a daylight day to take photos. I'm also going to do a source post so if you liked something you can track it down. And finally, the post I'm not looking forward to at all - how much this remodel cost. We haven't run the final numbers yet and I don't want to look at them just yet! 

Thursday, February 6, 2014

Kitchen Renovation: Paint Day


Day 23: Let's get some paint up on these walls already!  We started out bright and early in the morning and started in the kitchen with our first coat of paint. 

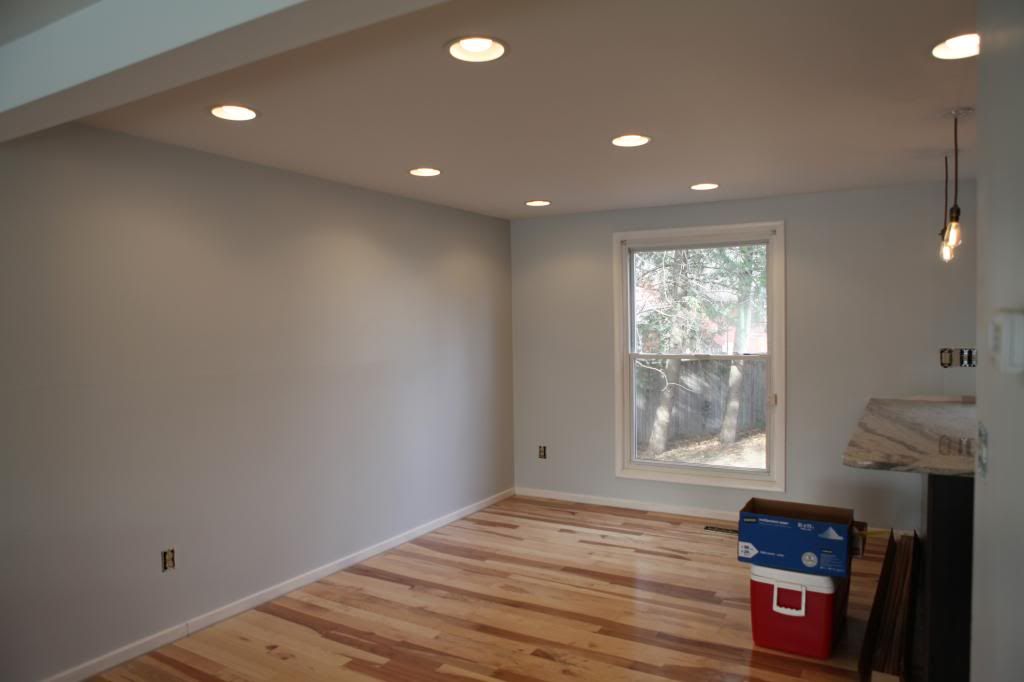
Paint: Mountain Air by Sherwin Williams. Initially we wanted to go with a gray paint, but after seeing how gray the granite truly was in our house and then knowing we had a gray back splash going in we decided to go with a light blue paint. Plus, the name was absolutely perfect as I grew up in the mountains. 

We bought two gallons from the Emerald line. We went with a satin finish since we were going to have paint in the kitchen and generally you don't want to use flat paint in a kitchen area. However, we didn't want go super shiny with a semi-gloss finish since this paint would be wrapping around seamlessly into our dining room and living room. That would have been a lot of shine! 

So far in our house we've painted three bedrooms, a bath room, and a man cave. We've used a different brand of paint in each room and when it was all said and done we really liked the coverage and color payoff of Sherwin Williams paint the best.  Yes, it's a bit pricier than a $20 gallon of paint you can buy at a big box store, but in the grand scheme of things paying more for paint isn't going to break your budget. Our biggest rationale was we were going to have three rooms in the same color and we wanted to make sure the paint looked like it was done by professional even if it wasn't. We're both in love with this paint formula and we probably won't stray from it when painting the remaining rooms in our house. Our walls aren't in the greatest of shape and the paint has amazing coverage, even for a light color, and this paint made everything look very smooth. 


And sure, the one time in his life the hubs picks up a camera I'm busting out to Lady Gaga. I tried to say it was the paint fumes, but then the hubs reminded me we picked a no VOC paint. Whoops! 


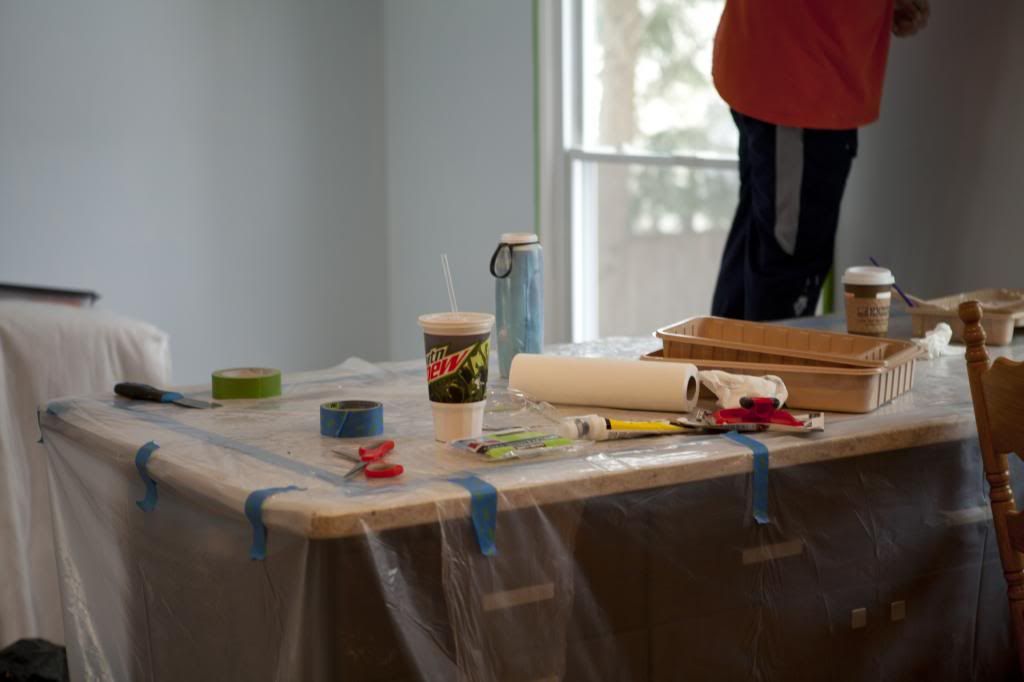
You know it's getting crazy in life when the jumbo soda comes out and there isn't even any Jack in it! 

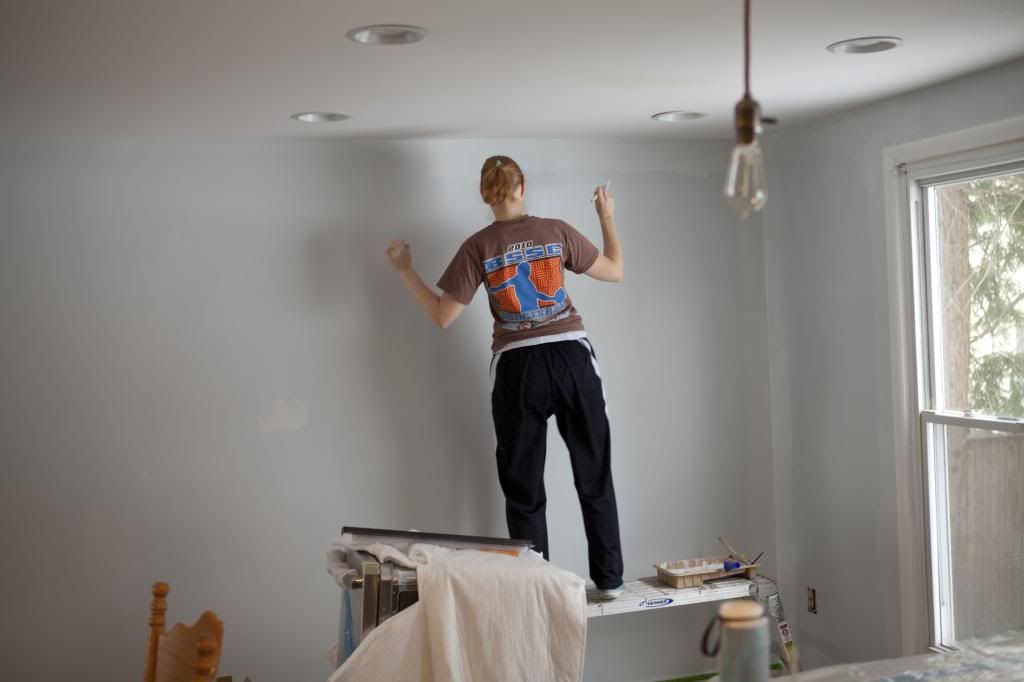
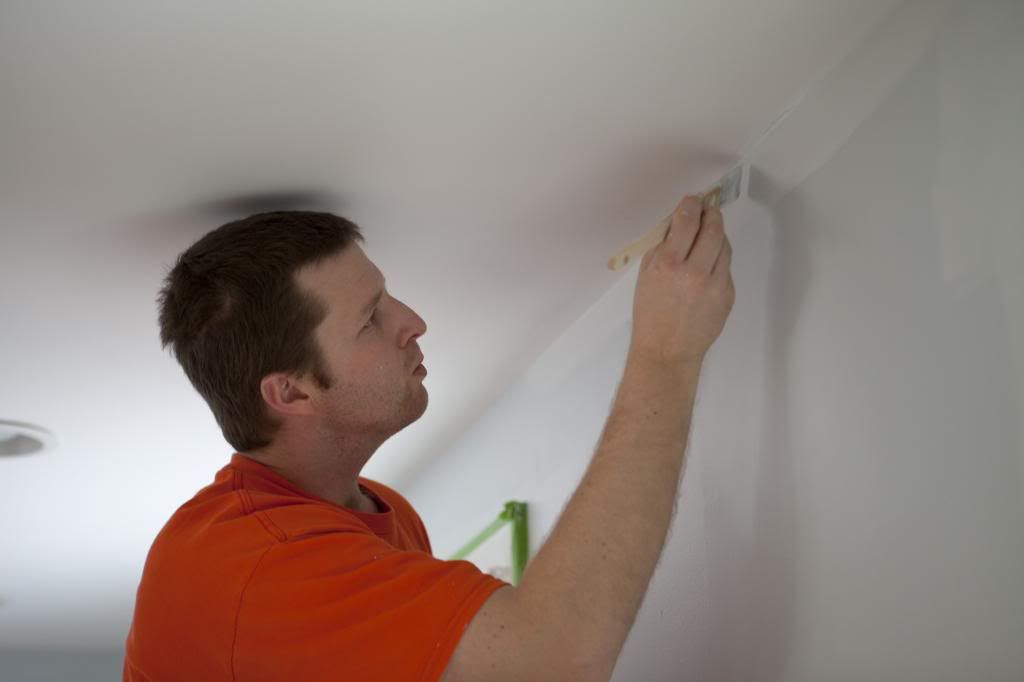
We've realized that I'm better suited at cutting in and the hubs also is too tall for it!


We finished with the second coat around 4pm in the afternoon and the winter sun had already disappeared. And yes, that's our damaged dishwasher in the dining room.


The only downside to finishing up the paint on Sunday afternoon meant it wasn't until the following Saturday that the hubs and I saw the rooms in full daylight! The sun isn't up just yet when we leave for work in the morning and the sunlight is incredibly faded by time we get home at night. Thanks short winter days! 

We have just a few minor touch ups to take care of this weekend and then the painting is DONE.  We're also going to add a coat of high gloss paint to our window frame to ensure it repels any potential water back splash from the sink. 


In the interest of saving time, stress, and money we elected not to paint where our back splash is being installed. Or we're just lazy, the jury is still out on that one.

I know we could have had paid our contractors to paint for us and considering they're doing pretty much everything else it would have made sense. However, the hubs and I oddly like painting. Or at least we like the part of picking out a color. But it was nice that we were able to do something besides just the floors with this kitchen. 

Up next - the back splash.  Oh, and if you didn't see this then I can come clean and tell you the kitchen is now structurally finished! We've got a few touchups to do this weekend and obviously we need new furniture, but we're done with the big items. Even the dishwasher is working :) 

Tuesday, February 4, 2014

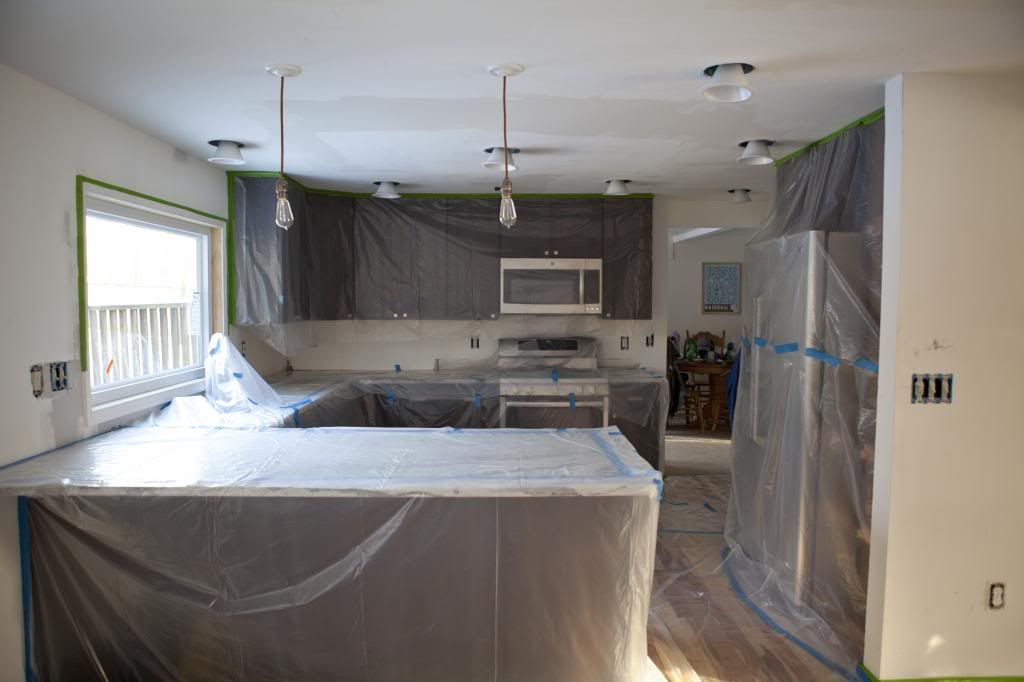
Kitchen Renovation: Paint Prep and Ceiling

Painting a room could be really easy, if certain conditions exist. For example if the room is empty and has ample natural sunlight so you can see exactly where you're painting.  Our kitchen, dining room, and living room were far from empty and Mother Nature decided to play hide-and-go-seek with the sunlight last weekend as we painted. That made for a few interesting moments where we would move around lamps and try to figure out if a particular area was wet, missed, or just a shadow playing tricks on us. 

First on Saturday (Day22) we were able to prep the space. I've been hearing so many raves about Frog Tape lately that I convinced the hubs we should give it a whirl. I'm happy to report we were both incredibly pleased and our cabinets were spared any paint residue. Usually when we paint we avoid tape because we're still scarred from this incident - the blue room paint peel. We have a routine where I cut-in with a brush and small roller and the hubs follows with a big roller.  

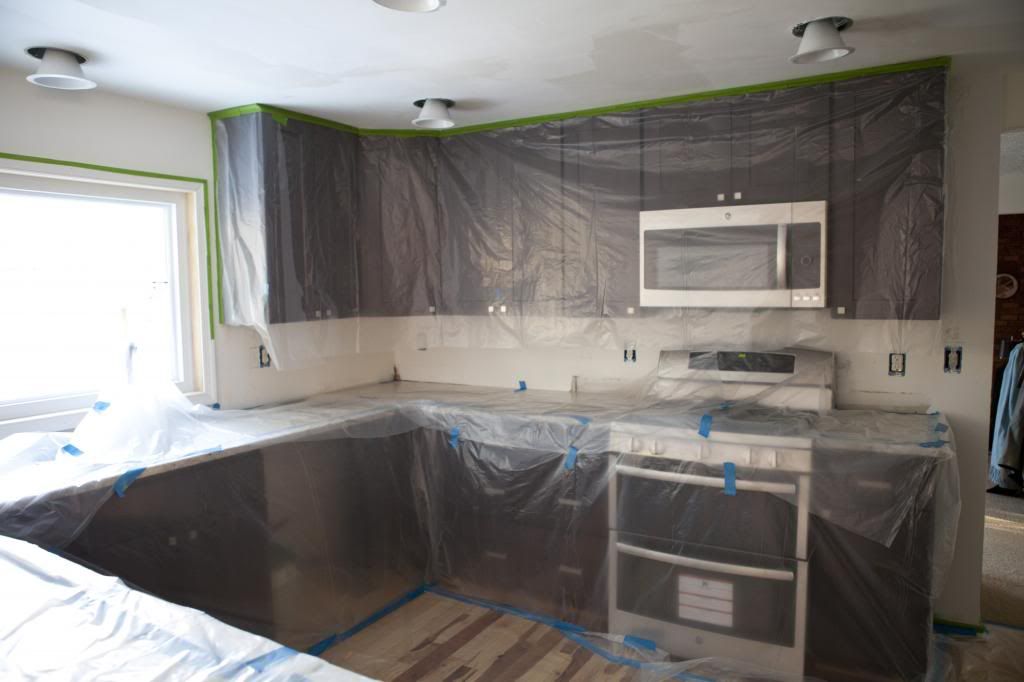
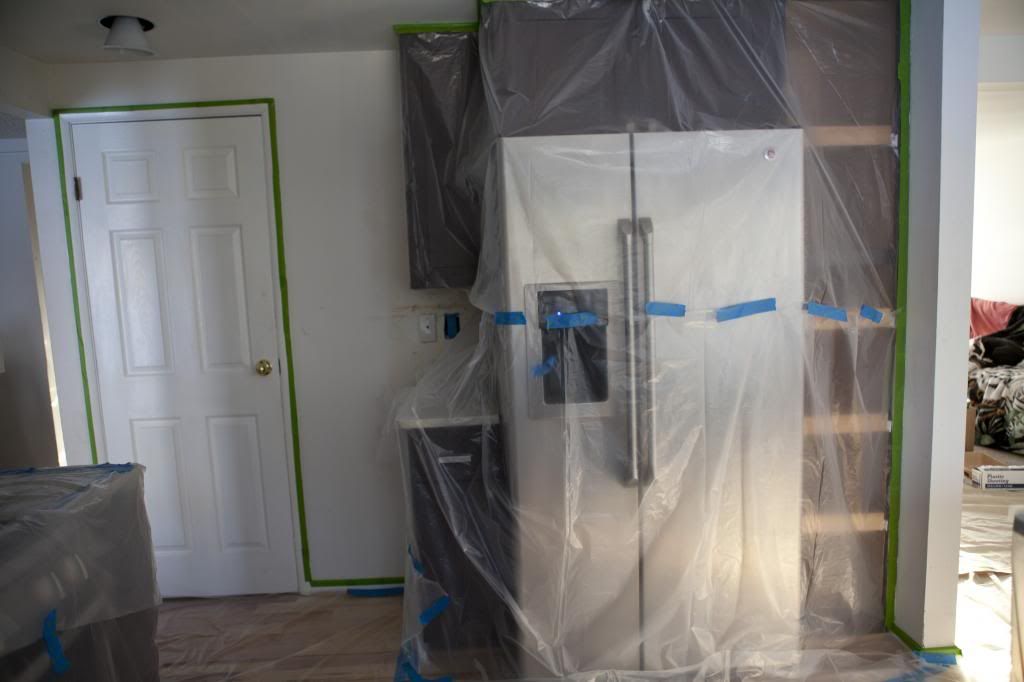
However, this time we had so many small areas in our kitchen that we had to mix things up a notch. We also didn't want to risk damaging our new cabinets, granite countertops, stainless steel appliances, or hickory flooring.  The hubs picked out a whole lot of plastic sheeting  and we covered everything that was new in the area. This actually took a lot longer than anticipated because we had to make sure to have everything nice and sealed, plus have straight lines where we needed them. Yes, I totally fell down just walking across the floor because it was so slippery. 

We used the Olympic ICON flat ceiling paint in the kitchen and dining room. It's no VOC and had a slightly sticky application. I really liked it because it went on really smooth and stuck to all the new drywall. At first I was skeptical of the stickiness, but it really grabbed hold to the ceiling and went on very smooth. We only put one coat up on the ceiling and I think we have a few touch up areas needed because it was harder to see if something was wet or a shadow when we were finishing up. We like to keep our ceilings straight white so there wasn't any need to get a tint-able version of this paint. 


I told the hubs our kitchen looked like it was part of a scene from Dexter. He didn't get the reference. 


Then, I mentioned something from Breaking Bad. Again, nothing!


Finally, he got what I was going for and said, "It looks like Huck brought his tool chest over." Yes! He made a Scandal reference! Love that man. 


In the interest of saving time we opted not to paint the ceiling in the living room. There was just too much stuff in there to work around. Plus, there is a beam separating the living room from the dining room so we don't care if the two rooms don't have the exact same shade of paint.  Because this paint was so such a low splatter formulation we might paint the ceiling in here right before we install the hardwood floors. At that point we won't care if a little bit of paint falls on the carpet. Oh, floors have been ordered and will be installed in just a few weeks. So excited! 


And we're done with the ceiling! As soon as the ceiling was done we started cutting down any of the plastic that we could just to make sure the Frog Tape held and we didn't have a ton of paint on our cabinets. Again, everything looked great.

Up next - adding a bit of color to our walls. We initially wanted to go with a very light gray color, but after seeing all the gray in the granite we were worried that would be too much, especially considering we have grayish marble tile going in soon (weather dependent!).  Painting the ceiling is just awkward because it's a lot of overhead arm movements. Painting the walls just seemed never ending! 


Friday, January 31, 2014

Kitchen Renovation: Appliances Setback

Day 21: Last Friday our kitchen was scheduled to be mostly finished. Actually, technically our contractors were supposed to be finished on Friday, but after a bit of thinking the hubs and I decided to expand their scope of work and installing the backsplash was added to their bill. We've loved their work so far and the hubs was more than happy to have someone else deal with a wet saw during the winter temperatures. 

But last Friday the hubs received a call that two things went wrong. First, and most importantly our dishwasher was damaged when installing the toe-kick air duct vent beneath the sink. It was a long story, but the short of it was our contractors completely owned up to the mishap, they confirmed the model number for the dishwasher, and promptly ordered a new one. The cost of the new dishwasher is on them and it was actually nice that there wasn't even a discussion about it. Just the action steps. The only downside is the hubs picked out a newly released model and it isn't available everywhere just yet. The new dishwasher is hopefully being installed today (Day 28).   

The second issue was there was a defect with the water line connecting to our fridge. Finding out this now saved us a leak down the road so that was actually a good thing. A new part had to be ordered and since the plumber is coming back today to install the new dishwasher the fridge is being fixed as well. We purchased our fridge when we moved into our house and the hubs installed the water line himself when we purchased it. Our old water line wasn't long enough and extender was needed. We didn't realize that at the time, so we didn't have an extender at the house when the fridge was delivered and in order to get the free installation service with delivery you kind of need to have all the parts ready and available when the installation guy is present.  It hasn't leaked yet, which we were told was nuts because it was overdue for a serious problem. 

This just meant that last Friday we came home to nearly complete kitchen, but nearly complete isn't anywhere close to being completed.  It was such a mix of emotions. I'm over not having a kitchen and I just want this to be done at this point (but done correctly!). 


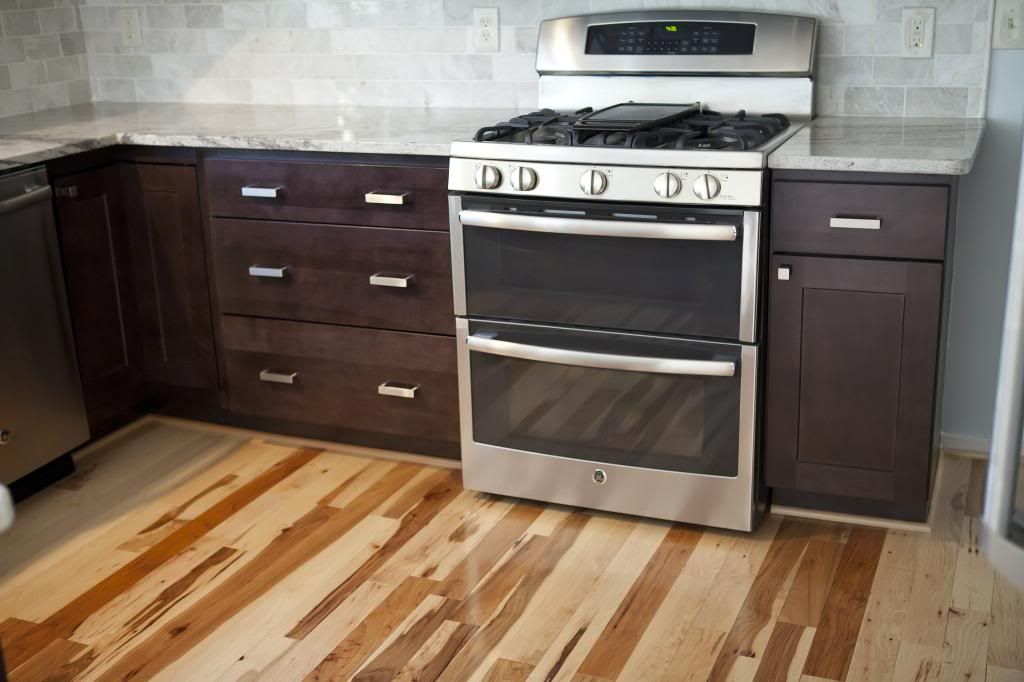
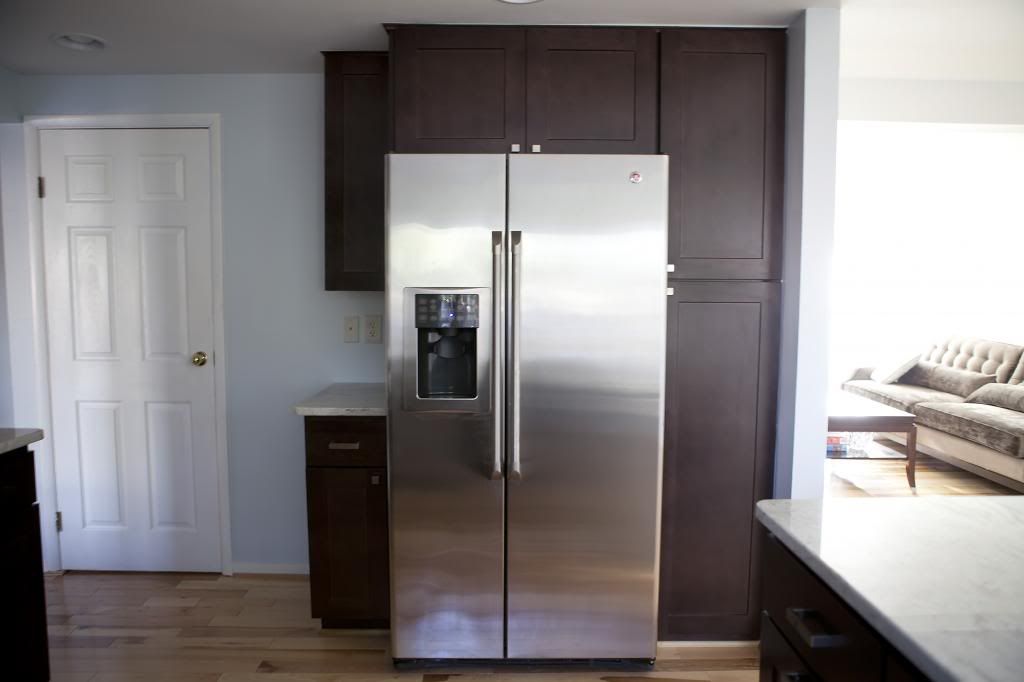
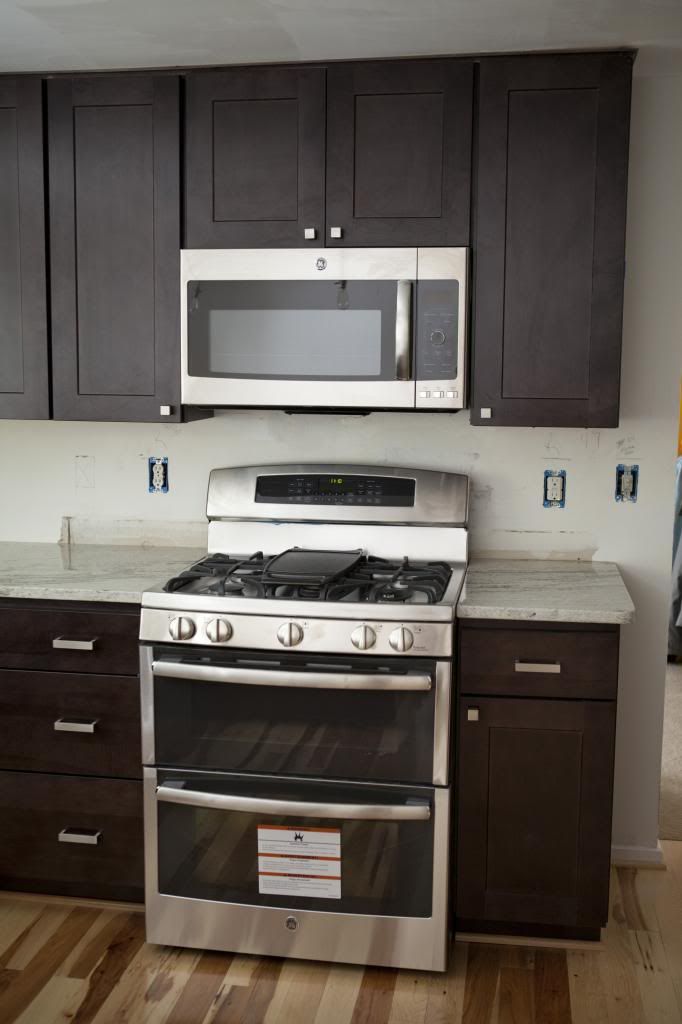
However, my heart was immediately warmed by seeing our new double oven. Let me be frank, I freaking WANTED a oven like this for YEARS. Again, this is an import because it seems GE doesn't make any of their gas double ovens in the USA (yet) whereas the electric models are made in the USA. I'm a massive fan of all of the work GE has done over the past few years to bring more jobs back to the USA so I don't feel terrible about supporting that mission. Plus, due to our kitchen remodel not one, but TWO dishwashers that were assembled in the USA were purchased. Gotta keep it all in perspective :) 

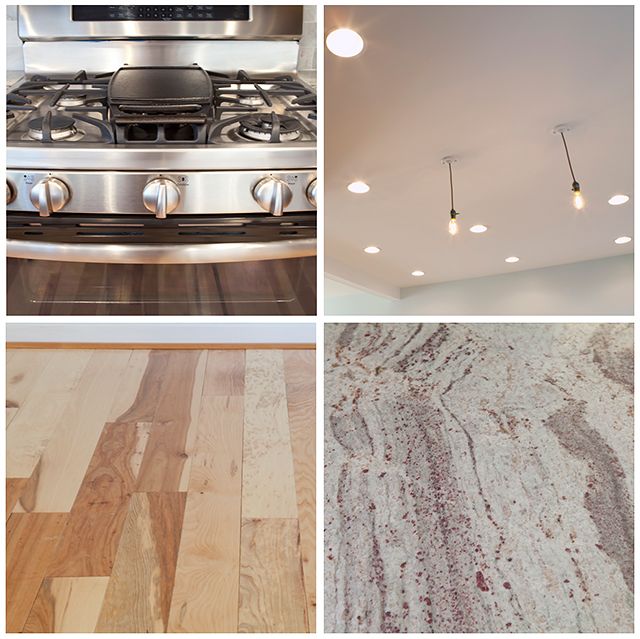
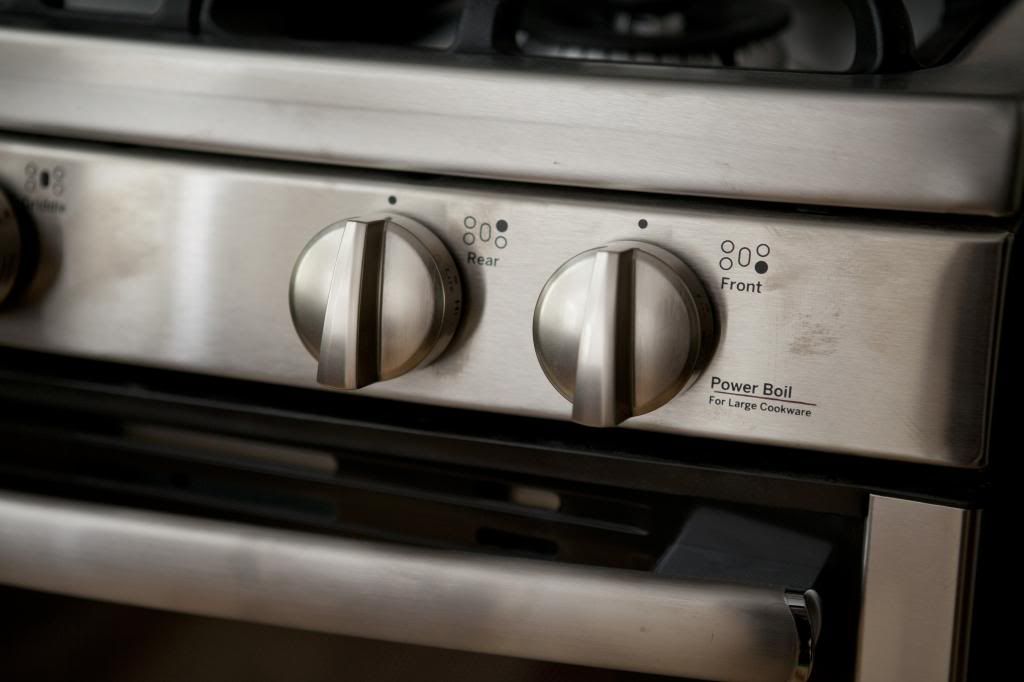
Oh, and yes, there will be more detail shots of this beast. And more baking posts in the future because honestly it would be a shame to not use this oven every day!  I don't know which feature I'm the most excited for - the double ovens that can operate at different temperatures simultaneously, the power boil (seriously that thing is a BEAST), or the massive cast iron griddle (which is made by LODGE and is made in the USA). 


Most of all I'm thankful for having a hubs who embraces my version of crazy.  This stove was expensive. There's not a doubt about it. A ceramic topped version of this stove was $700 cheaper, but I told the hubs I wanted the all stainless steel version. I may or may not have said, "I want an angry looking stove. I want a stove that can take the abuse I'm going to throw at it and smile right back at me."  Although I would never, ever, ever throw anything at my stove. Actually, I've been conditioned since early childhood to not throw things in a house. (my brother failed that lesson and broke a window by hitting it with a lollipop!) 


Up next: we paint and then paint some more! We were able to prep the entire area and paint the kitchen/dining room ceiling on Saturday. On Sunday we were able to get two coats on the kitchen/dining room and our living room. I don't have photos of it in the daylight yet because the sun had faded by time we finished on Sunday evening. I think that's what I'm most excited about for this weekend. Scratch that, I'm really excited to start unpacking this kitchen because hopefully all that is left is the backsplash and then it's time to PARTY! 

We're waiting on the weather to warm up to install the backsplash because we don't have a garage and there isn't anywhere in our house to run a wet saw. We've literally had two days this week were the high temperatures were in the teens and that meant that our back deck couldn't act as the wet saw zone since the water in the hose could potentially freeze! Just another reason we forked over money responsibility of that to our talented contractors. 


Wednesday, January 29, 2014

Kitchen Renovation: Granite Installation

Now this is what I am talking about! When it came time to plan our kitchen the hubs and I were willing to skimp on a few details (under cabinet lights, fancy hardware, just to name a few) and instead splurge on a really nice piece of granite.  We're a tad bit weird and we actually went to both Home Depot and Lowe's, wrote down the name of every granite they sold, and then proceeded to eliminate each and every one of those granite colors. The hubs is not one for buying the same thing as everyone else and I really do appreciate that quality about him. For once his brand of crazy is a good thing. 

Sidebar rant: I will never understand the various classifications of granite or other natural stones. Some stone yards list three grades of granite and the one where we purchased our slab listed 9 different grades! I don't quite get it. 

We actually went and looked at granite slabs back in December. We each picked our top five choices and then proceeded to weed them out until two remained. The granite we picked was my absolute favorite and the hubs quickly came over to my side when we compared the two stones against each other.  In a perfect twist of fate, the stone yard's cranes were temporarily down that day and that meant we would have to come back another day to pick out our individual slab of granite. When we returned the following week a new shipment of slabs had come in and a few of the River White slabs were noticeably different from the other slabs.Part of the lot was atypical for River White because the slabs contained so many stripes throughout the slab. It was so funny because we were told, "if you're doing a smaller kitchen you can cut around those stripes." That guy was helpful, but clearly he didn't know us very well. 

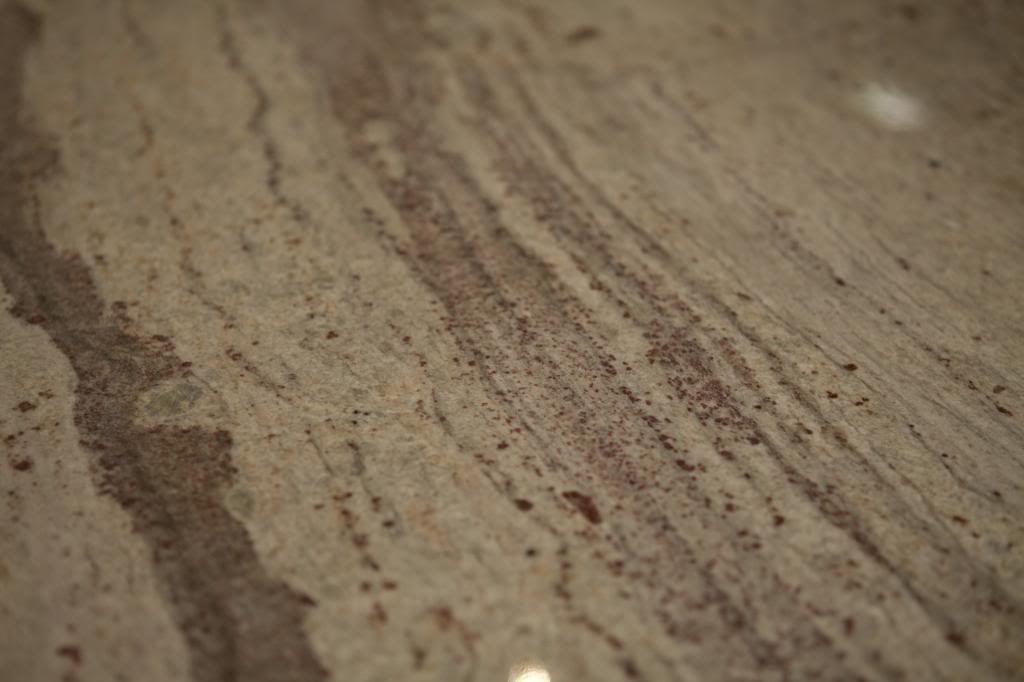
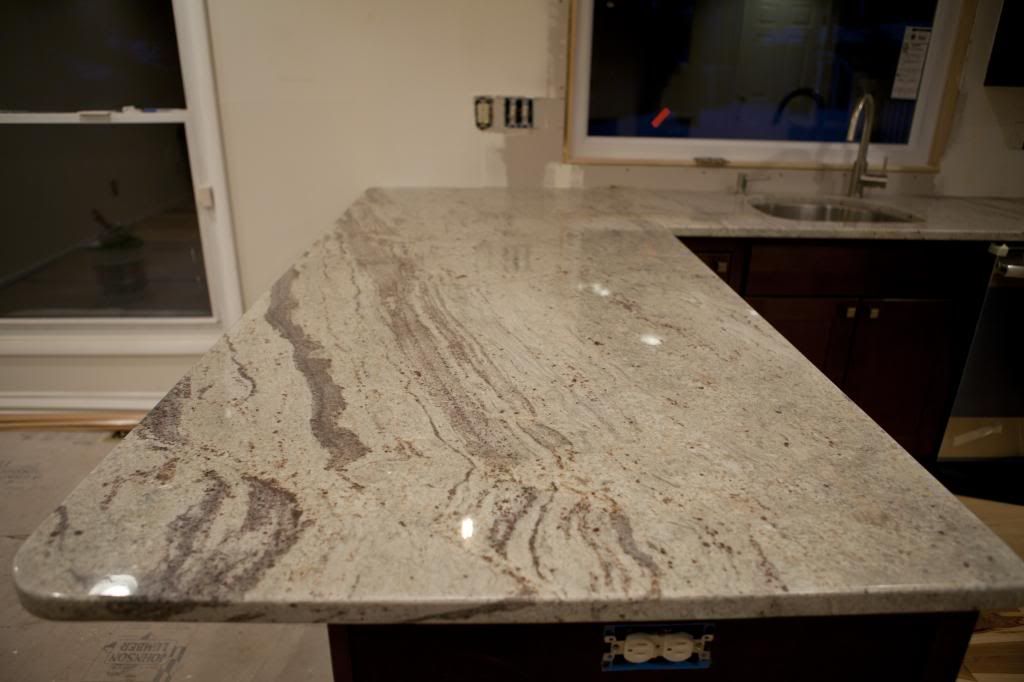
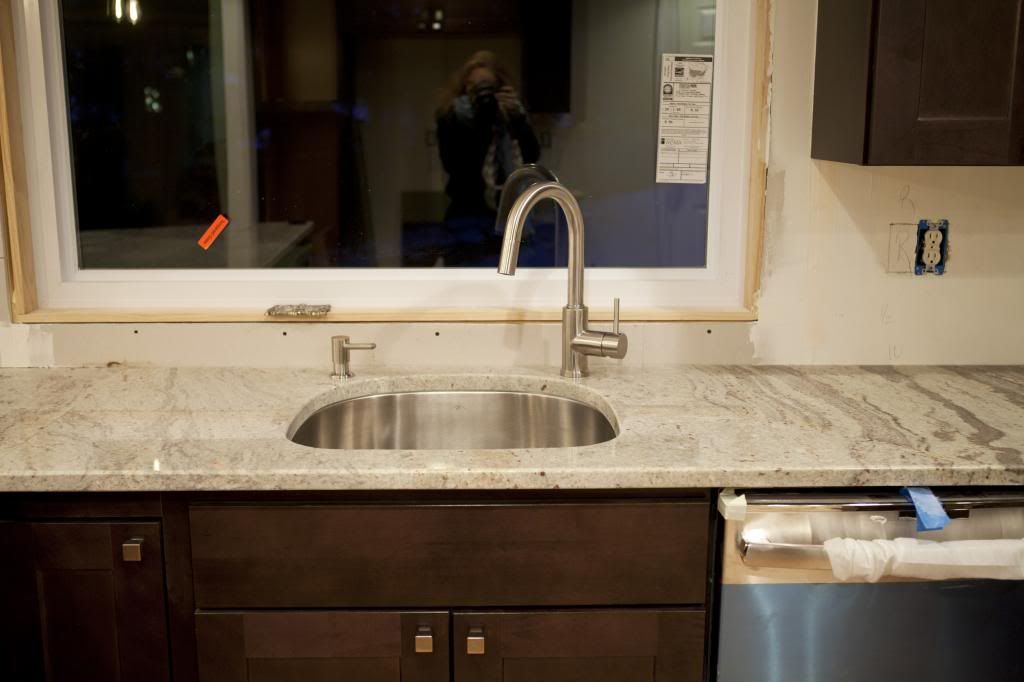
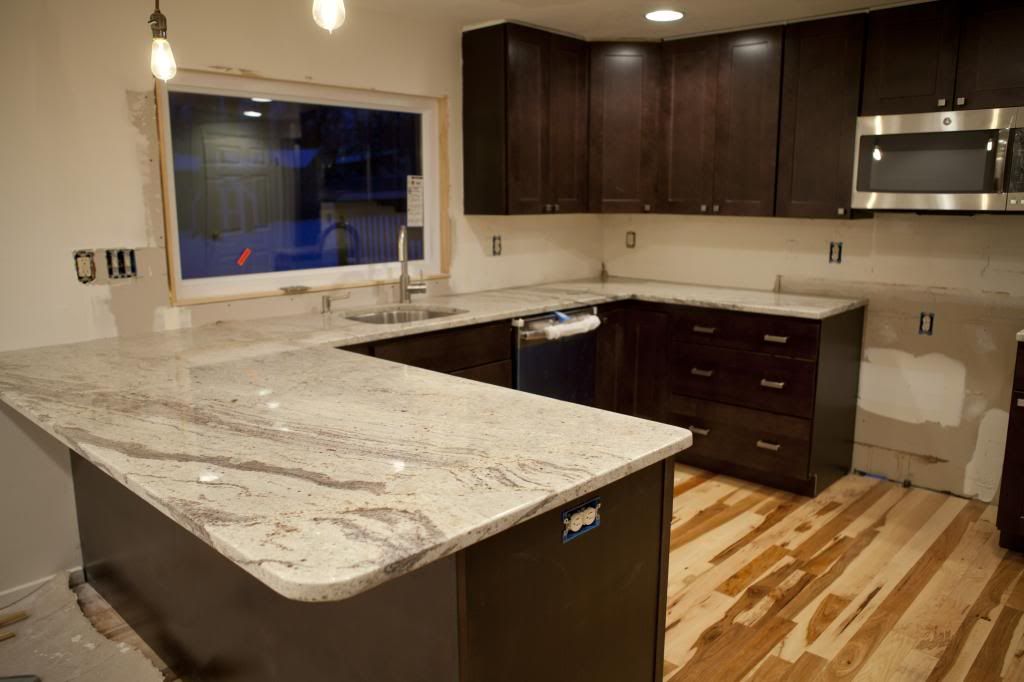
We picked the slab with the most stripes! And that's how this River White slab came into our home.   These photos are a bit dark because it was late at night when I took them and for some strange reason I didn't turn on the lights in the dining room. Whoops! Plus I was so giddy that I didn't even check my camera settings I just picked it up for a few seconds and then I promptly went back to fondling our new counter tops. Yeah, that happened. 


I'll post better detail shots in the final reveal, but those little flecks are almost deep purple like and I love them. They really tie in with the darker cabinets. 


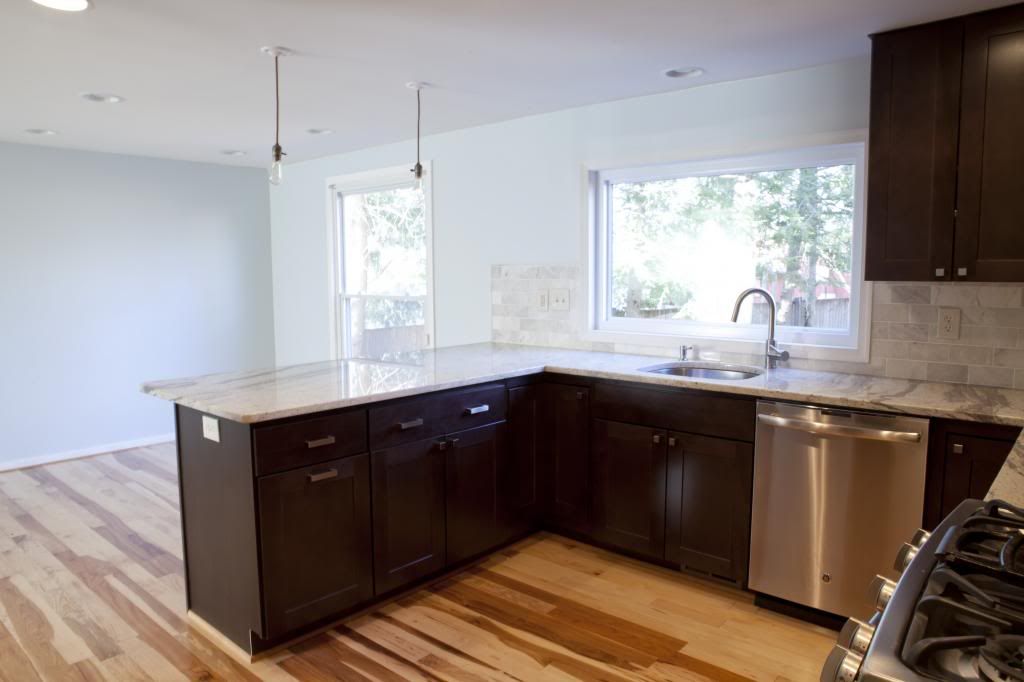
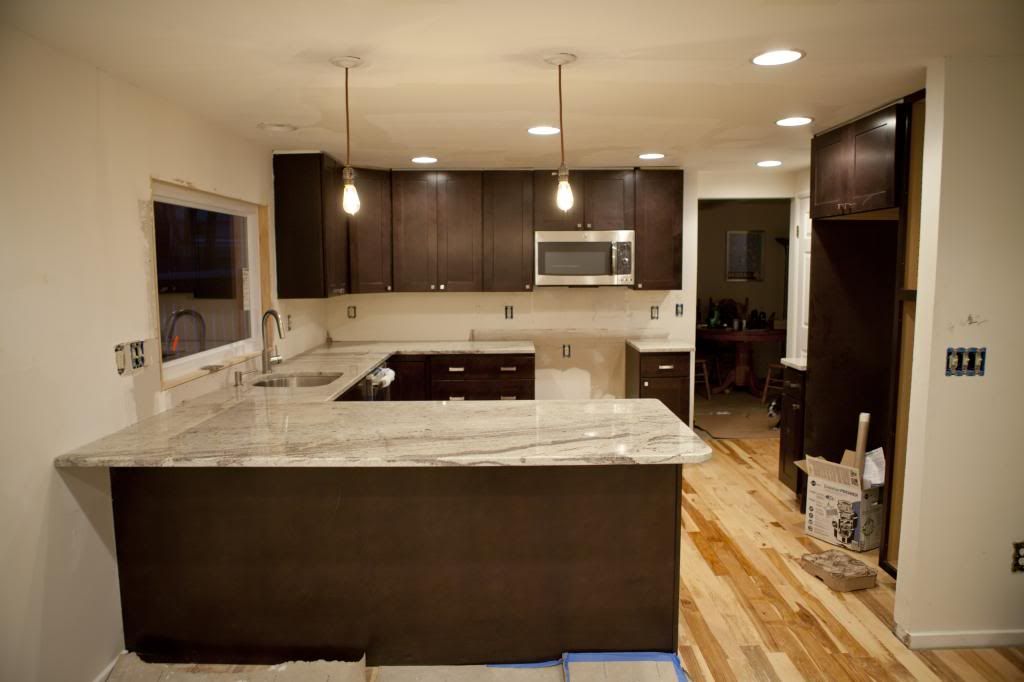
Say hello to our new peninsula! Now, my dream has always been to have a kitchen with a large center island. However, I live in a pretty high cost of living area and they just don't make kitchens that big in my price bracket.  We tried to make an island happen, but it was never big enough to make it really functional.  That's when our designer stepped in and showed me the kitchen with a large peninsula instead of an island. That slab of granite on our peninsula is 88 inches long and 38 inches wide!  That's bigger than our dining room table! We decided to go with a 12 inch overhang to allow for enough room to sneak in a few bar stools. 


Again, sorry these photos are so dark.  They make the granite looker darker and more brown than it really is, but maybe everything is so dark because the walls are still half grey and ugly beige. 

Now, River White granite originates from India so clearly that meant this slab was a rather heavy tab to our "imported goods" cost for our kitchen. We did research a few granite selections that are found in the USA and truth be told we just didn't like the color selection. I know we could have gone with a quartz, but once we priced it out it was actually more expensive than granite. The environmentalist in me was swayed by the green certifications for quartz, but at the end of the day we fell in love with this slab of granite. We both loved the natural flow of the stripes and the lack of uniformity really caught our attention.   Sometimes nature really does best and it shouldn't be messed with. 


Now we need to find a nice, healthy, granite sealer to use over and over again to keep this stone pretty and strong. Any recommendations? 

Up next - the stove gets installed and our fridge comes back to the kitchen (it's been hiding in our living room for a few weeks now). 

Monday, January 27, 2014

Kitchen Renovation: Electrical is done!

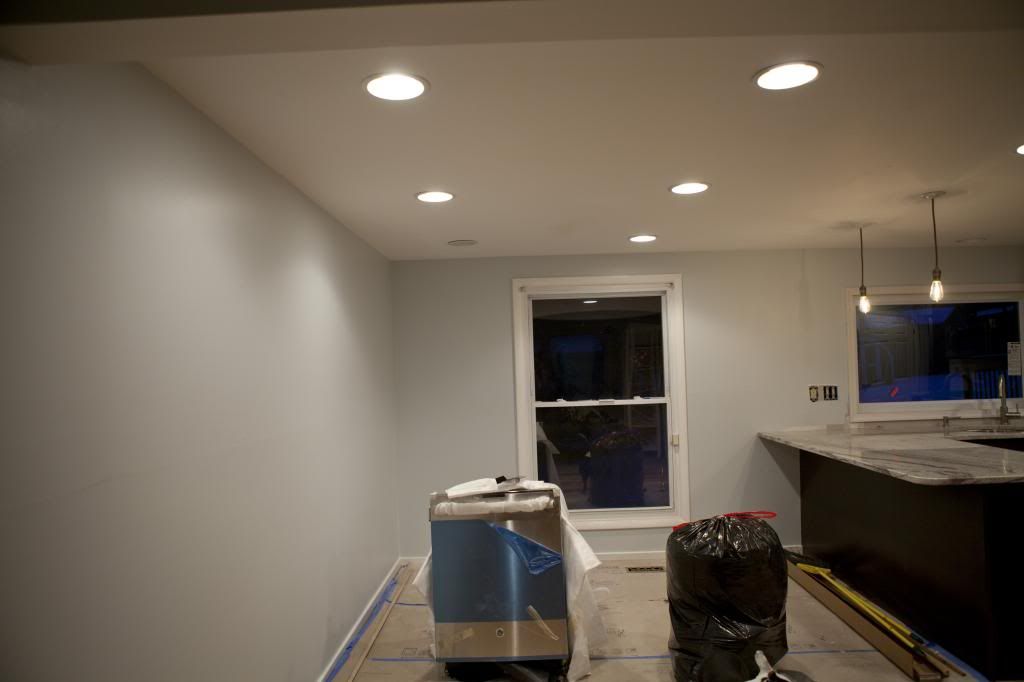
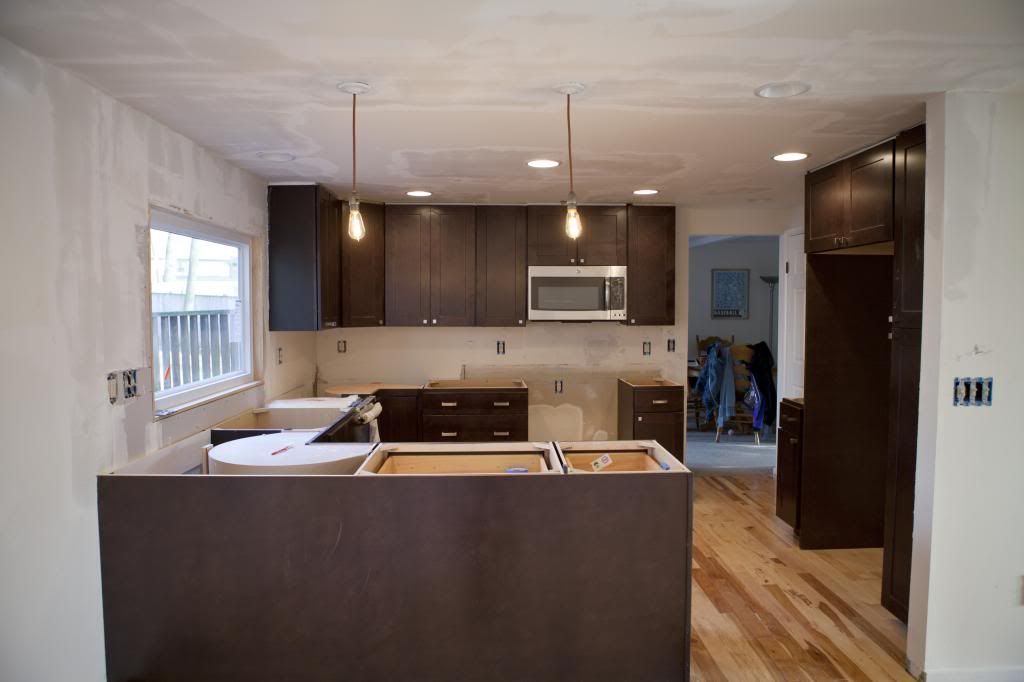
Lights, camera, and more lights! A few of the recessed bulbs are missing in these photos, but they're hooked up now and fully functional.  It is BRIGHT in our kitchen. 

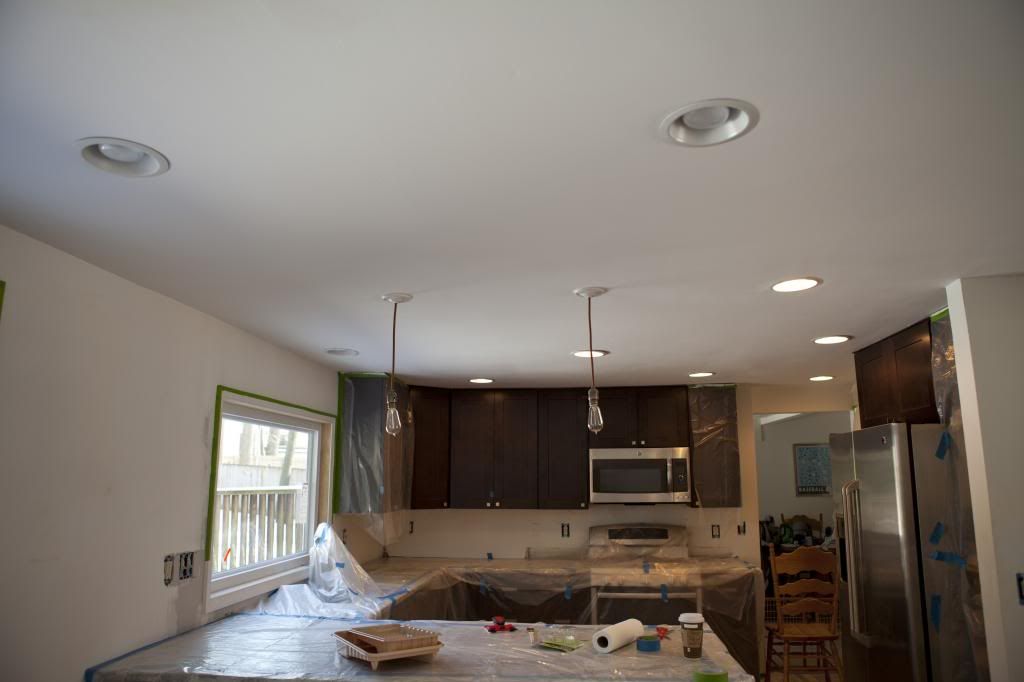
We elected to go with recessed lighting in the kitchen and we put in a few more lights than normal since we went with such dark wood cabinets. Those cabinets have the potential to be a black hole and suck all of the light out of the kitchen so we wanted to make sure we had plenty of light to balance with the cabinets. We did not install under cabinet lighting because our kitchen used to have it and we turned the lights on maybe twice in 2.5 years of living here. If we decide we need it we can always use the wireless lights that are now available at any big box store. 


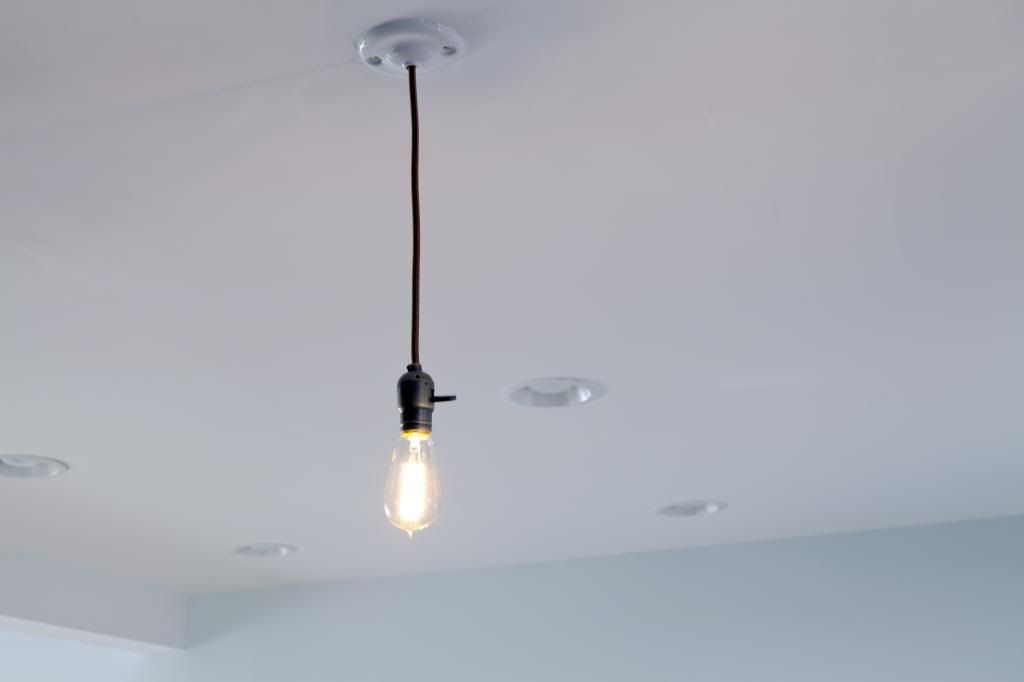
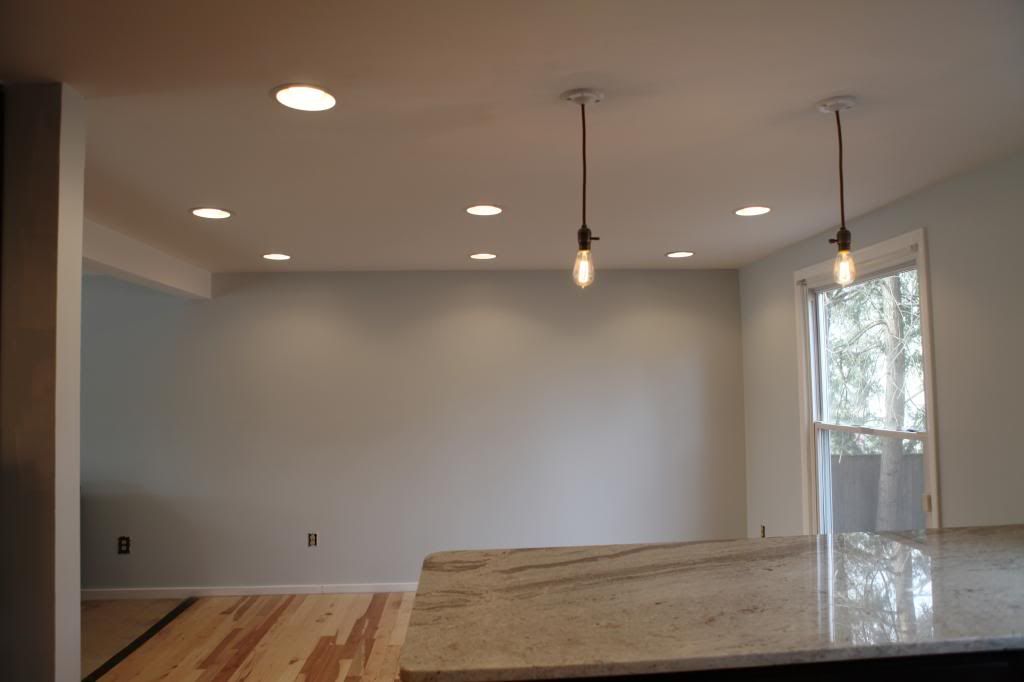
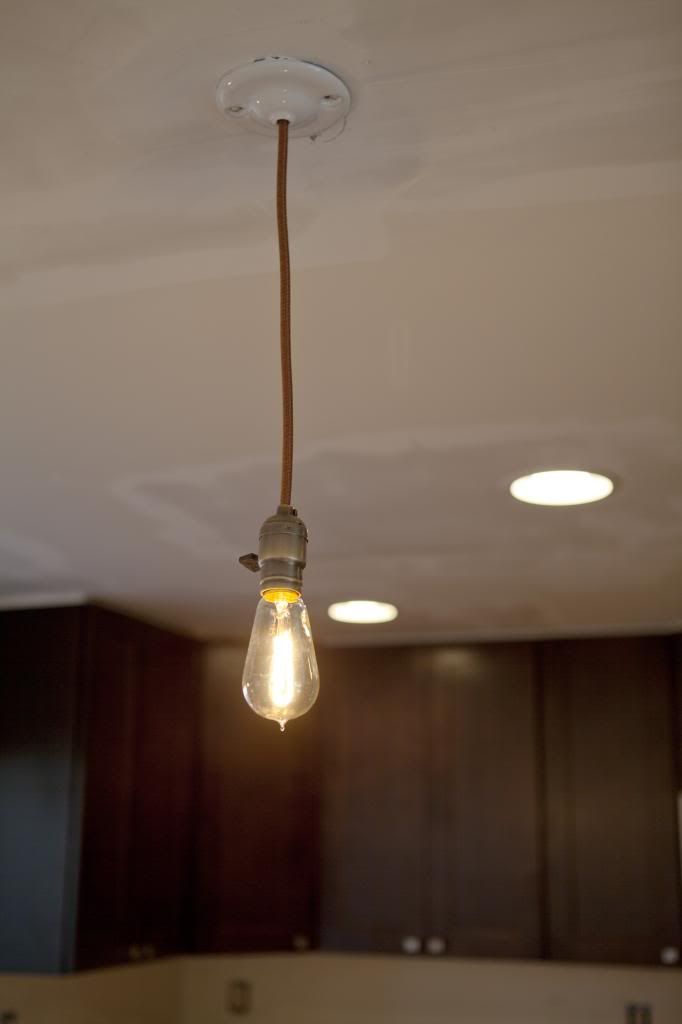
But, one thing we weren't going to miss out on was adding a little bit of flair to the lights over our peninsula. Again, since we have low ceilings (89 inches I believe) we need to keep the lights short and relatively sparse in order to not cut off our newly open space. I found a few options at Rejuvenation and the hubs really like the Burnside pendant light. We each loved it for different reasons. He loved the burnished antique hardware and how that would add a tiny industrial touch to our kitchen. I love that we didn't have to pay extra for customizing the length and that this light is made in the USA! (Sadly, the antique-looking bulb is imported.)


We waited to purchase the pendants when there was a free shipping offer in order to save $25. That's another night of takeout! We ordered the lights on 12/17 and they arrived on 12/30. We both that was exceptionally fast given the holiday season and that everything about these lights is customized. I know in the first photo they look really short, but trust me we actually hung them a tad bit lower than standard height, but they're small enough that they aren't obstructing the hub's view. 


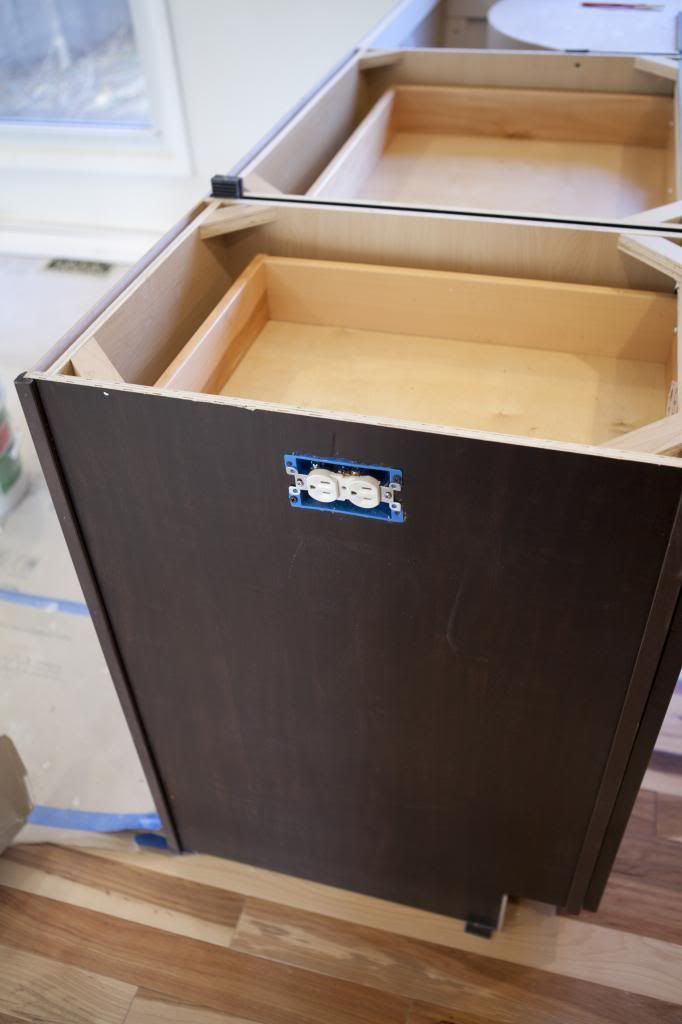
And it might not be the flashiest feature in our kitchen, but I'm very excited to have an outlet on the side of the peninsula. I just need to find a cool outlet cover for it. 

Up next - granite! And I'm very biased and it's absolutely gorgeous. I'm skipping the next of the drywall updates because let's be honest there isn't a whole lot of fun about seeing sanded down drywall.