Showing posts with label Painting. Show all posts

Thursday, February 6, 2014

Kitchen Renovation: Paint Day


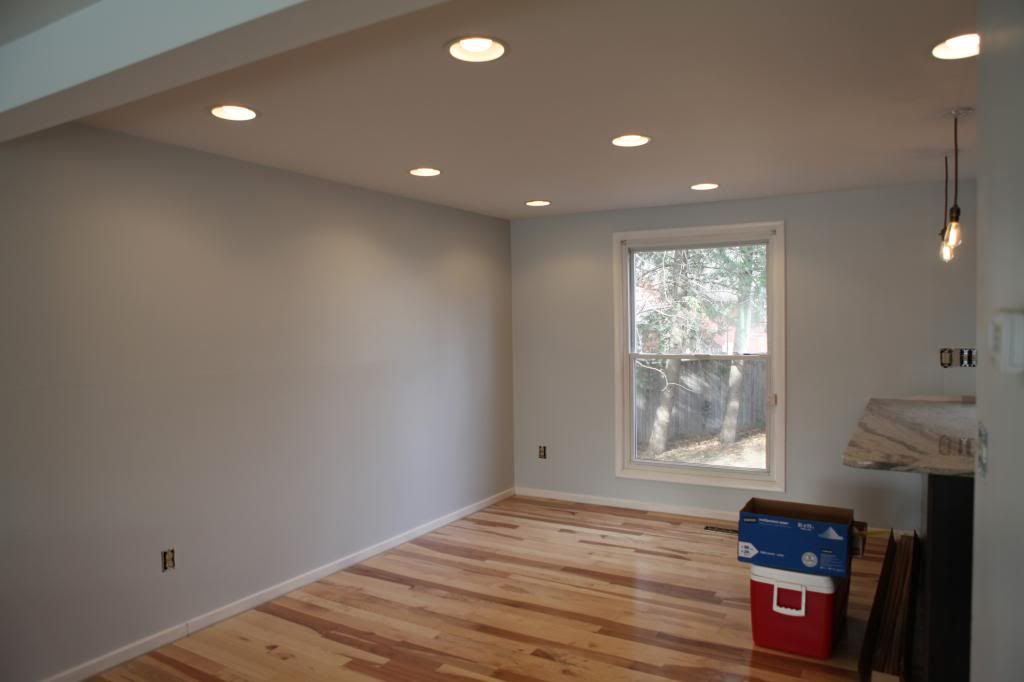
Day 23: Let's get some paint up on these walls already!  We started out bright and early in the morning and started in the kitchen with our first coat of paint. 

Paint: Mountain Air by Sherwin Williams. Initially we wanted to go with a gray paint, but after seeing how gray the granite truly was in our house and then knowing we had a gray back splash going in we decided to go with a light blue paint. Plus, the name was absolutely perfect as I grew up in the mountains. 

We bought two gallons from the Emerald line. We went with a satin finish since we were going to have paint in the kitchen and generally you don't want to use flat paint in a kitchen area. However, we didn't want go super shiny with a semi-gloss finish since this paint would be wrapping around seamlessly into our dining room and living room. That would have been a lot of shine! 

So far in our house we've painted three bedrooms, a bath room, and a man cave. We've used a different brand of paint in each room and when it was all said and done we really liked the coverage and color payoff of Sherwin Williams paint the best.  Yes, it's a bit pricier than a $20 gallon of paint you can buy at a big box store, but in the grand scheme of things paying more for paint isn't going to break your budget. Our biggest rationale was we were going to have three rooms in the same color and we wanted to make sure the paint looked like it was done by professional even if it wasn't. We're both in love with this paint formula and we probably won't stray from it when painting the remaining rooms in our house. Our walls aren't in the greatest of shape and the paint has amazing coverage, even for a light color, and this paint made everything look very smooth. 
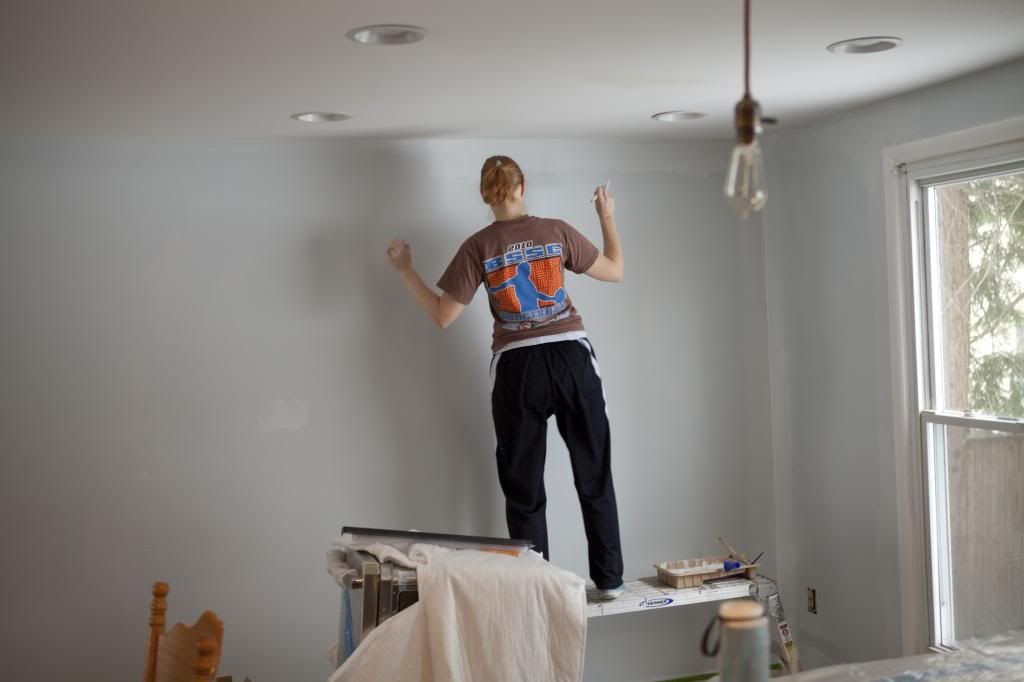

And sure, the one time in his life the hubs picks up a camera I'm busting out to Lady Gaga. I tried to say it was the paint fumes, but then the hubs reminded me we picked a no VOC paint. Whoops! 
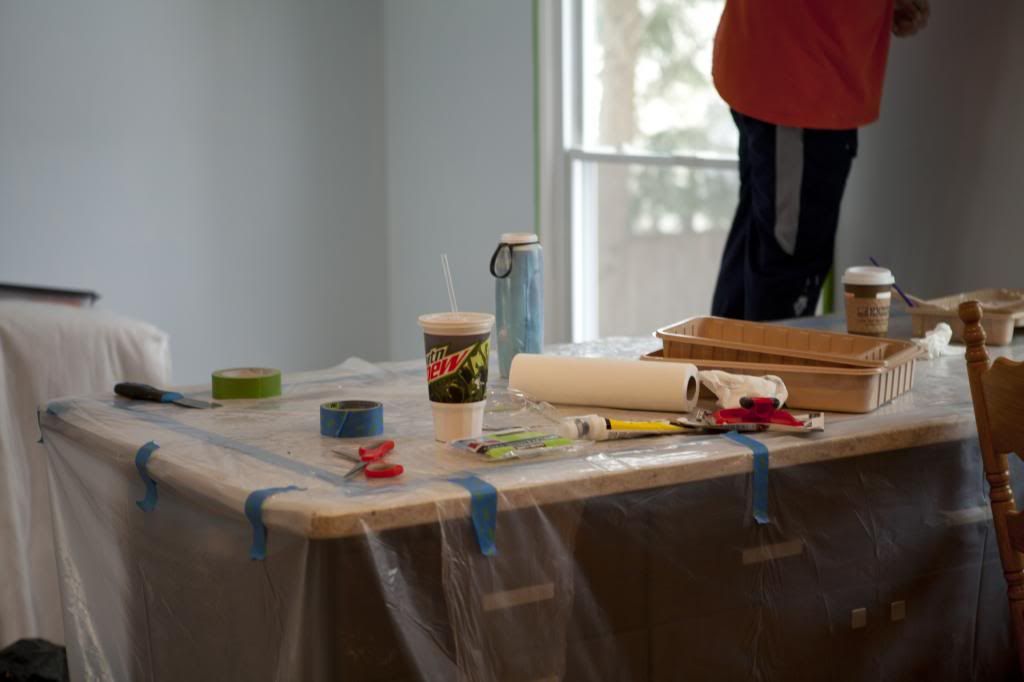

You know it's getting crazy in life when the jumbo soda comes out and there isn't even any Jack in it! 
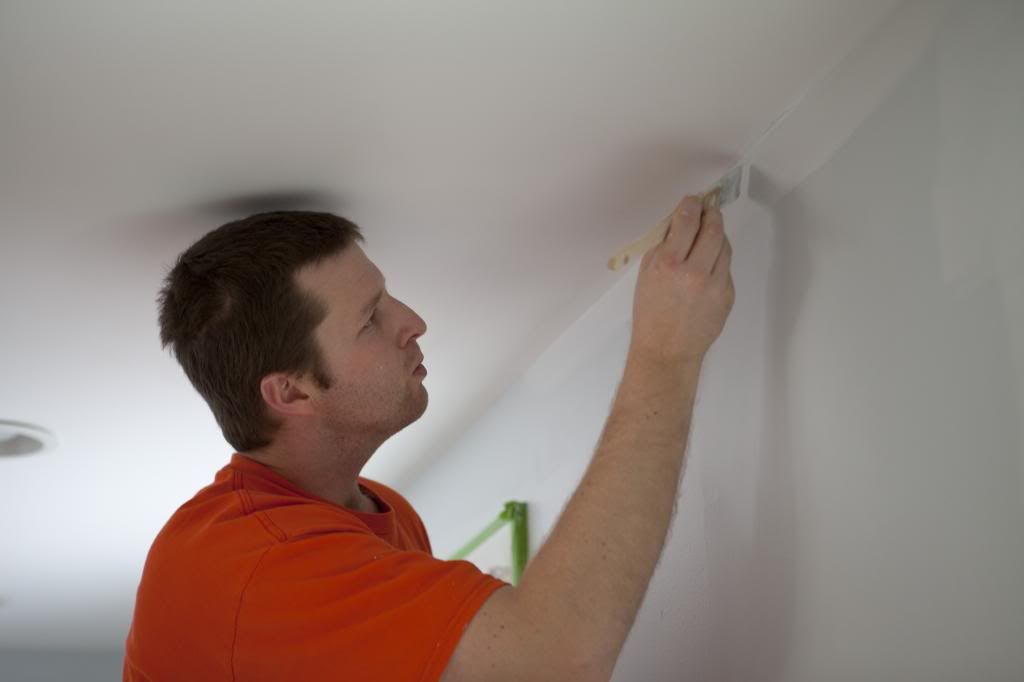

We've realized that I'm better suited at cutting in and the hubs also is too tall for it!
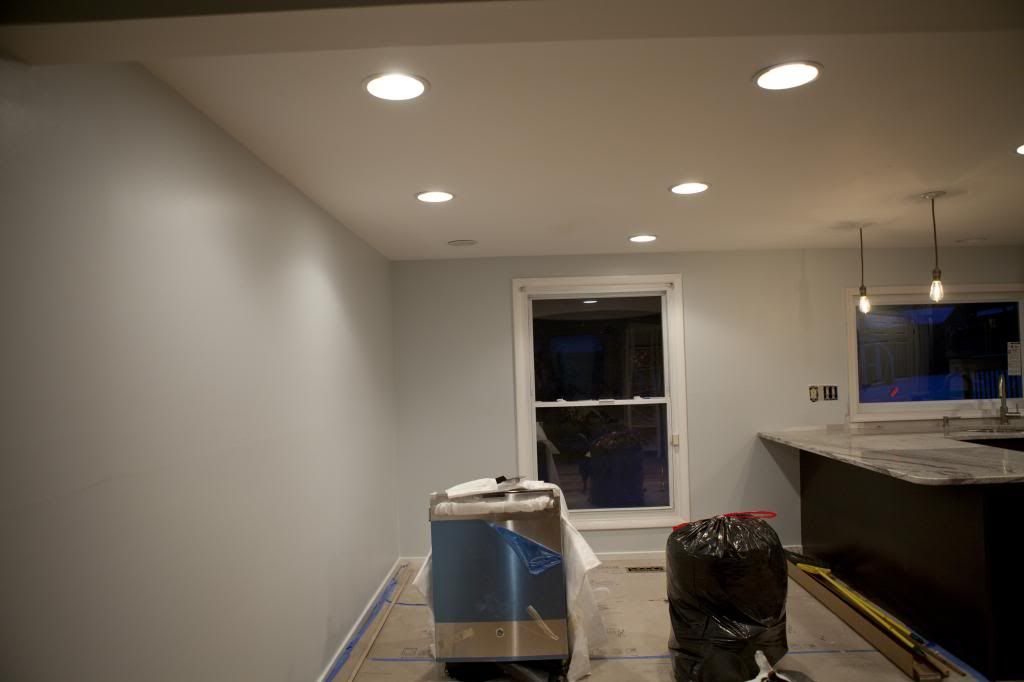

We finished with the second coat around 4pm in the afternoon and the winter sun had already disappeared. And yes, that's our damaged dishwasher in the dining room.
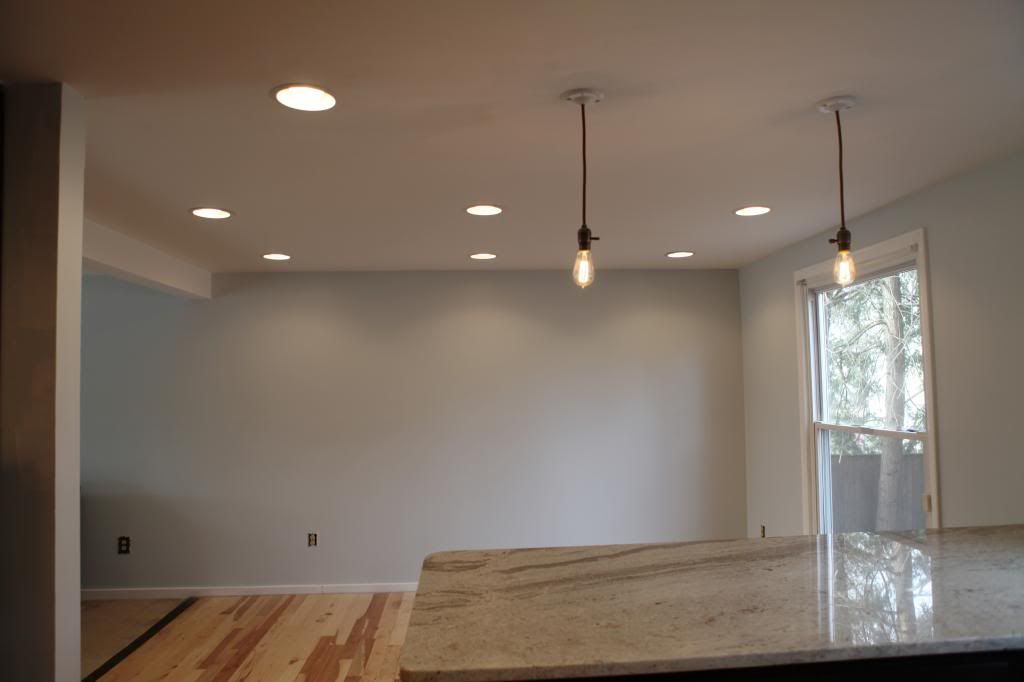

The only downside to finishing up the paint on Sunday afternoon meant it wasn't until the following Saturday that the hubs and I saw the rooms in full daylight! The sun isn't up just yet when we leave for work in the morning and the sunlight is incredibly faded by time we get home at night. Thanks short winter days! 

We have just a few minor touch ups to take care of this weekend and then the painting is DONE.  We're also going to add a coat of high gloss paint to our window frame to ensure it repels any potential water back splash from the sink. 
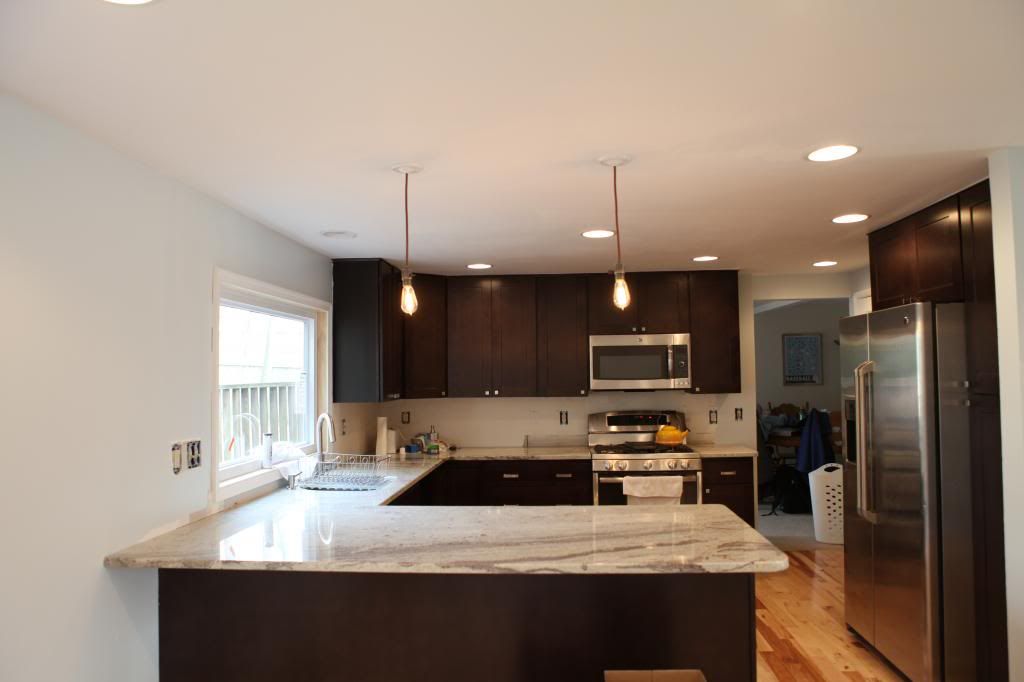

In the interest of saving time, stress, and money we elected not to paint where our back splash is being installed. Or we're just lazy, the jury is still out on that one.

I know we could have had paid our contractors to paint for us and considering they're doing pretty much everything else it would have made sense. However, the hubs and I oddly like painting. Or at least we like the part of picking out a color. But it was nice that we were able to do something besides just the floors with this kitchen. 

Up next - the back splash.  Oh, and if you didn't see this then I can come clean and tell you the kitchen is now structurally finished! We've got a few touchups to do this weekend and obviously we need new furniture, but we're done with the big items. Even the dishwasher is working :) 

Tuesday, February 4, 2014

Kitchen Renovation: Paint Prep and Ceiling

Painting a room could be really easy, if certain conditions exist. For example if the room is empty and has ample natural sunlight so you can see exactly where you're painting.  Our kitchen, dining room, and living room were far from empty and Mother Nature decided to play hide-and-go-seek with the sunlight last weekend as we painted. That made for a few interesting moments where we would move around lamps and try to figure out if a particular area was wet, missed, or just a shadow playing tricks on us. 

First on Saturday (Day22) we were able to prep the space. I've been hearing so many raves about Frog Tape lately that I convinced the hubs we should give it a whirl. I'm happy to report we were both incredibly pleased and our cabinets were spared any paint residue. Usually when we paint we avoid tape because we're still scarred from this incident - the blue room paint peel. We have a routine where I cut-in with a brush and small roller and the hubs follows with a big roller.  

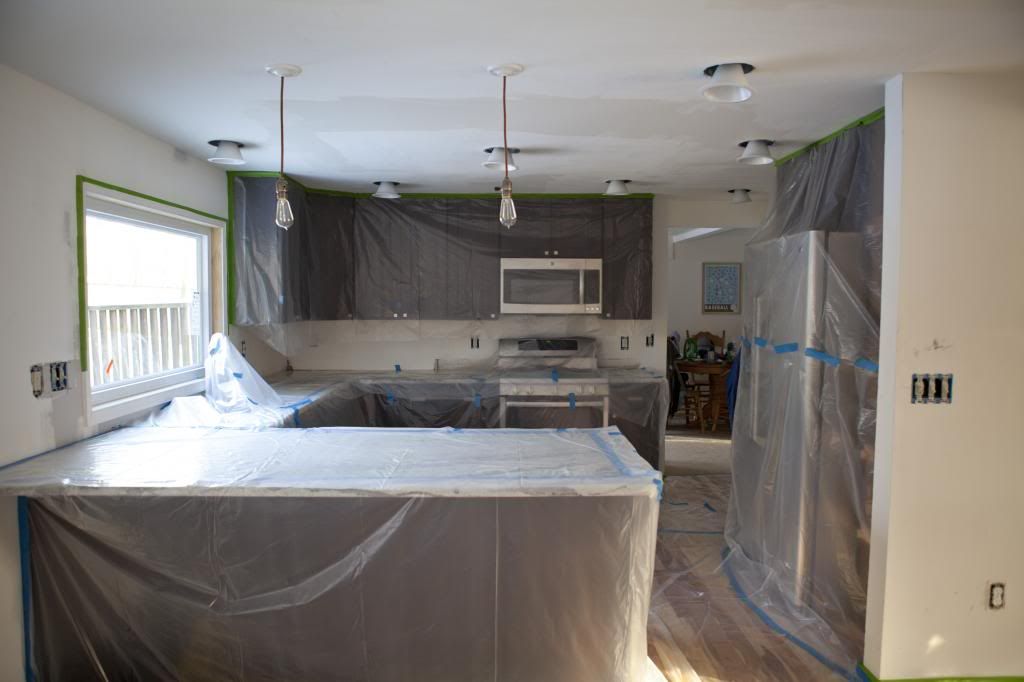
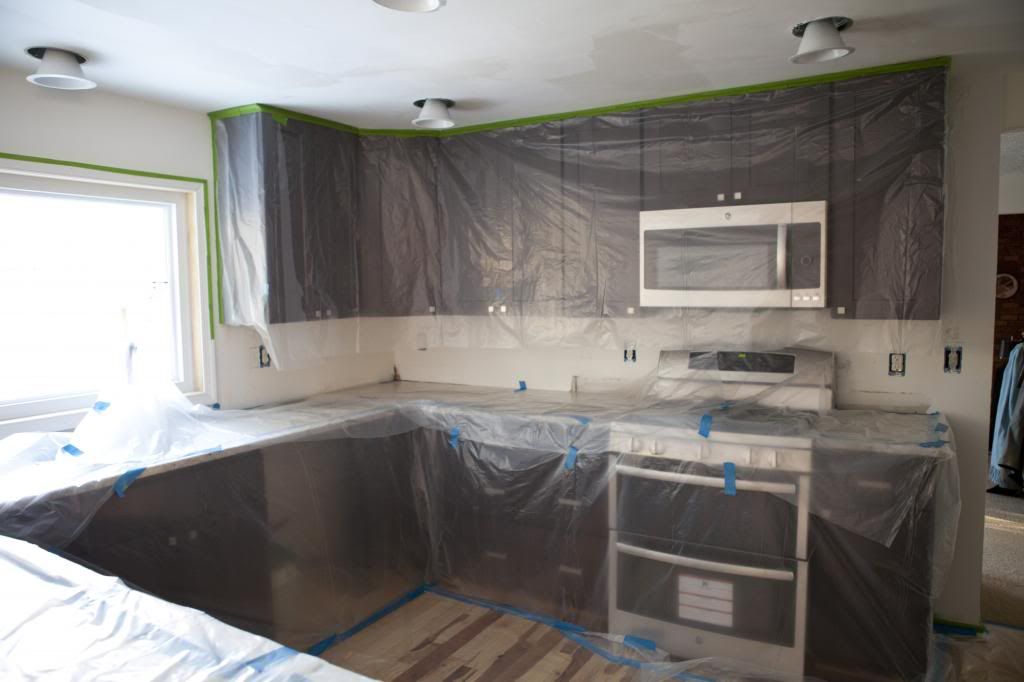
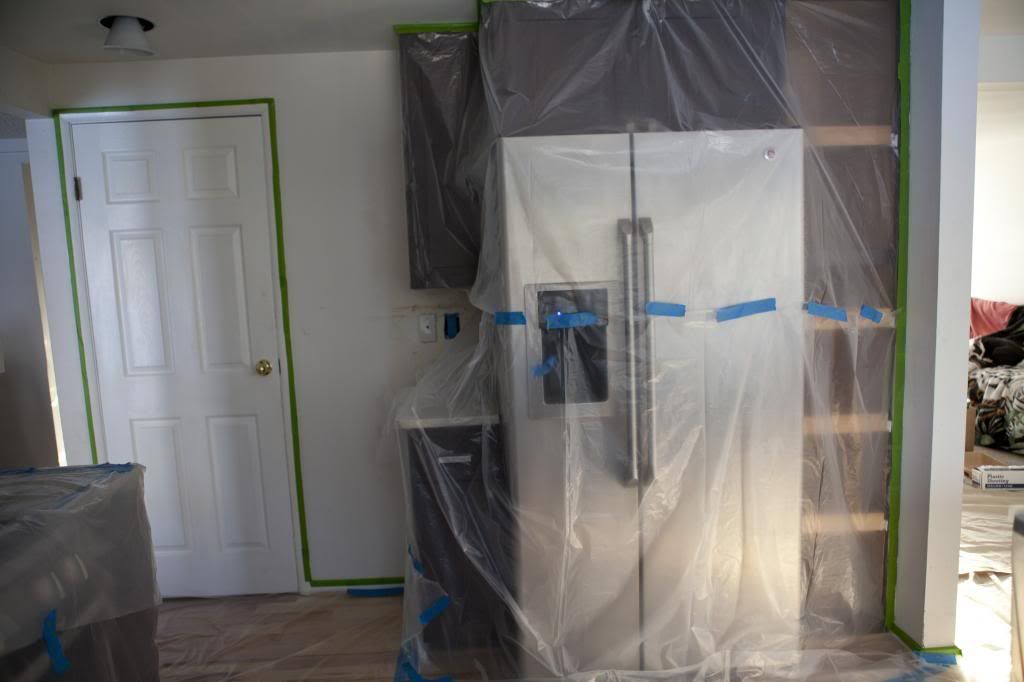
However, this time we had so many small areas in our kitchen that we had to mix things up a notch. We also didn't want to risk damaging our new cabinets, granite countertops, stainless steel appliances, or hickory flooring.  The hubs picked out a whole lot of plastic sheeting  and we covered everything that was new in the area. This actually took a lot longer than anticipated because we had to make sure to have everything nice and sealed, plus have straight lines where we needed them. Yes, I totally fell down just walking across the floor because it was so slippery. 

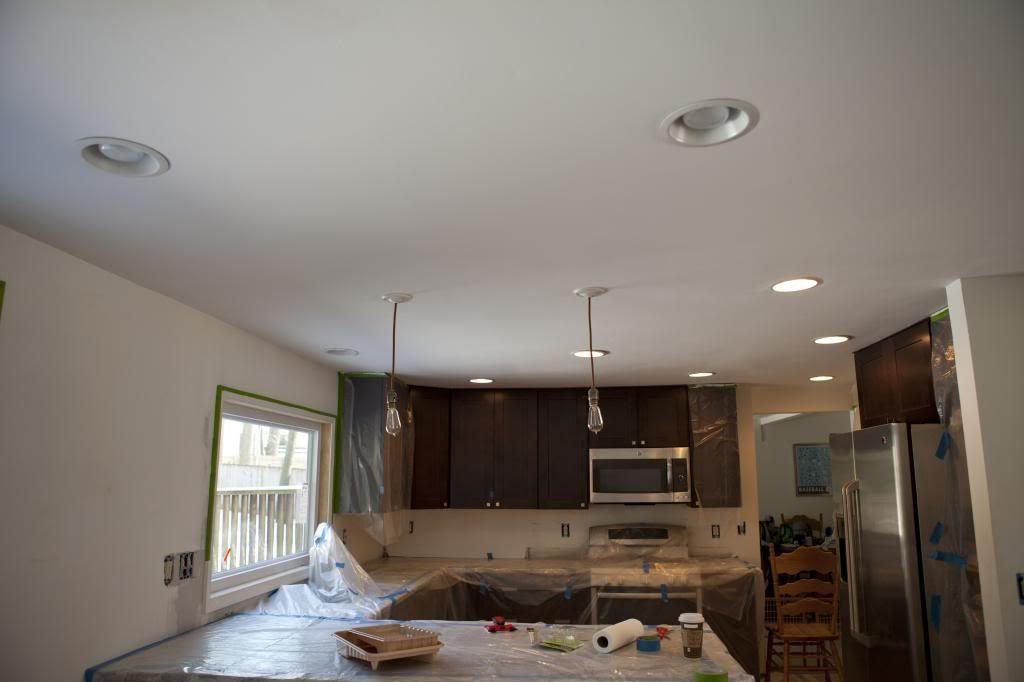
We used the Olympic ICON flat ceiling paint in the kitchen and dining room. It's no VOC and had a slightly sticky application. I really liked it because it went on really smooth and stuck to all the new drywall. At first I was skeptical of the stickiness, but it really grabbed hold to the ceiling and went on very smooth. We only put one coat up on the ceiling and I think we have a few touch up areas needed because it was harder to see if something was wet or a shadow when we were finishing up. We like to keep our ceilings straight white so there wasn't any need to get a tint-able version of this paint. 


I told the hubs our kitchen looked like it was part of a scene from Dexter. He didn't get the reference. 


Then, I mentioned something from Breaking Bad. Again, nothing!


Finally, he got what I was going for and said, "It looks like Huck brought his tool chest over." Yes! He made a Scandal reference! Love that man. 


In the interest of saving time we opted not to paint the ceiling in the living room. There was just too much stuff in there to work around. Plus, there is a beam separating the living room from the dining room so we don't care if the two rooms don't have the exact same shade of paint.  Because this paint was so such a low splatter formulation we might paint the ceiling in here right before we install the hardwood floors. At that point we won't care if a little bit of paint falls on the carpet. Oh, floors have been ordered and will be installed in just a few weeks. So excited! 


And we're done with the ceiling! As soon as the ceiling was done we started cutting down any of the plastic that we could just to make sure the Frog Tape held and we didn't have a ton of paint on our cabinets. Again, everything looked great.

Up next - adding a bit of color to our walls. We initially wanted to go with a very light gray color, but after seeing all the gray in the granite we were worried that would be too much, especially considering we have grayish marble tile going in soon (weather dependent!).  Painting the ceiling is just awkward because it's a lot of overhead arm movements. Painting the walls just seemed never ending! 


Thursday, September 29, 2011

How not to paint a room


This sucks, really, really, really, really sucks.

The hubs and I were so enthusiastic over the weekend and happy because we painted our first room. Saturday we painted the ceiling white, then waited the until the evening before applying any tape to the ceiling. We taped the room and did all the prep work.

Sunday, while I was out for a long run the hubs began to paint.


This sight instantly warmed my heart after a difficult 17 mile run.

We felt bold! We felt good. I even proudly proclaimed, "goodbye beige lifestyle!" I should have known that triumphant proclamation would come back to haunt me.

The first coat when on and then four hours later we were back upstairs adding the second coat.


The above picture was taken almost at 8pm with only one little lamp in the room. Needless to say, the paint is NOT that dark and there will be more light in the room.

Then, the hubs went out of town for two days. I didn't want to do anything to the room while he was gone so we could see it together when he got back in town.

With the hubs back in town I started to peel off the painters tape used on the trim and ceilings. That's when I noticed that the paint started to peel away from the top of the wall. This is also when I wanted to start to cry!

And curse. I really wanted to drop consecutive, multiple f-bombs in a row, but I didn't.


It's not the end of the world, but it's bugging the daylights out of me. I really don't know what to do. Clearly, the top and bottom sections of the walls are going to peel. Do I just ignore it for now and move on? How the heck do I fix it? Do I have to literally peel the entire two coats of paint off the wall?


We used the same brand of zero voc latex paint on both the ceiling and wall and the walls peeled, but the ceiling didn't. That's what's bugging me the most. The ceiling looks GREAT and the walls, not so much.

Thankfully, we started with our future guest bedroom with the intention that we never use the room. If something went bad, it'd be okay because we don't go in that room. I guess I need to do more research on paint and hopefully we never have this problem again.

However, this completely ruined my happy attitude towards the house. We went bold and ended up flat on our faces. Not fun!

Any suggestions on what we did wrong? Recommendations on how to fix it?

My guess is that our decision to skip a primer came back to bite us. From the limited reading I've done in a pathetic attempt to understand what we did wrong was that we used a latex paint on top of an oil-based paint. An oil-based primer would have worked for us and saved us this mess, but alas we skipped the primer step. We thought with such light walls we didn't need a primer. Looks like we learned a very valuable lesson in home renovations: don't skip steps, even if you think you don't need to do it.

EDITED: Turns out the error was ours and it was simple! We didn't take the tape off before the paint dried! Whoops!