Showing posts with label DIY. Show all posts

Tuesday, February 18, 2014

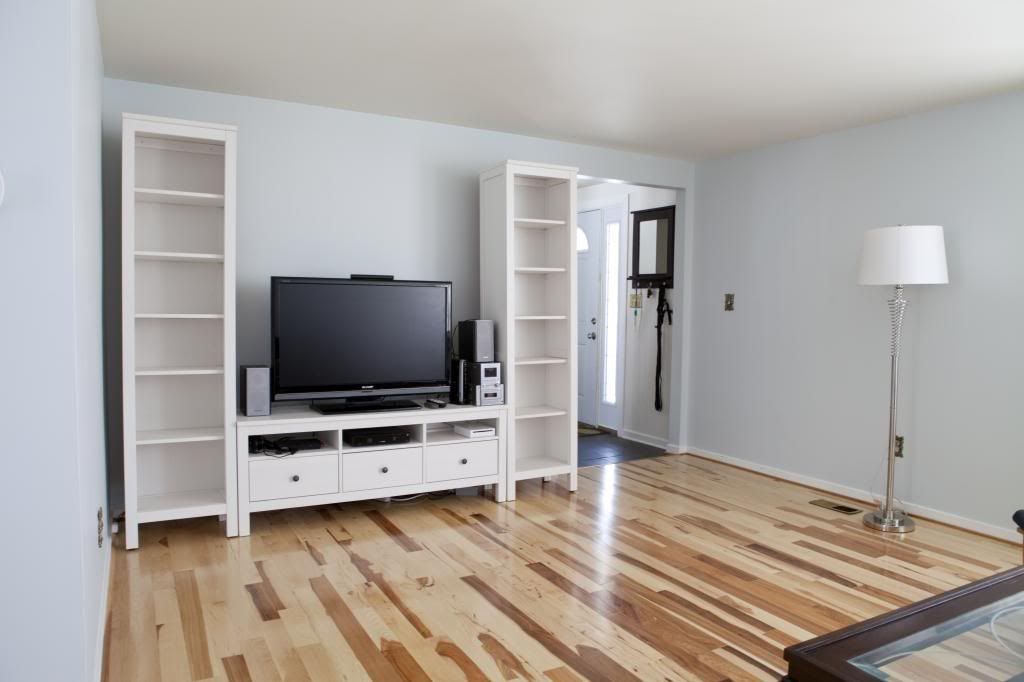
Living Room: Hardwood floor installation

Made in USA: Wood Floors: Mohawk Natural Hickory from Wood Floors Plus // Sofa: Z Gallerie Harrison Sofa // Pillows: Naked Decor // 

Confession time: I am a perpetual slacker when it comes to finishing a project. I mean well and I have the best of intentions, but finishing a household project is a challenge for me. Instead of doing the natural thing and finishing the kitchen over the long weekend the hubs and I decided to move to the next room and we ripped apart our living room.  Okay, so maybe our procrastinator tendencies aren't terrible, but the kitchen still isn't done and we've already cut ties with that room. (I kid, it's not finished because I'm too lazy to buy a new paint roller. Not like I didn't make multiple trips to Lowe's this weekend or anything.)  

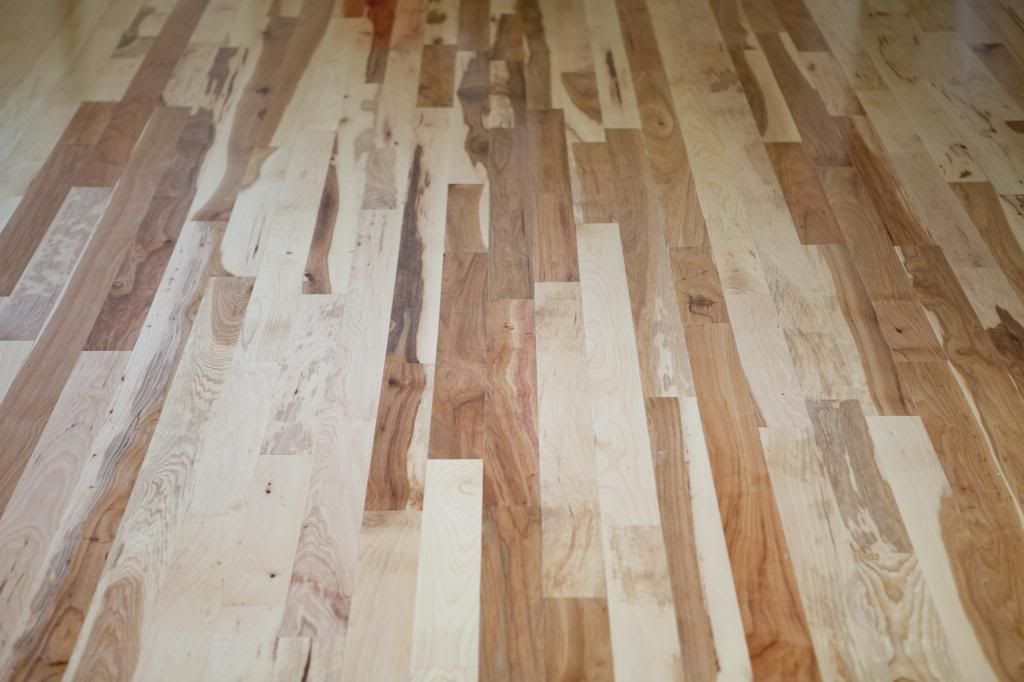
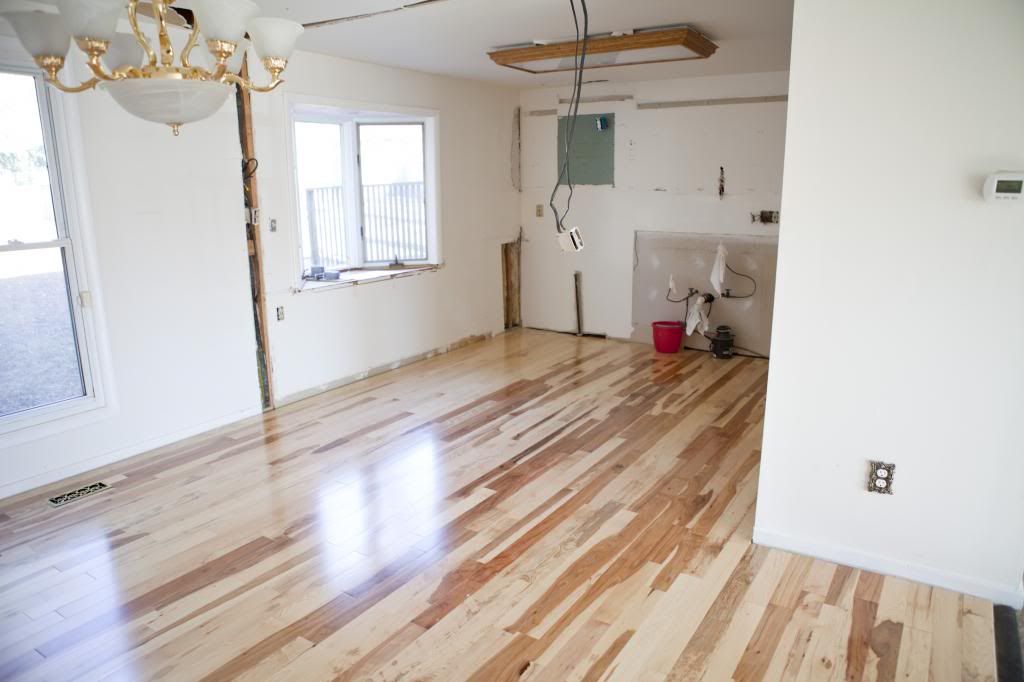
We bought our Mohawk hickory floors from Wood Floors Plus. They were a slightly different model number than the floors we bought for the kitchen and dining room, but they look exactly the same. I'm really happy we bought them when we did because they are currently out of stock! This is a discontinued color so I'm really happy we got them when we did. Whew! 
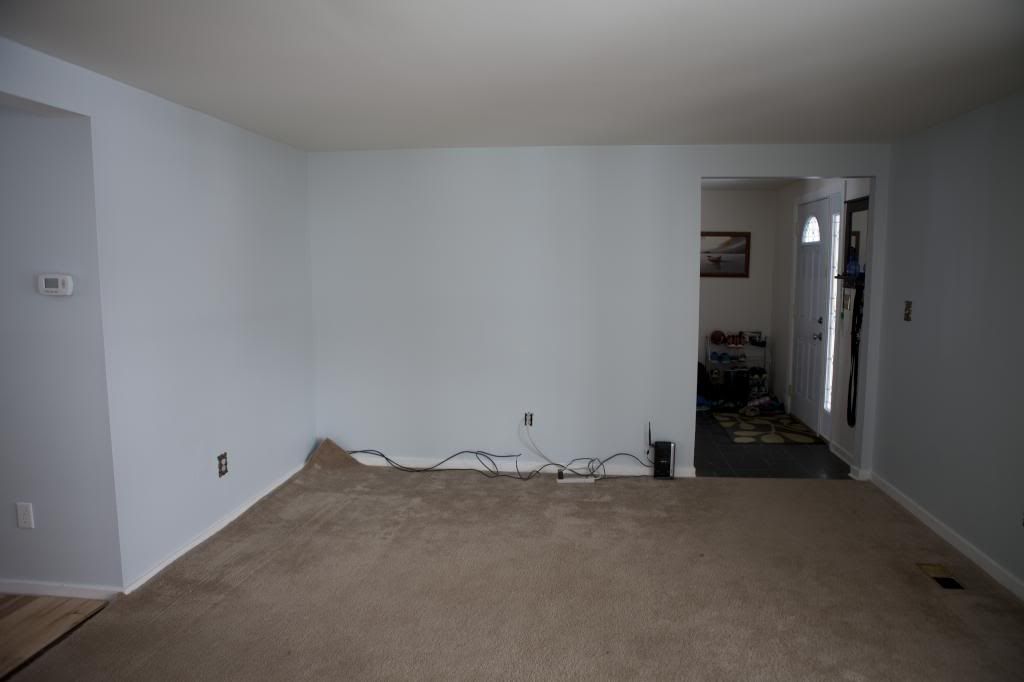

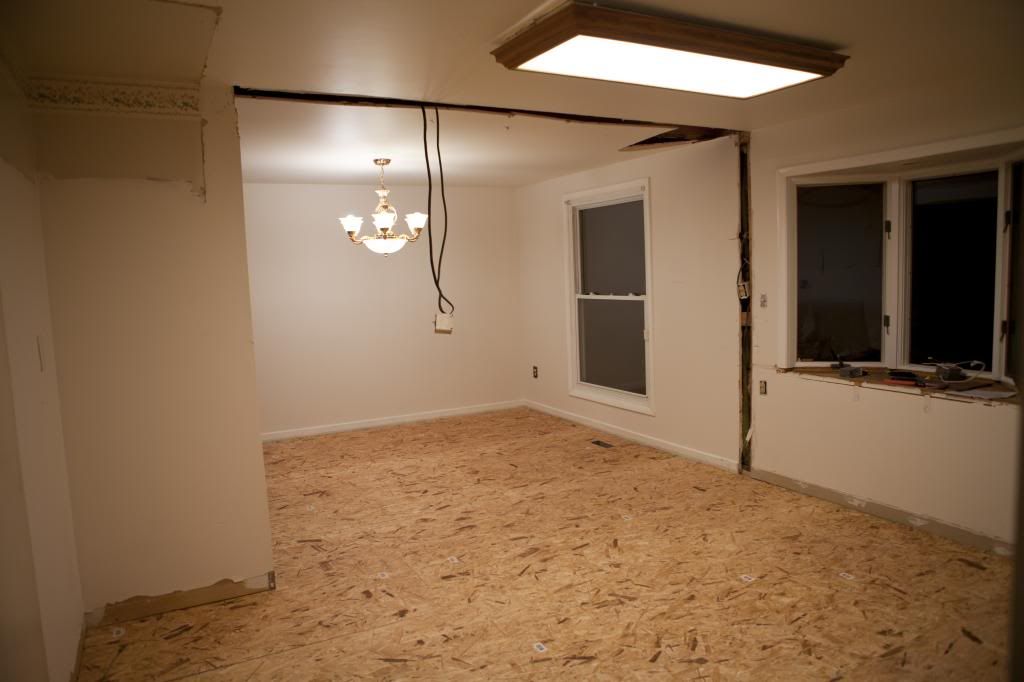
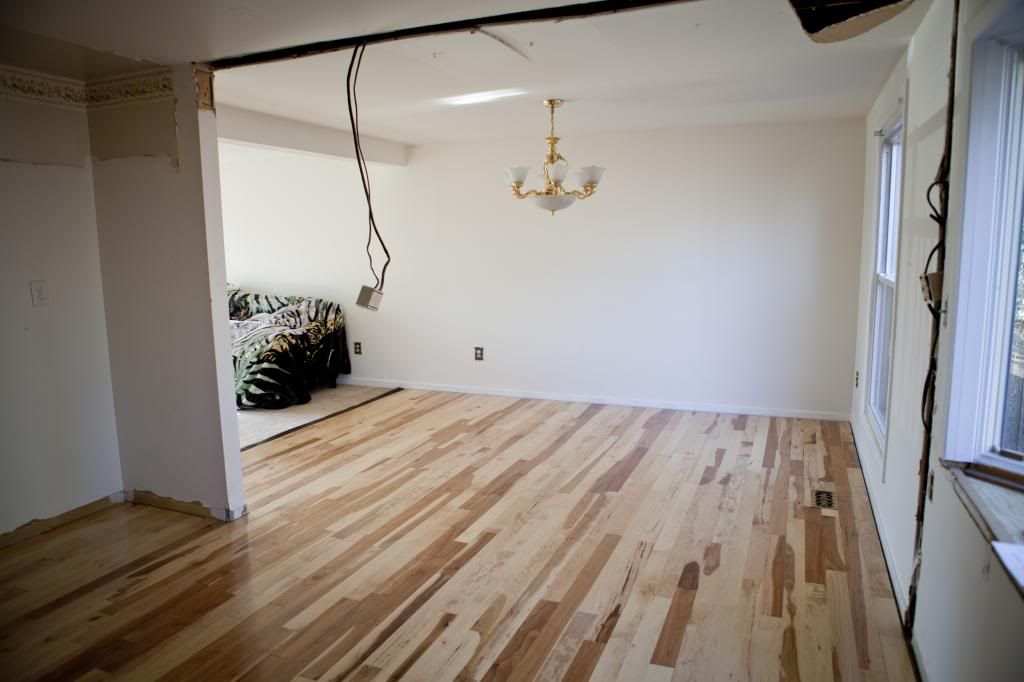
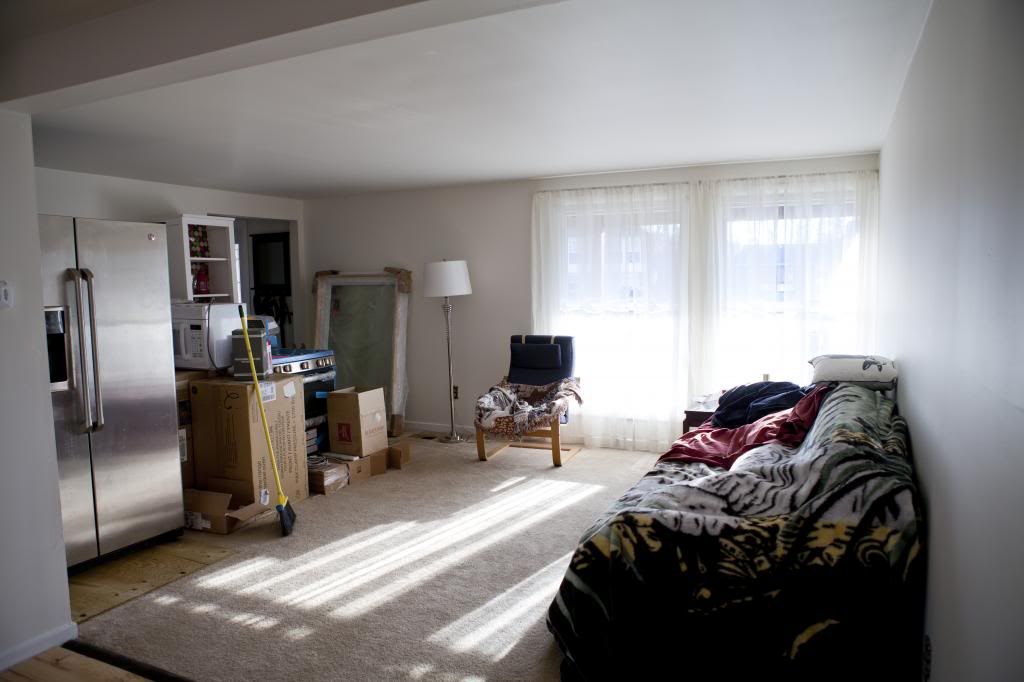
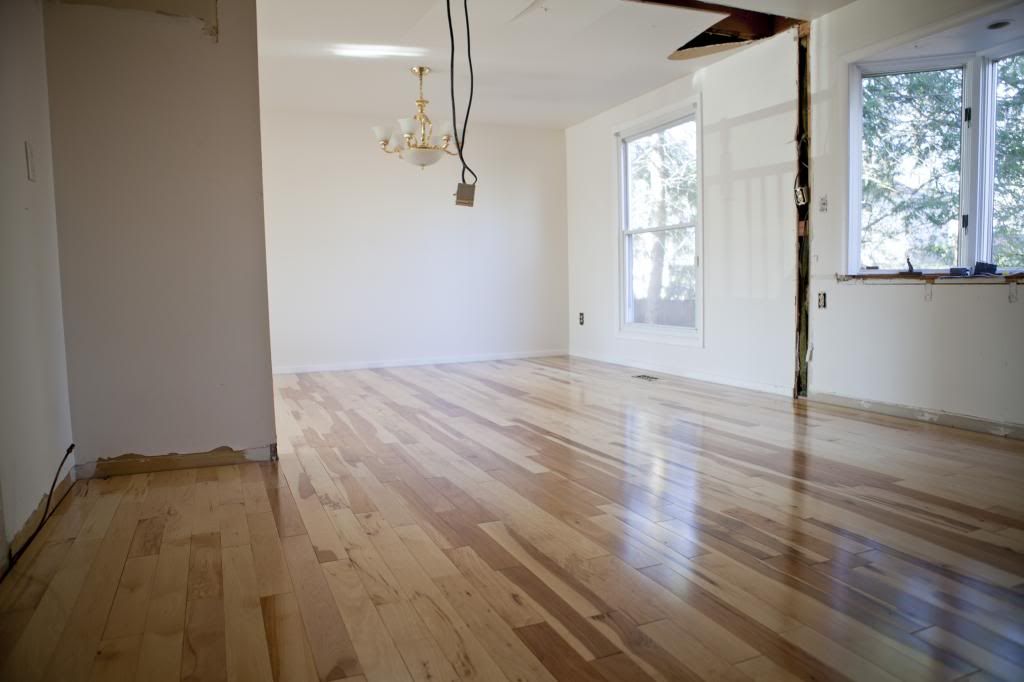
So this is what our living room looked like pre-hardwood floors. These photos were taken during a snowstorm, so the lighting wasn't great.  We cleared out the room on Saturday morning, tied up the curtains, and then ripped up the carpet. I made darn sure to make certain our wireless router wasn't tossed or disturbed during this project because there was no way in heck I was risking my internet privileges! Priorities people. 
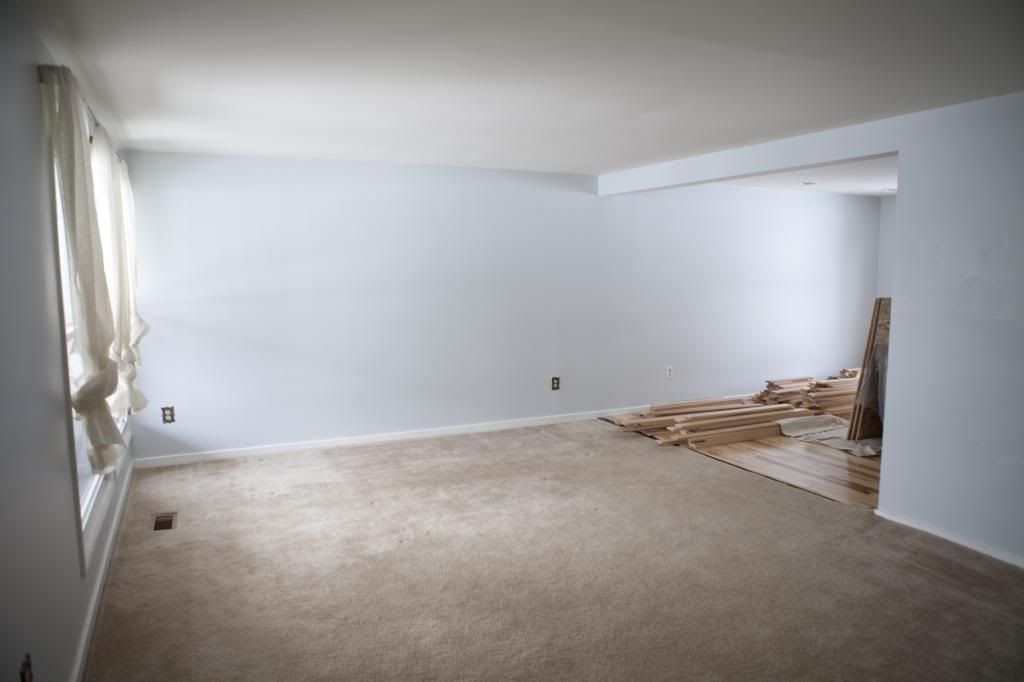

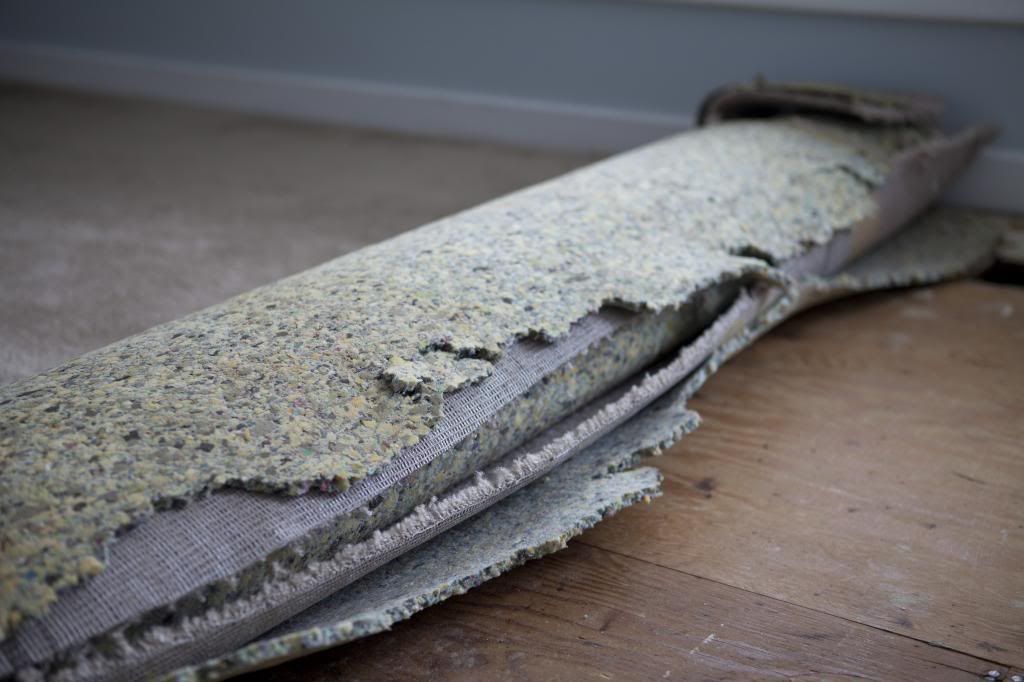
The room is 17 feet long so we decided to roll up the carpet and cut it into three separate rolls. That made the weight much easier to maneuver outside onto our porch. We have a Bagster for this project, but we didn't set it up since our front yard is a snow fort at the moment and temperatures are supposed to rise into the 50s this week. That's a recipe for disaster! Instead, we're going to be those neighbors with a bunch of junk on our front porch for a few days. I'm sure our neighbors love us! 

The hubs was in charge of dismantling our scary metal transition between the living room and foyer. Notice the awesome seam in our carpet? Gotta love the shoddy job that was put in by the Bank that owned our house. I guess I can't complain since our house did come with brand new carpet. 
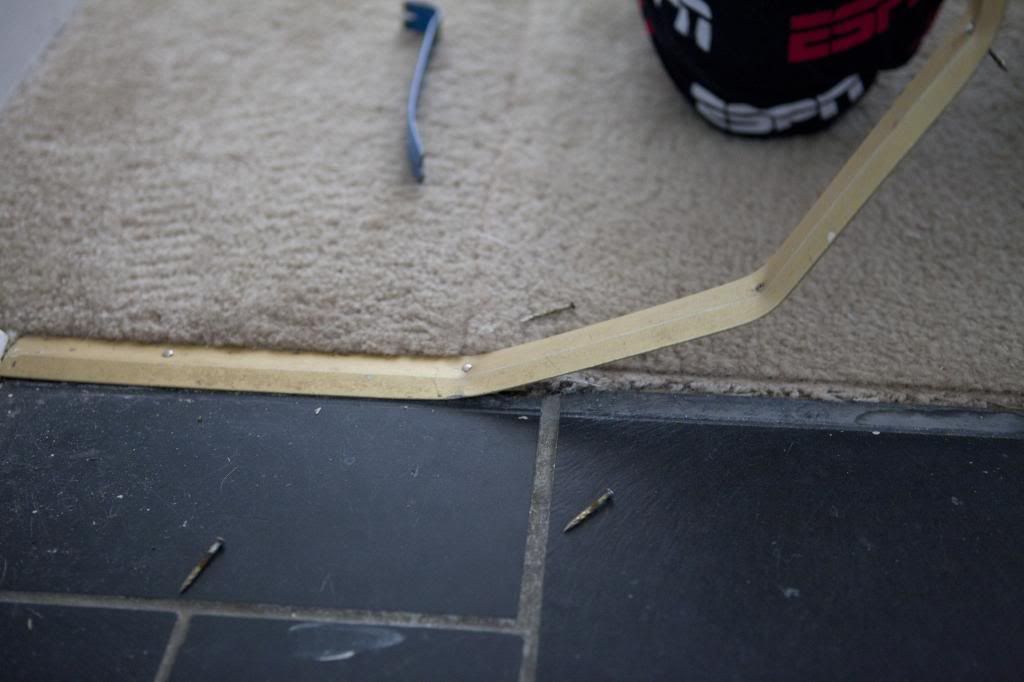
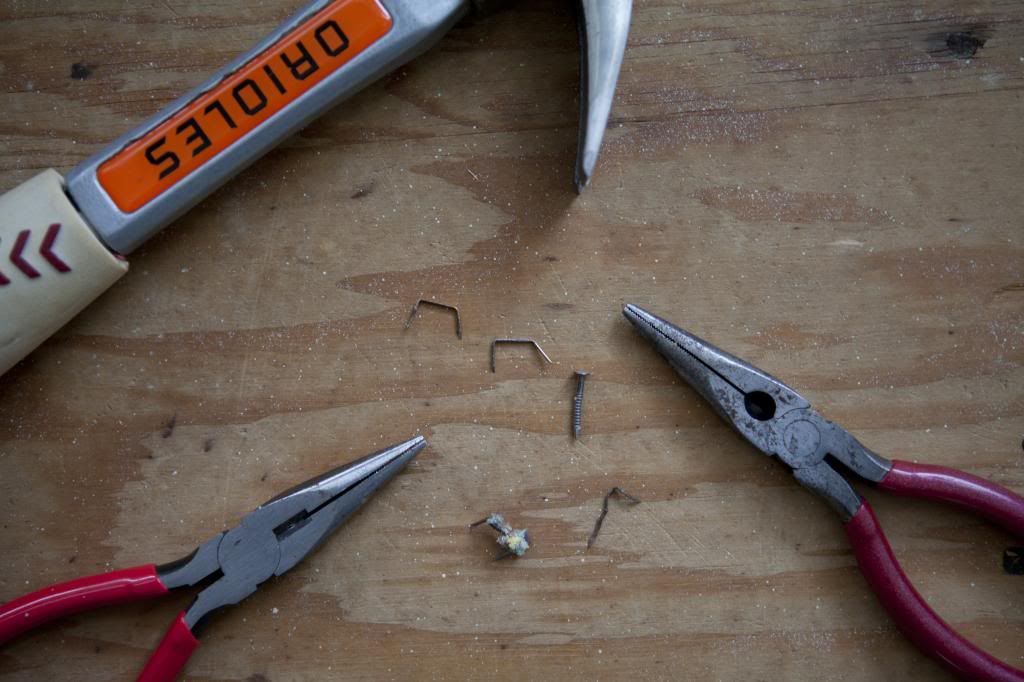
And then there were carpet screws. Just like the wood floors there were too many to count. Unfortunately, these suckers could only be pried up with a pair of needle nosed pliers. Insert copious amounts of "this sucks" here. 
But then the snow went away and on Sunday we were able to install our Mohawk Hickory floors. I was home this time around and I got to help with everything, which may or may not have annoyed the hubs because I kept saying things like, "we need another pretty board here" or making too many Thor references.  I will say that I have bruises all over my body from carrying boards back and forth and kneeling all over the place. I will never make fun of anyone who wears knee pads again in my life. Ever. 
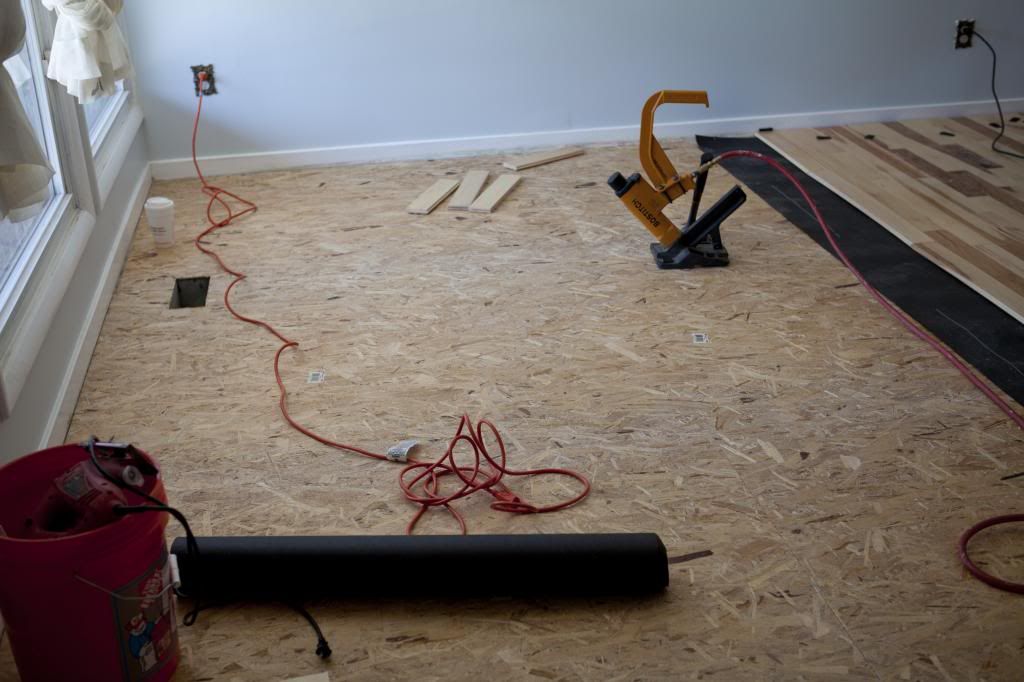

I also got kicked off of nail gun duty for laughing each and every time I "brought down the hammer." I think I made it through 4 rows of flooring when the hubs asked to switch with me. At least I got in a few licks on that sucker! 
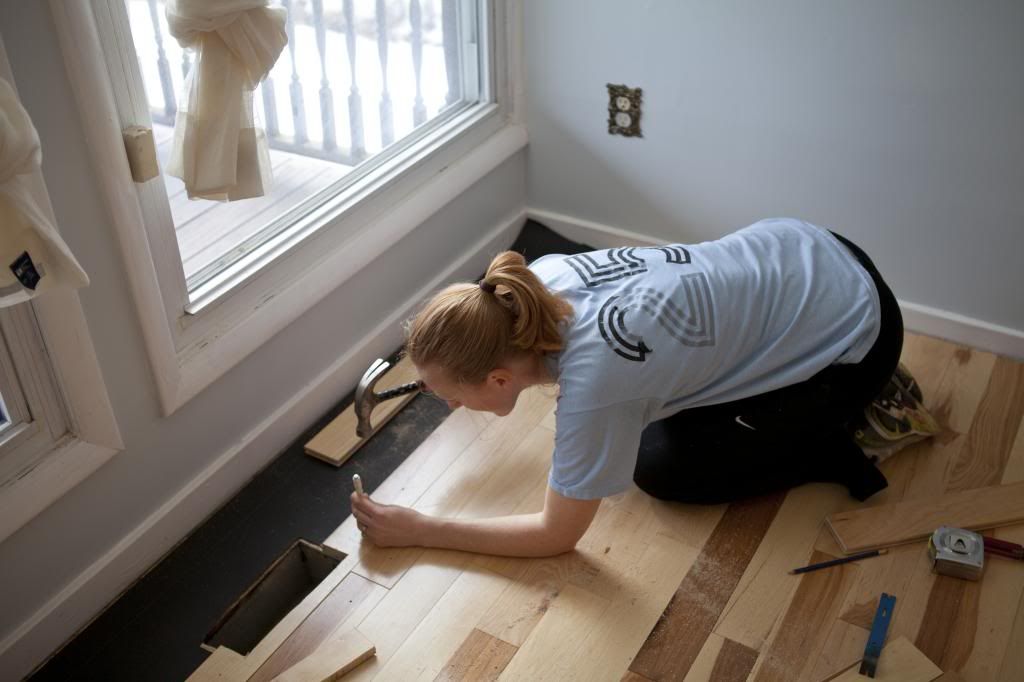

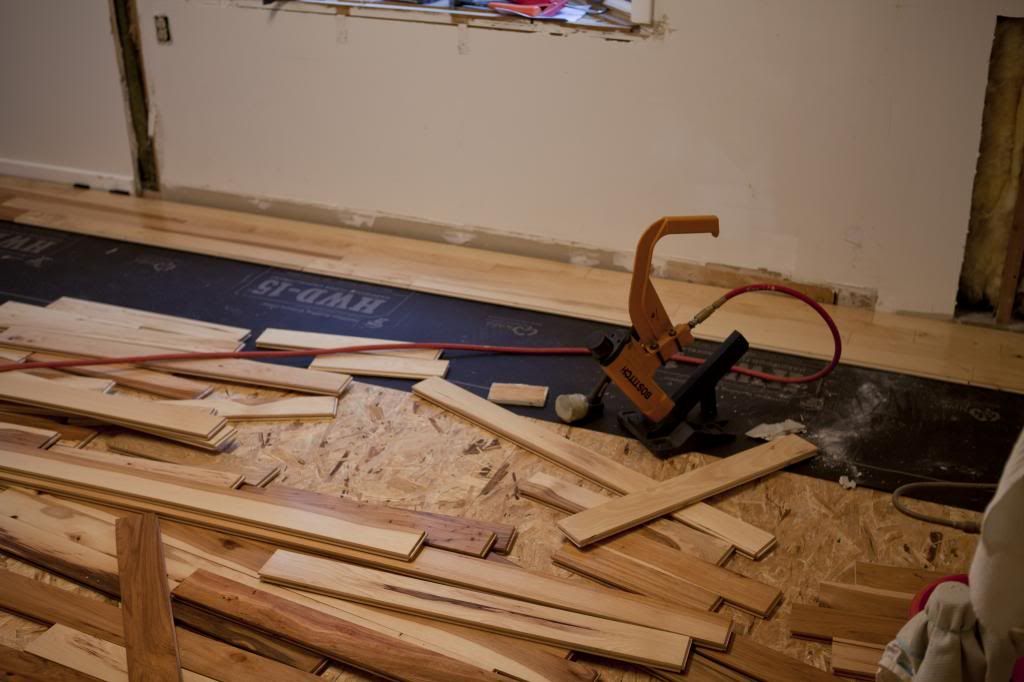
There were no objections when I picked up a regular old hammer and finished off the last few rows of flooring the good old fashioned way.  I think we made up to four rows (well, really 3 and a half) away from the wall with the nail gun and then it was time to drill and hand nail. There just wasn't enough room to swing the mallet at that point. 
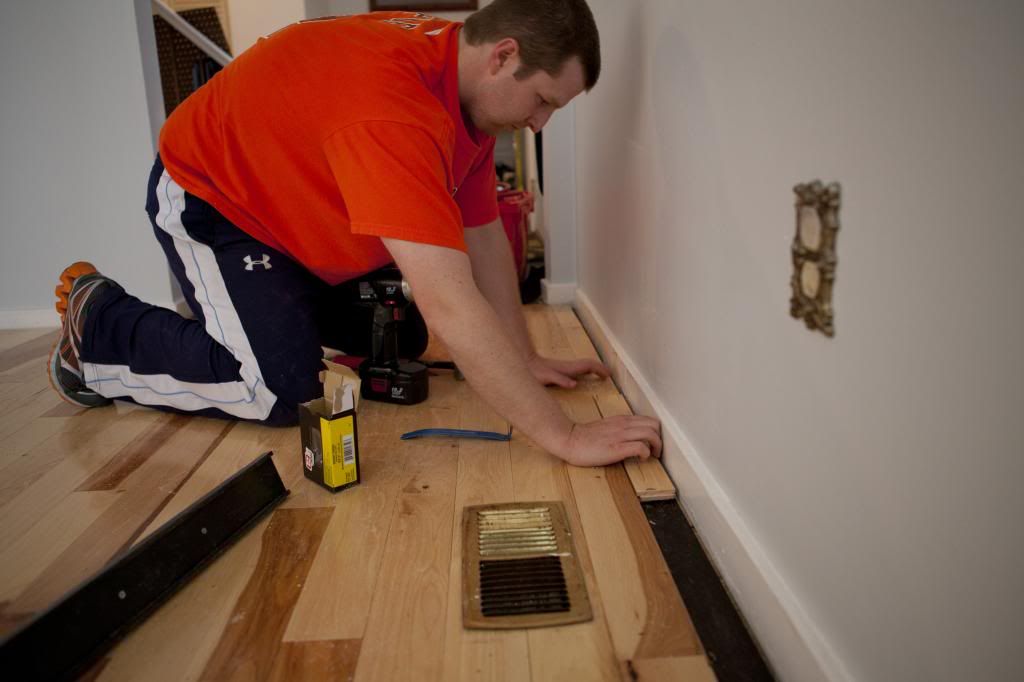

We stripped the boards for the last row down to 2.5 inches and that left us with a decent expansion gap all around. The crazy thing was that last row was perfectly even, which means this is the only straight wall in our house or we put down a very crooked floor :) 
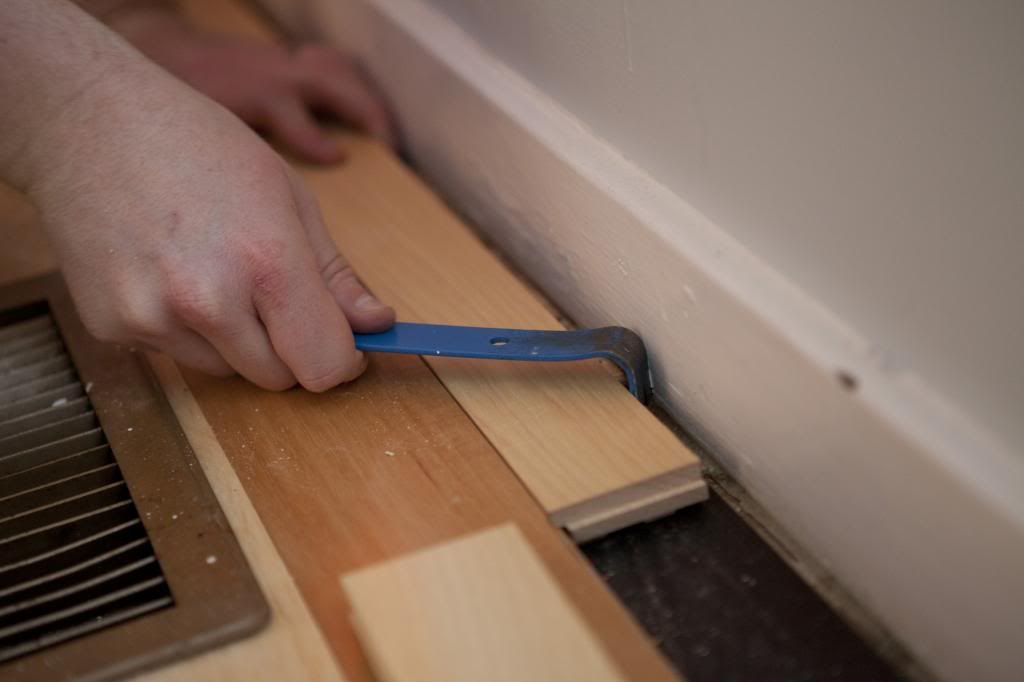

It took a little bit of finesse to get the last row of boards in, but we did it! I don't know if I've ever breathed such a sigh of relief than when that last board was finally nailed down. 
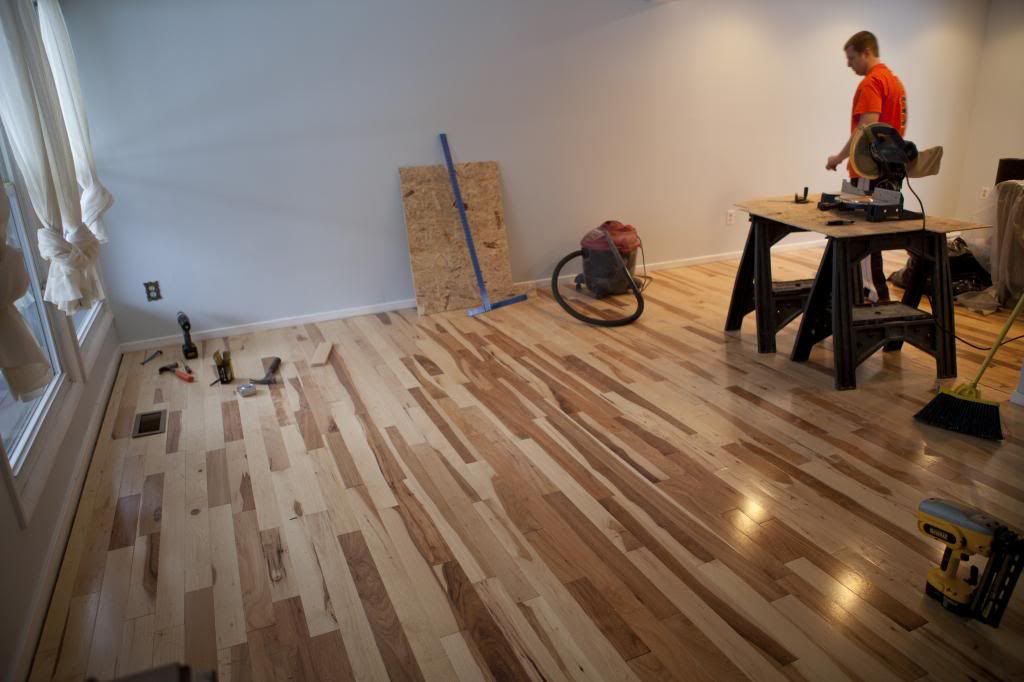

Ugh, the worst part of any home improvement project is the cleanup. I am officially over sawdust.  And my hands are absolutely shredded. I couldn't grip anything with gloves so I skipped them and I don't think my hands are very happy with me at the moment. We cleaned up most of the mess and then we put down our quarter round. That was probably the easiest part of the floors! 
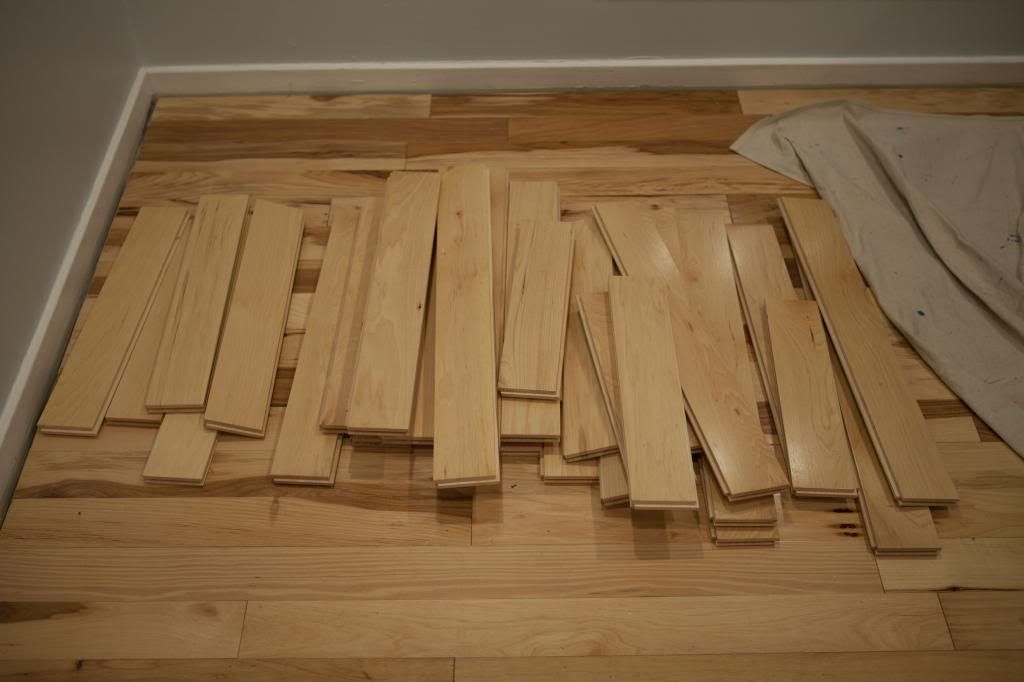

And finally, after purchasing 30 boxes of wood flooring to put in our kitchen, dining, and living rooms we're left with these few pieces. We had more damaged boards, but we quickly put them in the Bagster pile as soon as we discovered any type of damage.  I don't know what we're going to do with these few boards yet, but I made sure to put them in a safe place down in the basement.  
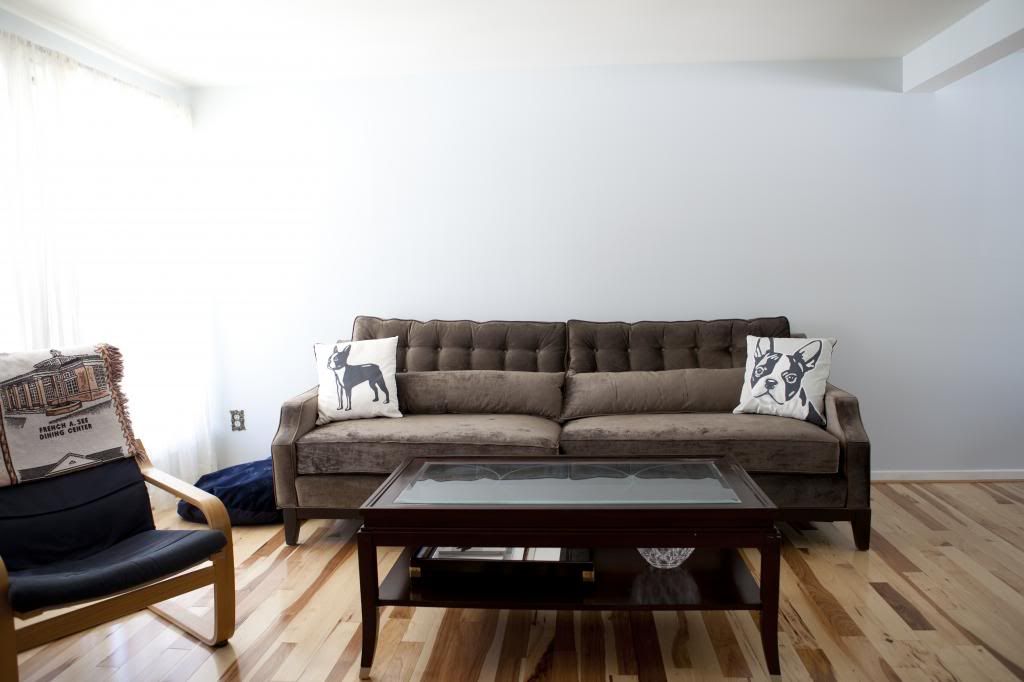


Now, we just have to finish this room! Easier said than done. The couch, entertainment center, lamp, curtains, pillows, wall color, and obviously the floors stay. The 8 year old Ikea chair, coffee table, and dog bed need to find a new home sooner rather than later.  We should probably get matching outlet covers and new floor registers, but those are relatively minor updates.

This is the spot where I ask for recommendations on getting a gallery wall started. That's a big couch, with a lot of wall space and it needs a lot of help! We have a city planner's map of Baltimore from 1872 that will be our main feature on the wall, but I just can't figure out what other types of frames to put with it. HELP!

Thursday, January 16, 2014

Kitchen Renovation: New Hickory Floors


Okay, please forgive me, but this is a long post. I combined prepping and installing the hardwood floors because I just wanted to show pictures of the final floors. I know they aren't for everyone, but I'm obsessed and smitten with our hickory floors.

Again, when we went over the final budget for our kitchen the hubs and I made a bold decision and decided that we would install our own floors. We were originally quoted a price of $4,000.00 for both the materials and installation for our dining room and kitchen floors.  We then found Mohawk solid hickory floors on clearance at a local wood supply store for $3.49 a square foot. Hickory is usually $5+ a square foot which meant this was a great deal and this even added more to our savings.

Total Cost: $1,659.05 (this price does not include the cost of the dumpster we rented for demolition)

  • Hickory Wood Floors - $1,237.09 (Wood Floors Plus )
  • Wood accessories        - $41.31 (Wood Floors Plus felt paper, nails, wood putty)
  • Nail Gun Rental           - $60.00 (Wood Floors Plus two-day rental)
  • Transitions/Toe Kick   - $171.78 (Lumber Liquidators $6.99/ft for transitions, $2.19/ft
  • Subflooring                  - $148.87 (Lowes) 
That's a savings of over $2,300! That's a big deal and that savings allowed me to go big and get the massive double oven I wanted. Okay fine, the hubs was also able to get some nerdy dishwasher that's even quieter than a standard model. We each have our quirks! 

Flooring Prep: Day 6 of the Renovation.  After much back and forth we decided to lay a 1/4 inch level of plywood over our subfloor. The subfloor in our kitchen was mildly damaged in a few places (most likely from installing different floors over the years) and the kitchen was slightly uneven. After looking at multiple options we decided this route for peace of mind and for the adding cushioning the extra layer of plywood would provide.  

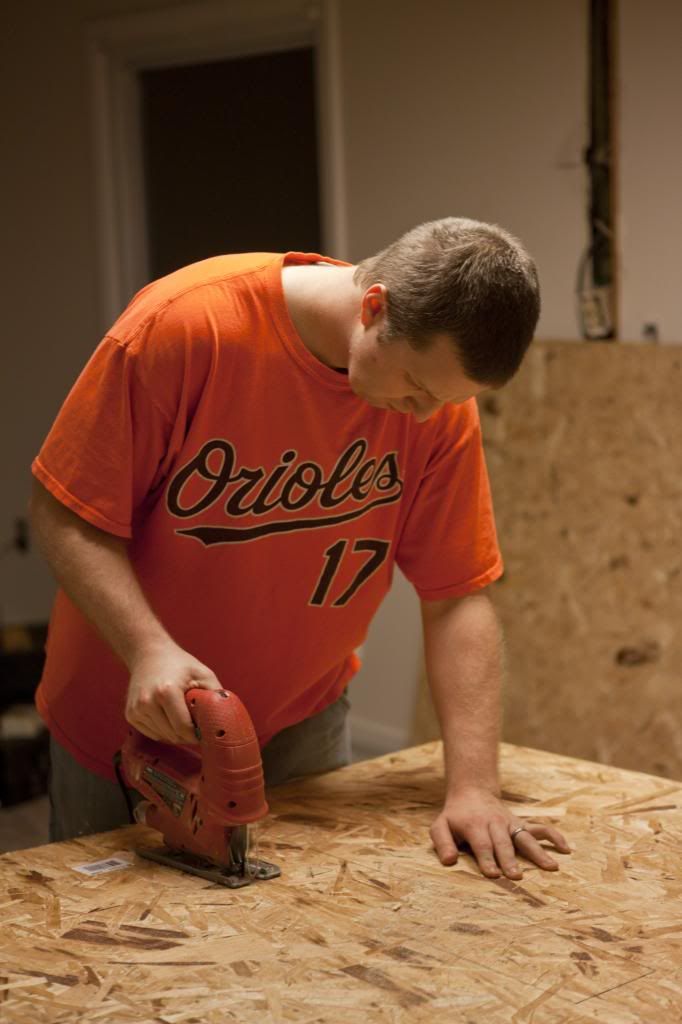
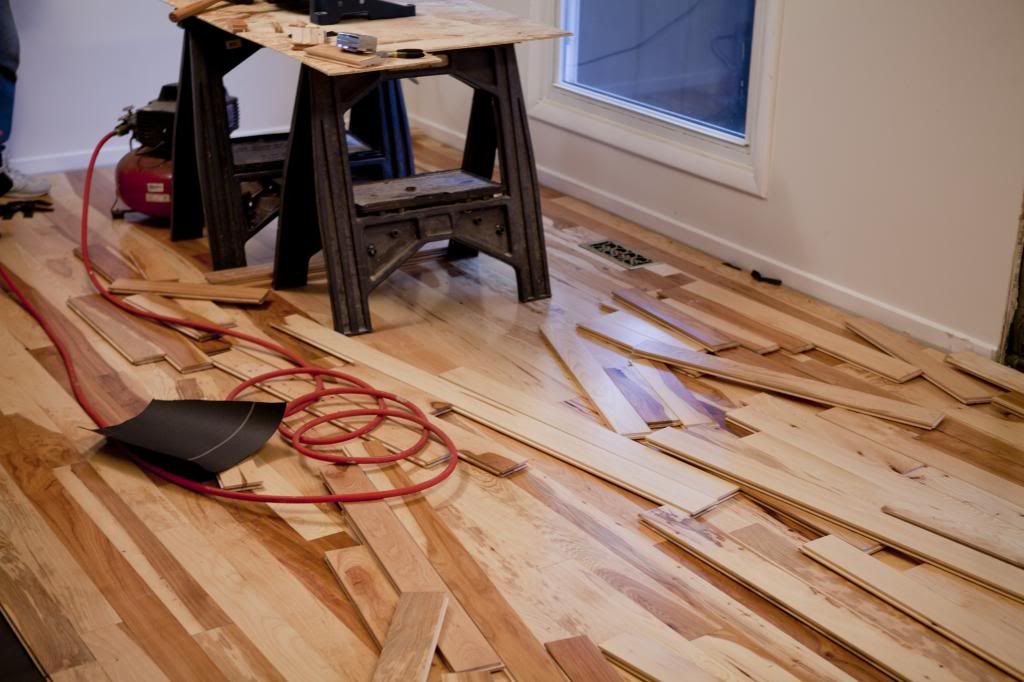
The hubs was able to bribe a friend (thank goodness for pizza and beer favors!) into helping him with the floors. Thankfully our friend had done this before and had all the additional tools we needed (scroll saw, table saw, air compressor, etc). I see a large fruit basket in our friend's future or perhaps we should send him bison (the hubs is making that his "thing" to send people from a local bison farm).  The guys got all the prep work done after work on Day 6. 

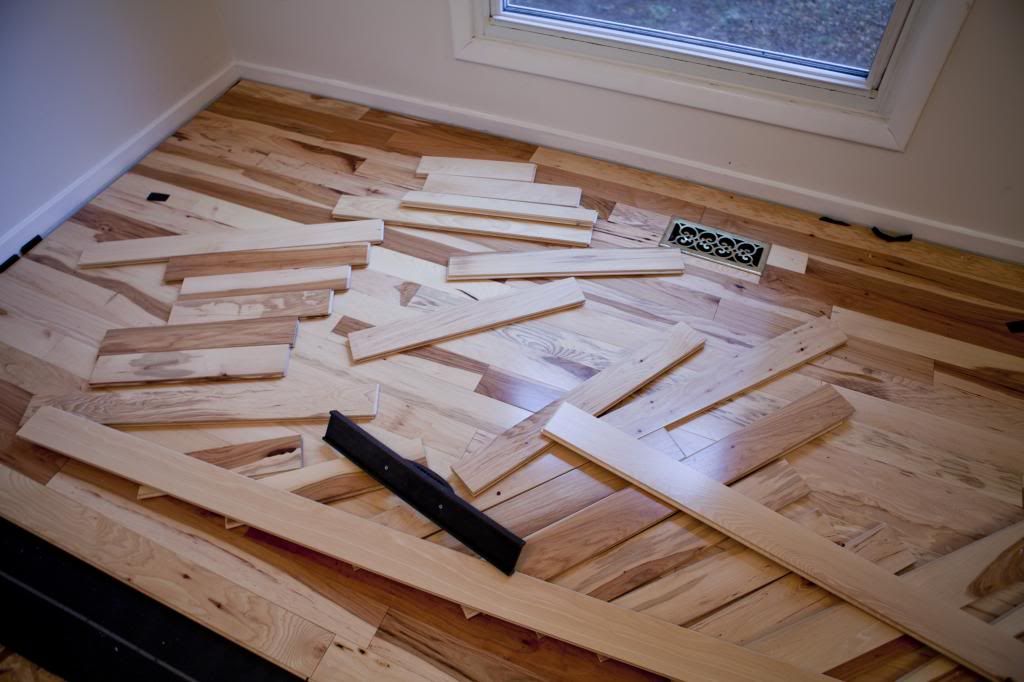
Late Thursday night the hubs and I laid out a rough flow of our favorite boards. We deliberately planned on placing plainer hickory boards where the cabinets would be placed in order to concentrate the darker and more interesting boards in the the open areas of our floor plan. 


I guess if you spend all day wearing a hard hat and safety glass while inspecting a bridge you can skip those things while at home.  For the record, I've lost count of how many times I've asked, "where are your safety glasses?"


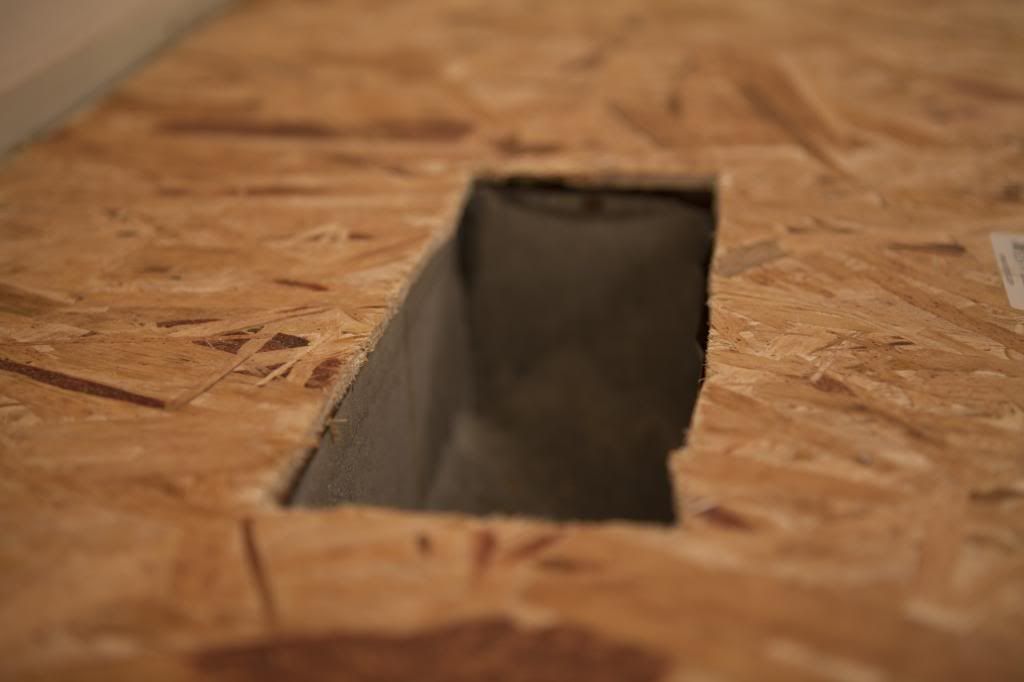
 (They even remembered to cut out hole for our air vent!) 

Floor Installation: Day 7 of the renovation.  The executive decision was made for me to save my vacation time for another day, go to work, and miss out on this project. We consciously decided to do this on a Friday and that way we could finish up on Saturday and Sunday if needed. We had to be done by Sunday night so that our contractor could come in on Monday morning.  Since this was our first time doing this type of project we decided to go ahead and start on Friday just in case this took longer than anticipated. 

The guys got to work bright and early in the morning. The hubs was even kind enough to send me a few text photos throughout the day of the progress and he went above and beyond the call of duty for taking a few photos with my DSLR. Call of duty reference was intentional - the hubs loves playing those games and will not hear a peep from me about playing them for the next six months.  

As soon as I got home from work on Friday I jumped right in and started using a regular old hammer to help nail in the last few rows of boards. I figured the guys had been working all day so I volunteered to carry, hammer, or move anything that needed to be done. This also included ordering chinese food for dinner!  The floor was finished on Friday evening. 


We rented the nail gun Wednesday night and returned it first thing Saturday morning. The kind folks at Wood Floors Plus only charged us for a two-day rental period, which was really nice.  They also assisted the hubs with a few technical questions over the phone at the beginning of the installation. 


On Saturday the hubs and I went back and filled in any nail holes with wood putty and did a massive cleanup.  The big nail gun couldn't be used for first few and last few of rows because of how close the rows are to the wall which meant that each nail hole had to be drilled and then hammered down the old fashioned way.  I was also banned from making any Thor references on Saturday because it seems I went over my allotment for them on Friday evening.  

We still have to install our toe-kick (quarter round) and transitions. We're waiting for the base cabinets to be installed in order to put in the toe-kick.  The hubs and I are still going back and forth on the transitions because I don't want to put them in at all! Honestly, I wanted to take our cost savings for doing this project ourselves and use those funds to buy enough additional materials to continue the hickory floors into our living room.  The hubs disagrees with me to a point. As soon as the floor was finished he said, "we have to put those floors in the living room."  We're just waiting to see if our contingency budget is enough to get us through the kitchen renovation and if so then expect these floors to go in sooner rather than later.  We actually have 4 boxes of flooring and a box of cleat nails left over from our kitchen renovation and I'm stalking the stock at flooring store to make sure they have enough remaining :) Really those four boxes of flooring bring down the price of this project another $250 (this $250 was not subtracted out of the budget above since we already paid for this quantity of flooring). 


Our living room was finally puppy friendly Sunday! There was so much dust that we used our shop vac, old vacuum, and even our new vacuum to clean up everything and get our room back to this stage. Thank goodness we did because our cabinets were just delivered and now our living room is a complete disaster area again. 

Looking back, putting in the floors was definitely a big undertaking. I was paranoid we would mess them up, which was probably another reason the hubs told me to go to work! In the end, it really wasn't all that difficult, just very time consuming and tedious. It couldn't have been that bad if the hubs is entertaining the idea of doing another room :)  We probably won't even take off work for that project and will hope to bang that out in one weekend. 

Up next - electrical! Which we don't touch with a 10 foot pole!  We're leaving the rest of this kitchen renovation up to the professionals until it's time to paint. That probably means we should go pick out a paint color this weekend.

Friday, December 13, 2013

Simple Advent Wreath


When I was a kid both of my grandmother's would send my siblings and me an advent calendar every year. Truth be told I enjoyed them more for the candy than the message, but now that I'm an adult I look back and I wished I would have enjoyed those calendars for their meaning rather than their chocolate calories. 

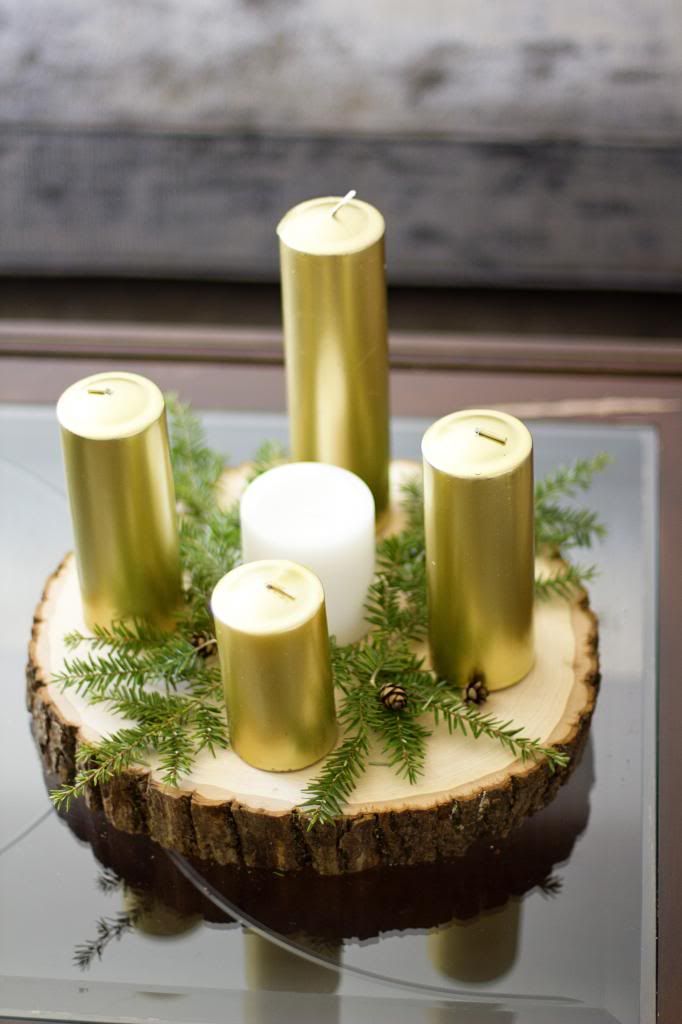
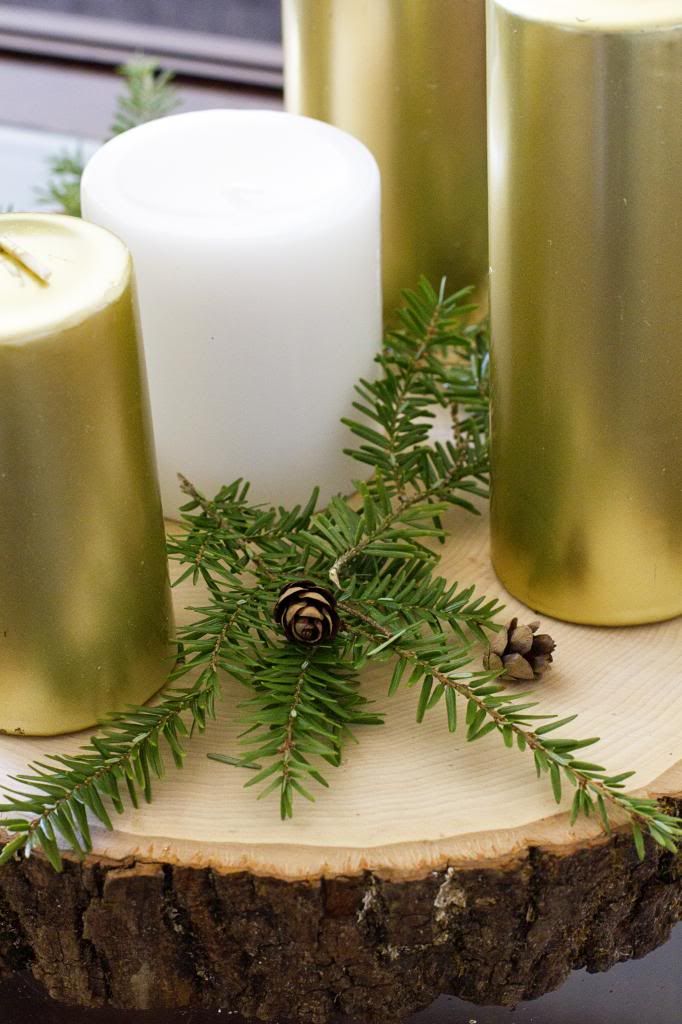
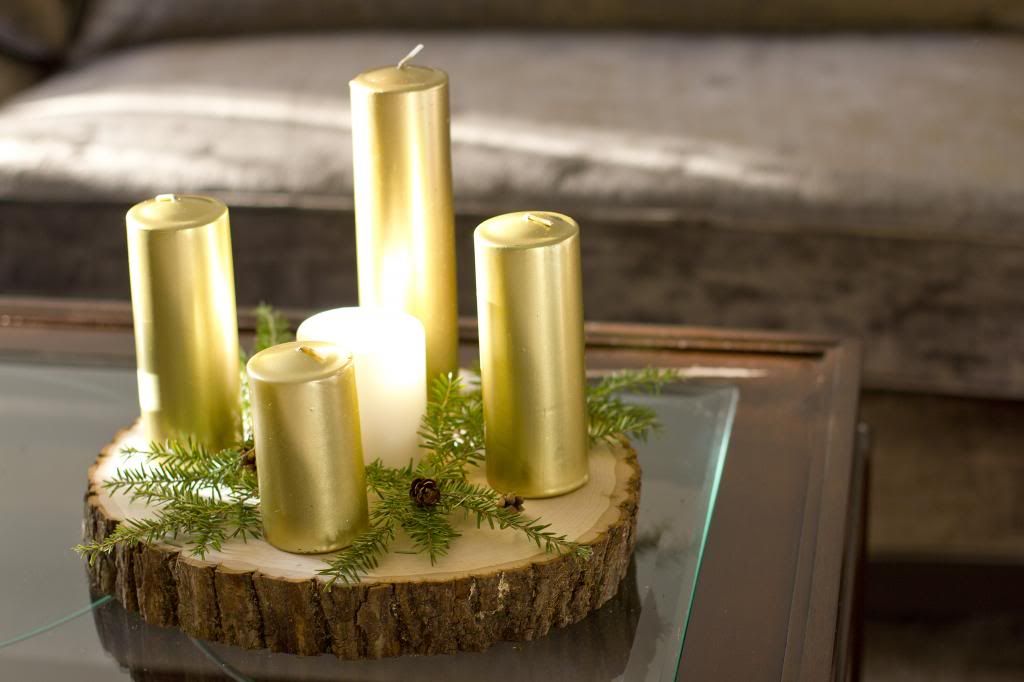
This year for the Christmas season I wanted to put together a very simple advent wreath and that way I would have a few moments of reflection during the month. I wanted something simple, rustic, and slightly glam. I've been searching for traditional colored advent candles for months, but never found the appropriate sizes I wanted. Instead I used very simple metallic gold candles. You can criticize my candle selection all you want and I'll be fine with it. 

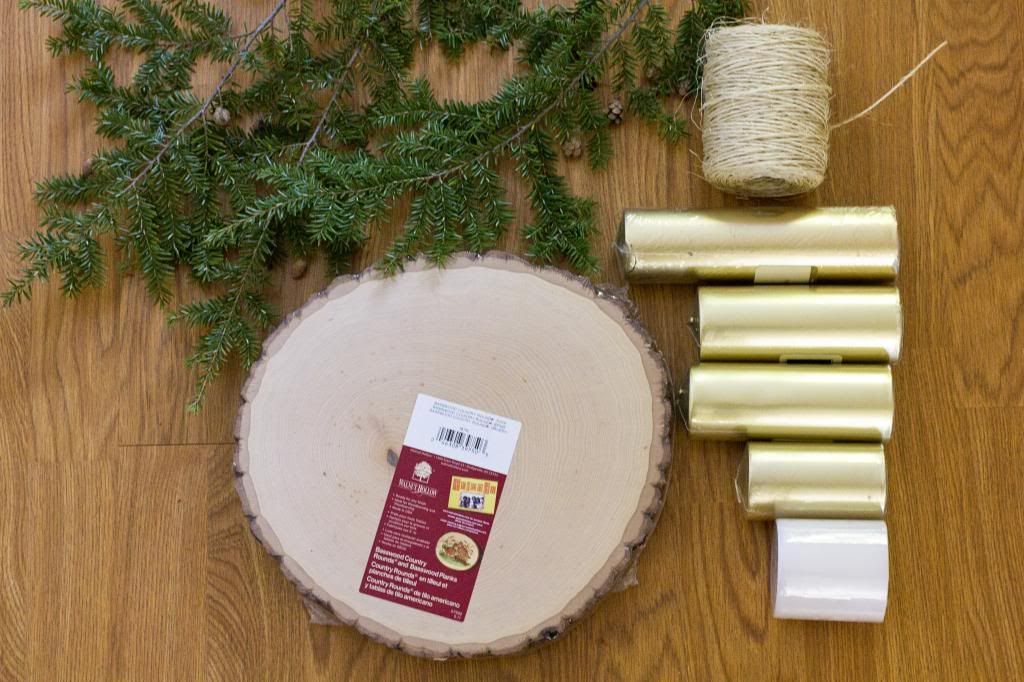
Supplies: Wood slab, 4 metallic candles, 1 white pillar candle, and pine needles (I initially wanted to wrap the candles with twine and decided afterwards that presented an additional fire risk). I purchased the wooden slab and candles at a craft store with coupons for less than $20. 


I picked a few pine tree limbs from the trees in my backyard and gently placed them in between the candles on the wooden slab to give the slight appearance of a traditional wreath. The pine also smells lovely! It almost makes me think I have a real tree in my living room. I might add more fresh pine every Sunday to keep the wreath looking fresh and to keep that fresh pine fragrance in the air.


I can't tell if I enjoy this wreath more in the afternoon sunlight or when it's lit on Sunday evenings. Either way I find it to be very peaceful and that was part of the desired intention. 


Simple and easy. The wreath took mere minutes to assemble, but it's impact has been far greater on my soul.  I honestly don't know why I didn't make this simple wreath years ago. 

If you're going to light an advent wreath please never leave the flame unattended! 


Tuesday, July 9, 2013

Updating with Concrete Patio Stones

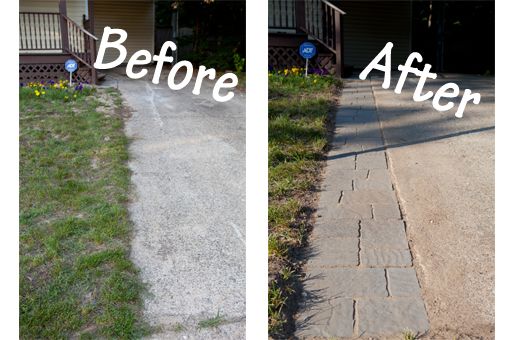
A few weeks ago during a routine trip to Lowe's the hubs made a beeline for the hard-scaping section when I was picking out flowers.  Sometimes it's rather dangerous to head into any home improvement store because what begins as "just a few things" quickly escalates into a new project.  It turns out the hubs thought we could update our rather narrow driveway and the weird walkway in our side yard for a few hundred bucks. 

I thought he was kidding, but sure enough he was spot on! 

Now, if only I wish he didn't pick the hottest weekend of the year to tackle a project that entailed moving nearly 2,000 pounds of stone. 


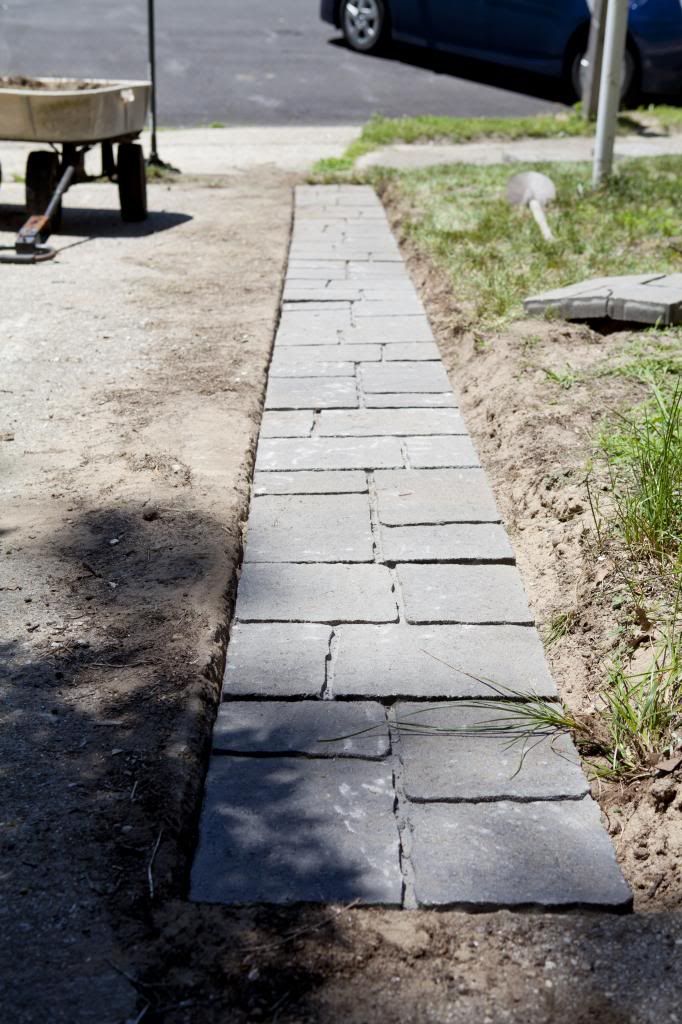
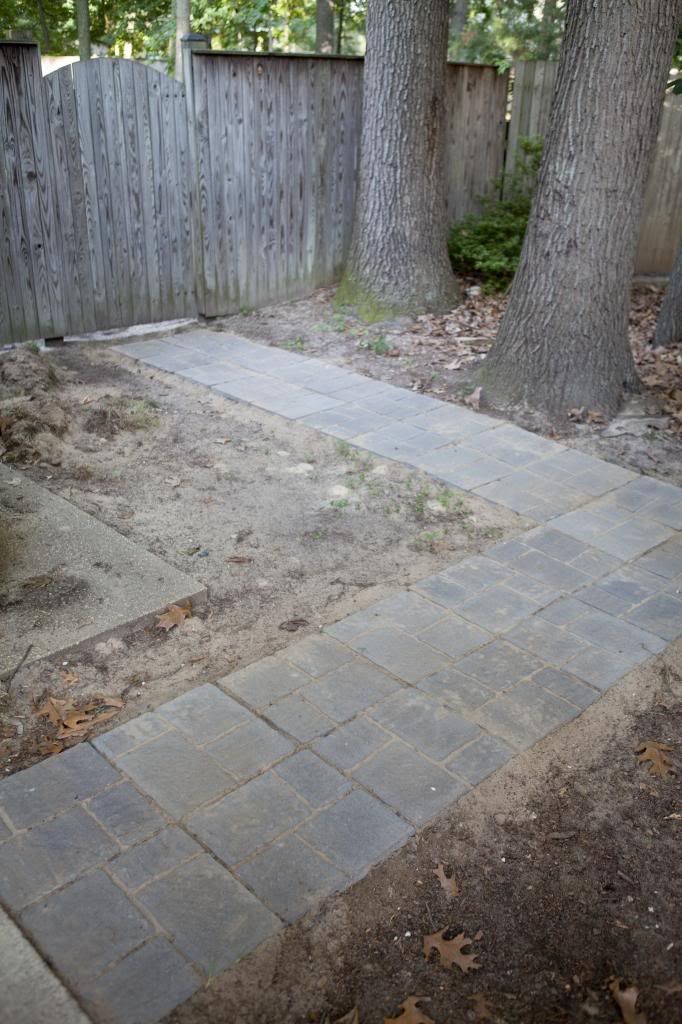
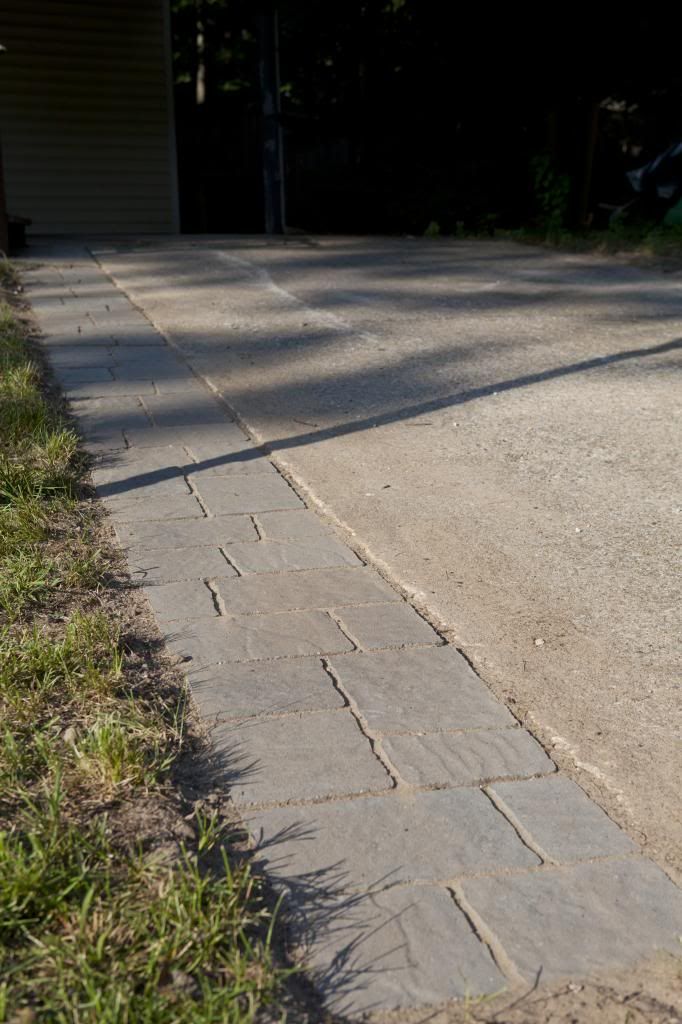
Narrow drive before and narrow driveway with stone path after. 


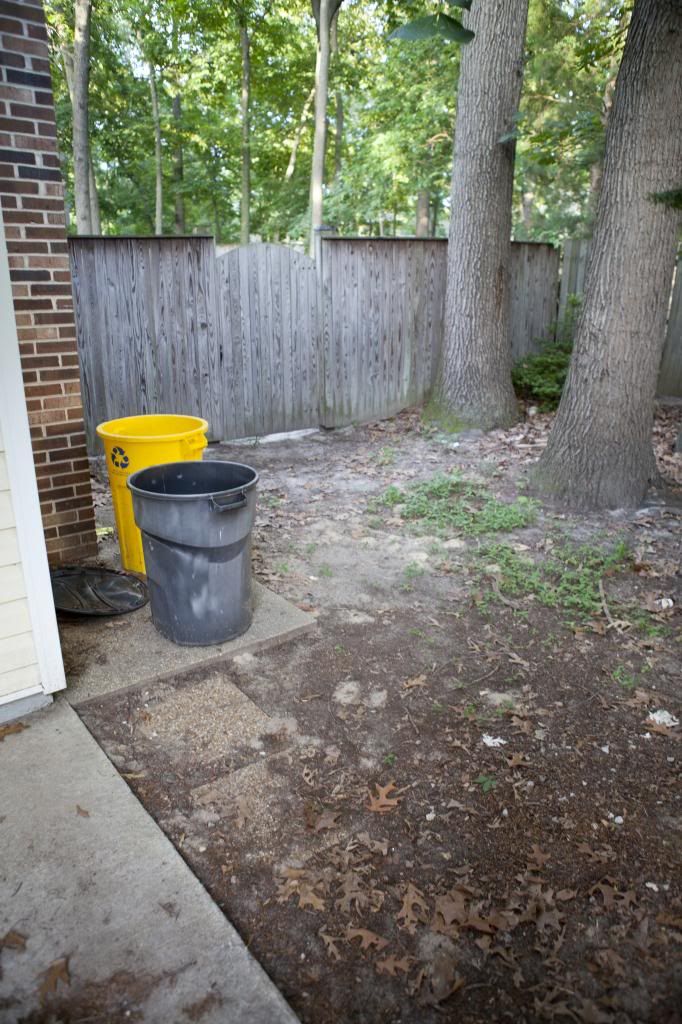
Weird side yard area before.  It looks like there used to be some type of stone walkway here connecting our carport to the backyard, but it was missing more than it had which meant it wasn't doing much for either of us.

Tools: shovel, broom, 10x10 inch tamper, rubber mallet, level

Materials: 50 of these Allen + Roth concrete patio stones from Lowe's 

Total Cost: $250

Step 1:  Purchase your materials/ get them to your house. I know that seems rather basic, but the hubs and I wanted to pick out the patio stones in case any were cracked at the store.  That mean we had to take two trips back and forth with both of our cars because we didn't want to over burden anyone's car. Thank goodness we live ridiculously close to a Lowe's.  This also meant that the hubs and I got serious side-eye looks from people when we were pushing thousand pound blocks of stone through the store.  

Dear old man who refused to step-aside in the aisle - thanks! Starting and stopping that car easily burned an extra 100 calories! 

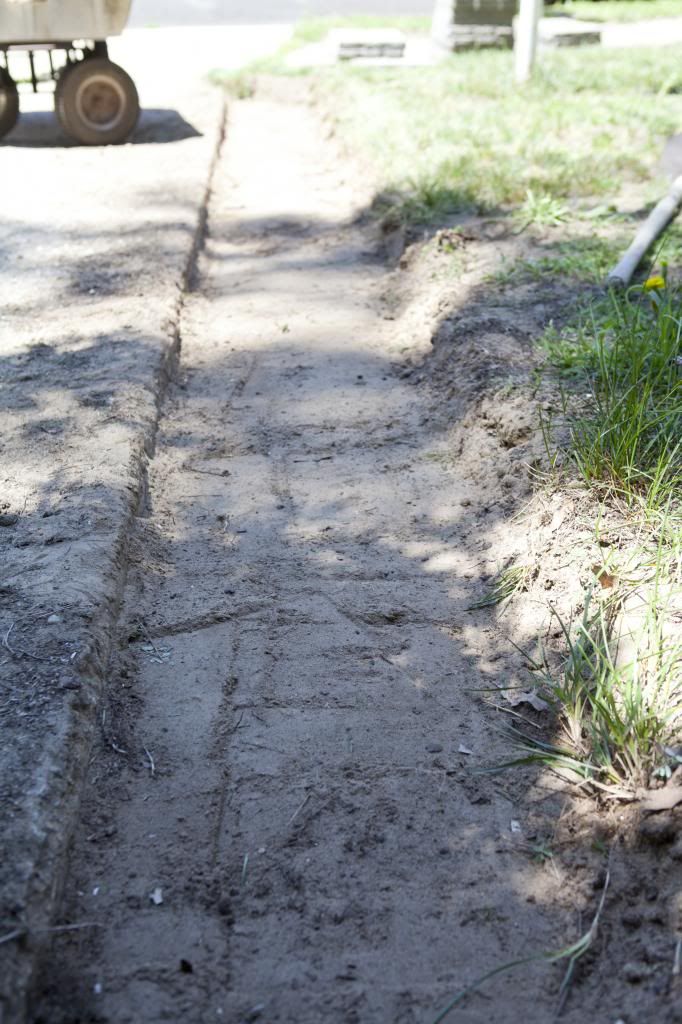
Step 2: Dig out your trench/path for the stones.  We had to dig for our driveway because we wanted to the patio stones to be somewhat flush with our driveway.  For the side walkway we just laid the stones on the ground because we plan on building up the area.

I'm of the mindset it's easier to start smaller than you think you need and then dig bigger if needed. I've also got to give the hubs a round of applause because once we put one stone down as a reference point for sizing on the driveway he dug a small trench that was spot on. Man is a machine when it comes to dimensions!

Step 3:  Use a tamper and go crazy! Be careful because if that thing bounces off of the ground and smacks your klutzy-self leg it's going to hurt. 


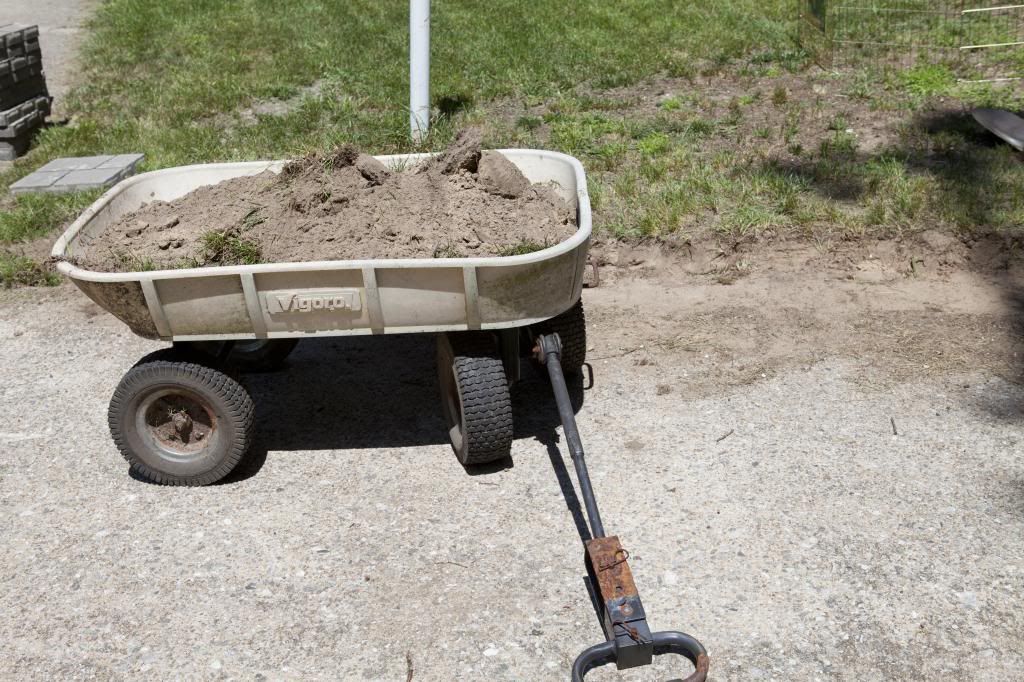
A very nice neighbor saw us outside and brought over his wagon to make our job even easier! Score! 

Step 4: Lay some stones! Don't worry about being level at first, just get the general fit down. The hubs thought I was crazy because I didn't want too many of the seams to match up on the stones.  When everything was done and final he commented that I was right (victory is mine!). 

Step 5: Remove stones 1 to 2 at a time and continue to level them either packing in more dirt or smashing things down more with the tamper. We used a level here to make sure we were somewhat even with our driveway. 


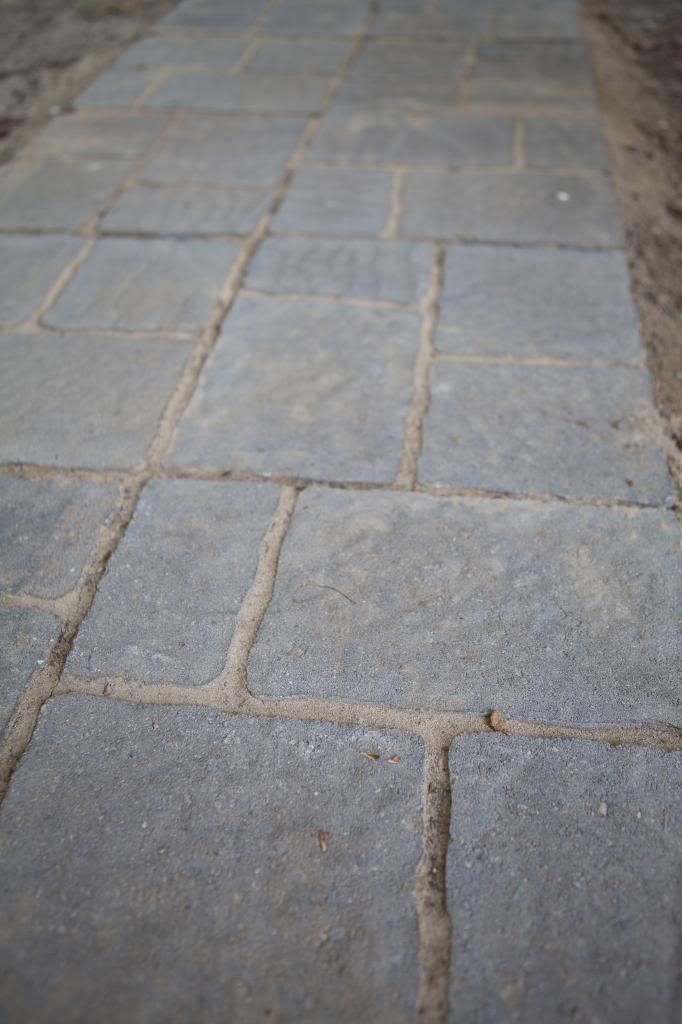
Step 6: Surround the stones with dirt or some type of locking sand. We didn't purchase locking sand because our yard is very sandy. If we find our sand isn't cutting it then we'll purchase locking sand and brush that over the stones.  I brushed dry sand over the stones and made sure to get as much of the sand packed down into the crevices as possible.  The hubs then took a hose and lightly sprayed the entire area to pack the sand down even more and I went back over everything again with the broom. 

Step 7: Enjoy your new walkway! 


Side walkway area still needs work, but this is much better than the mud pit it used to be! 


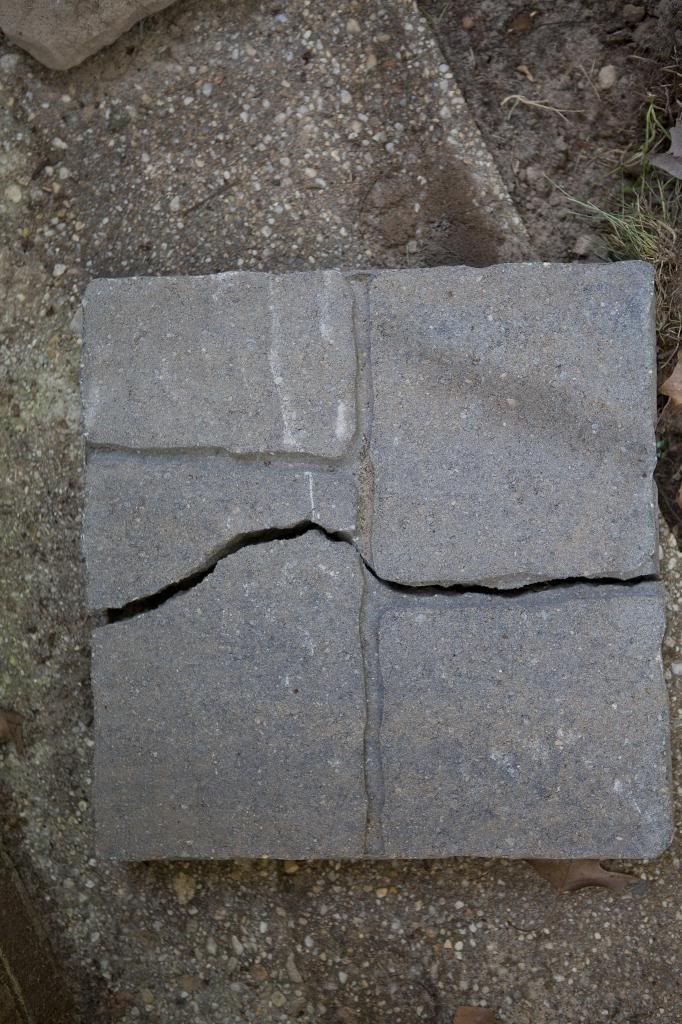
We only broke 1 stone during the entire project, which is pretty amazing. Again, I'm so thankful to be married to an engineer because the hubs did all of his calculations and we had the exact number of stones we needed and didn't have to run out and get more.  

I didn't take a picture of every step because there came a point where I was absolutely disgusting and I didn't want to trek back inside to retrieve my camera or even touch it! 


I know this is the most ground-breaking (total pun) update to our house, but it's subtle and we love it. We're actually using these patio stones as a test run to see how they hold up in our sandy yard.  If they survive a few years, then the goal is to redo our backyard, tear down our back deck, utilize patio stones. If we don't have to bring in a ton of additional base sand that will really make this a more cost-reasonable approach. 


Friday, December 7, 2012

Line Entertainment Center Shelves with Wrapping Paper: Why didn't I think of this sooner?

There are a few adjectives I want to be used to describe my ideal holiday/seasonal decorating ideas:
- quick
- easy
- inexpensive
- awesome

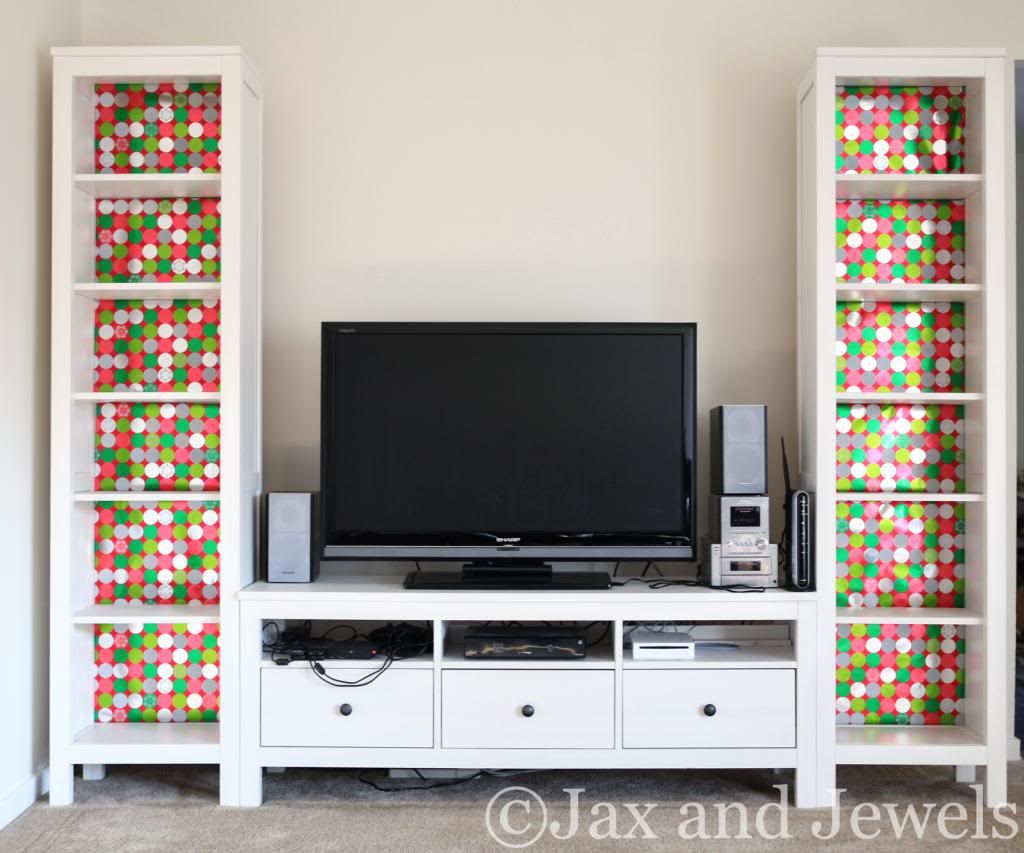
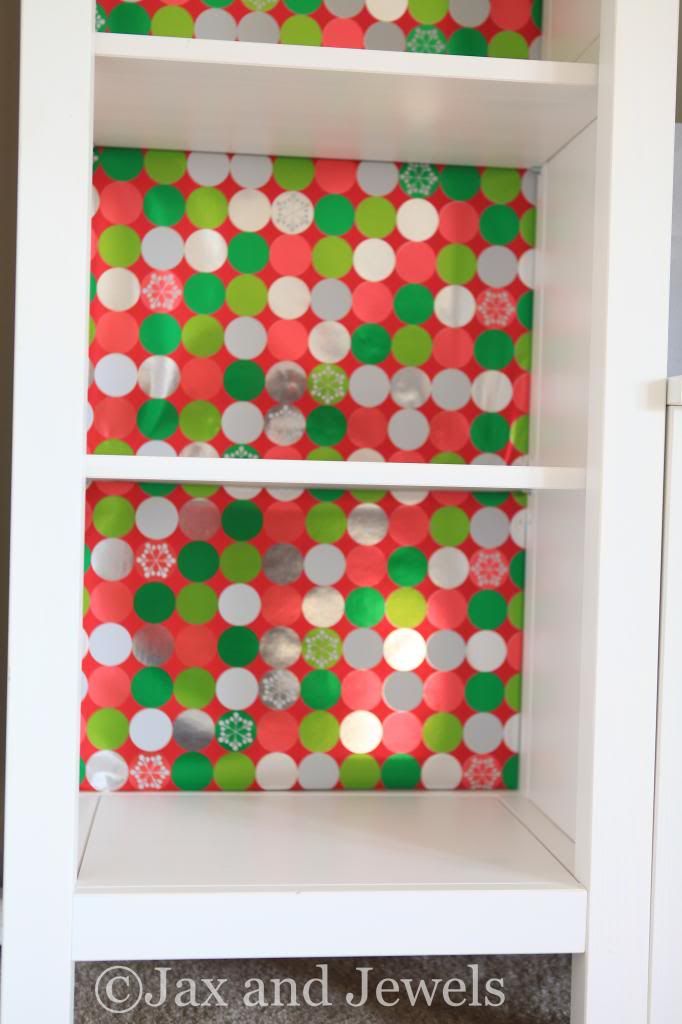
I am very happy to report that this quick makeover of my Ikea Hemnes Entertainment system met all of my decorating requirements. All I did was add festive Christmas wrapping paper to the backs of the entertainment center to provide a backdrop for my holiday decorating.


Last Sunday I decided that I wanted to make over my old entertainment center for the holidays.  Now, our house has a very large woodstove and mantle, which would be the perfect area to decorate for the holidays except that they're located in the mancave. I haven't fought the battle too hard to decorate the mancave because I like to win and I don't think that's a battle I can win.

That leaves me with the front living room to decorate.  It has plain beige walls, beige carpet, and absolutely nothing hung on the walls.  Which means it was primed for some color! 

Like so many other Pinterest users I had repinned the many incarnations of the built-ins adorned with fabric or paint. I especially loved Courtney's, of A Thoughtful Place, simple black and white fabric for her white built-ins.  I thought for the holiday season I was looking for something even easier to do. 

This is what I started with.  Yes, the white balance was a bit off.  I actually took this right as the sun was going down and the warm haze was bouncing off my windows like crazy.  


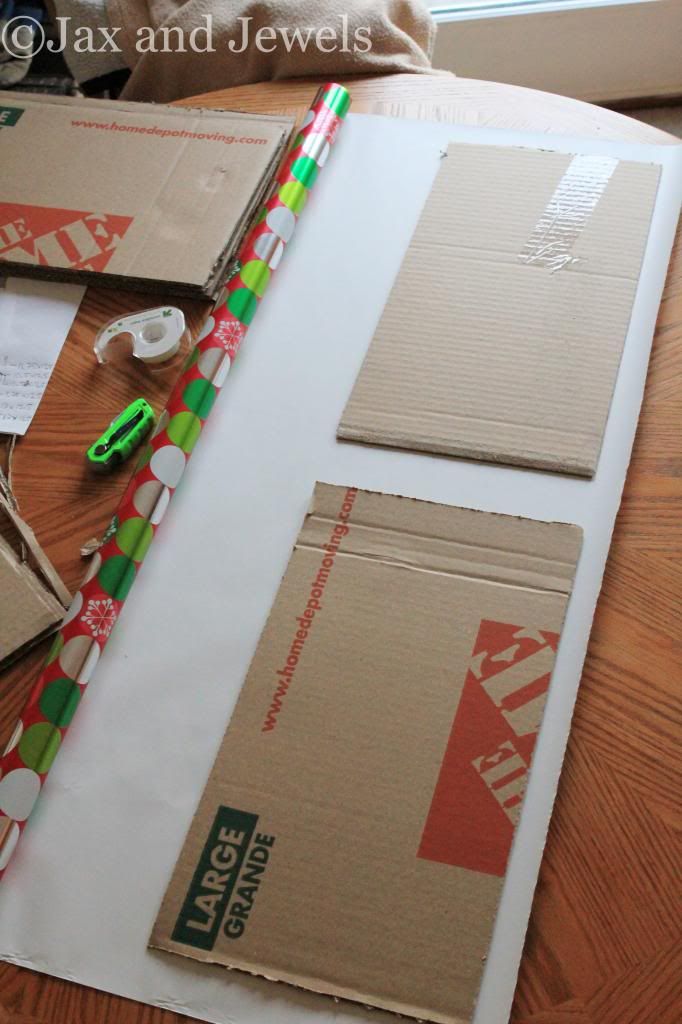
For materials I used old moving boxes that had been piled up in my basement for far too long, a box cutter, large square, measuring tape, scissors, clear tape, and wrapping paper.  I quickly measured the insides of my entertainment center's shelves and wrote down how many I needed of each size. Since my shelves had minor differences in the sizes I wrote down numbers on each piece of cardboard so I knew where it went after it was wrapped. 

Cutting the cardboard boxes down to size actually took the most time for this project.  Thankfully my hubs was cleaning up our basement and since I said I was going to use up leftover boxes he was more than happy to flatten them and quarter them for me.  That's love! 

I was pretty lucky that two of my cardboard pieces fit vertically on my wrapping paper. I'm not going to lie, but I didn't measure the cardboard out before I bought the wrapping paper so I definitely lucked out going with the taller 2yd wrapping paper roll. In the future I'll only buy the taller 2yd rolls to ensure I maximize the cardboard size I need for this project to the wrapping paper roll. 


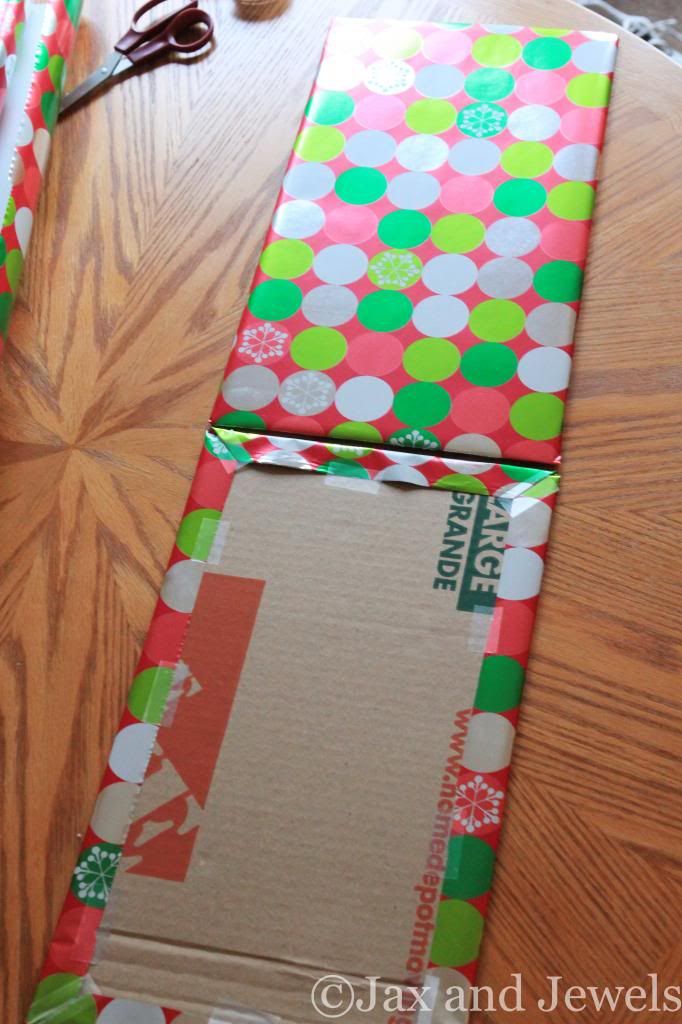
Wrap the fronts of each piece of cardboard.  Peace of cake.  I cut the wrapping paper and wrapped the cardboard pieces on the hubs's poker table during an afternoon of Sunday football.  There was definitely beer present, which confirms how easy this project was to do! 


After the cardboard pieces were wrapped I just slid them into place on my shelves.  Each shelf on the Hemnes bookshelves is supported by a little metal peg.  I was able to remove each shelf and slide the cardboard pieces behind that peg.  That ensured that the cardboard pieces didn't fall forward. 


I'm kind of a crazy person, but all the right tower's pieces came from the top half of my wrapping paper roll and the left tower's pieces came from the bottom half of my wrapping paper roll.  I did that to ensure that the lines of dots matched up and were square to the best extent possible. 

Yes, I'm married to an engineer and I knew it would have bugged him (and then me) if things weren't squared! I fully admit that the next time I do this I'm going with a more abstract paper that way I don't have to worry about things being square. 


I actually bought my wrapping paper on Black Friday for less than $2 a roll.  That was the only cost for this project because the rest of the materials were already on hand. 

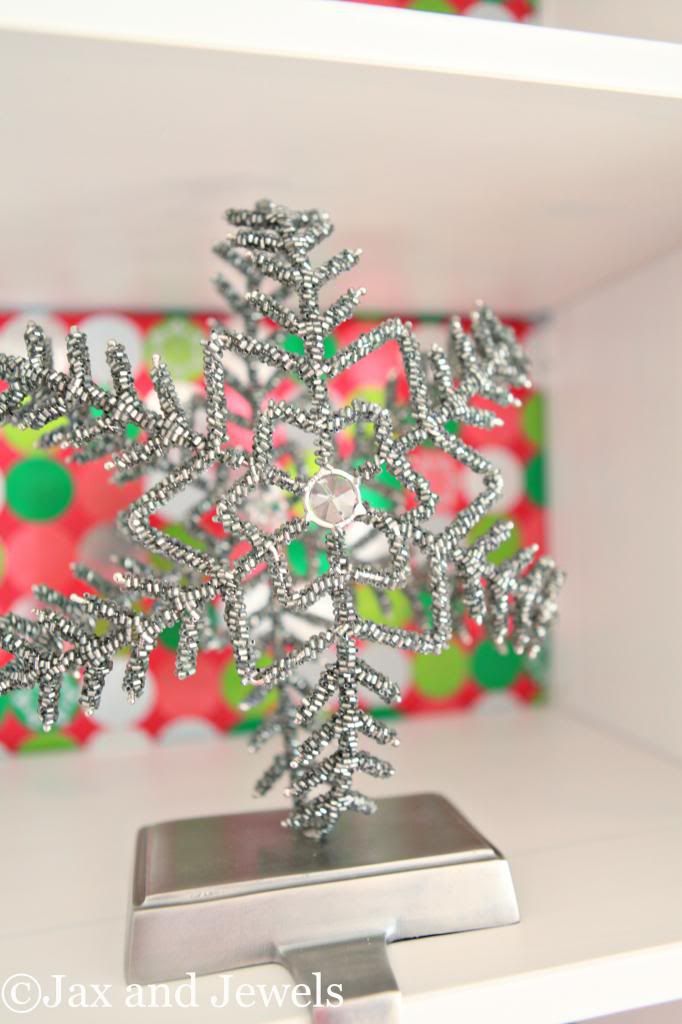
Now that I have the cardboard pieces already cut up I think I'm going to constantly change up the wrapping paper on the back of my entertainment center's shelves for quick and easy seasonal decorating.  I know I'm going to turn into that person who buys pretty wrapping paper all the time.  I'm already eyeing up a matte pattern for late winter. 


I can't wait to break out the rest of my Christmas decorations and decorate this weekend.  We're putting our tree up and I'm so excited to listen to Christmas music while decorating!

What do you do to decorate for the holidays? Anyone else use wrapping paper to decorate?